Easy Steps for Radiator Hose Replacement
When replacing a radiator hose, identifying the leaking hose and draining the engine coolant are crucial initial steps. Once you've completed these tasks, loosening the clamps and removing the old hose can be done efficiently.
However, the process doesn't end there; installing the new hose securely and refilling the cooling system are equally essential. By following these easy steps, you can ensure the proper functioning of your vehicle's cooling system.
Remember, taking care of these maintenance tasks promptly can prevent costly repairs down the road.
Key Takeaways
- Choose correct hose material and size for coolant compatibility and durability.
- Drain old coolant properly to prevent contamination and environmental harm.
- Inspect old hose for wear and leaks before removing and disposing of it.
- Install new hose securely, lubricate ends, and monitor coolant levels for proper functionality.
Selecting the Right Replacement Hose
When replacing your radiator hose, it's crucial to meticulously select the appropriate replacement hose that precisely matches your vehicle's specifications for optimal performance and longevity.
Start by choosing the correct material for the hose. Ensure compatibility with the type of coolant your vehicle uses to prevent any chemical reactions that could lead to deterioration. Proper sizing and length are equally important factors to consider. Check the length and diameter of the replacement hose to guarantee a secure connection to both the radiator and engine.
Reinforced hoses with additional layers provide durability, which is essential in high-temperature or high-pressure applications. Look for OEM or high-quality aftermarket replacement hoses to ensure long-lasting performance and prevent premature failure.
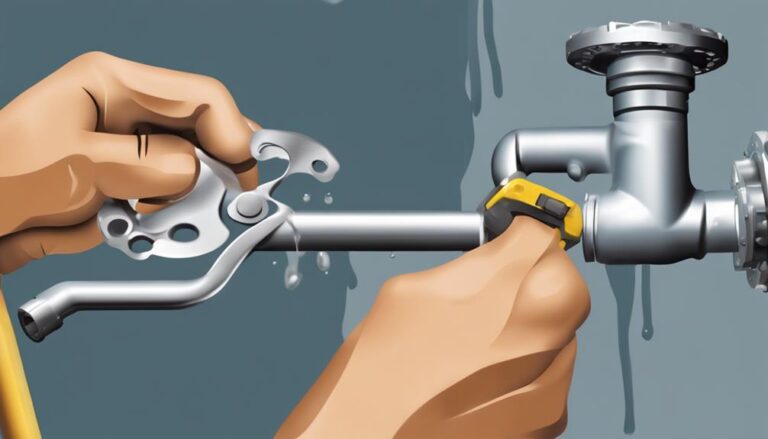
Draining the Coolant System
To drain the coolant system, ensure the engine has fully cooled down before proceeding with the following steps.
- Locate the petcock or drain valve at the bottom of the radiator.
- Place a drain pan underneath to catch the coolant as it drains out.
- Ensure the drain pan has enough capacity to hold all the coolant.
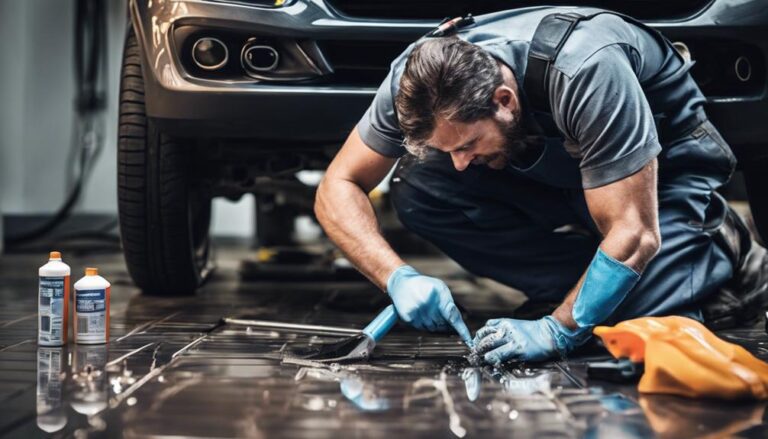
- Properly dispose of the old coolant in an environmentally friendly manner to minimize the environmental impact.
Draining the coolant system is a crucial step in replacing your radiator hose. It helps prevent spills and contamination while allowing for a cleaner working environment. Proper disposal of the old coolant is essential to safeguard the environment from harmful chemicals. By following these steps carefully, you not only ensure a smooth process for your radiator hose replacement but also contribute to environmental conservation. Remember, every small action counts towards a greener future.
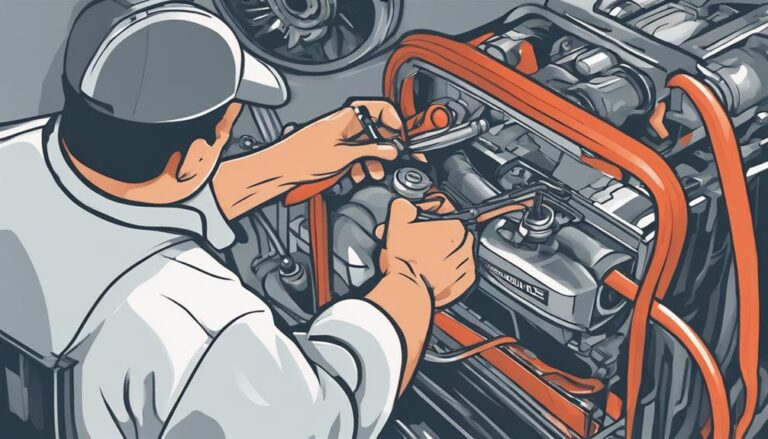
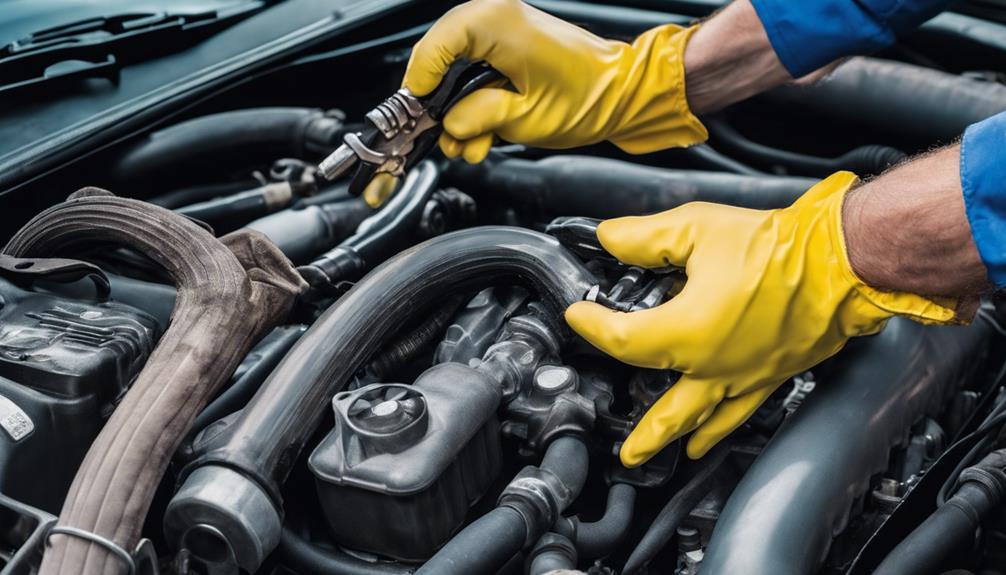
Removing the Old Radiator Hose
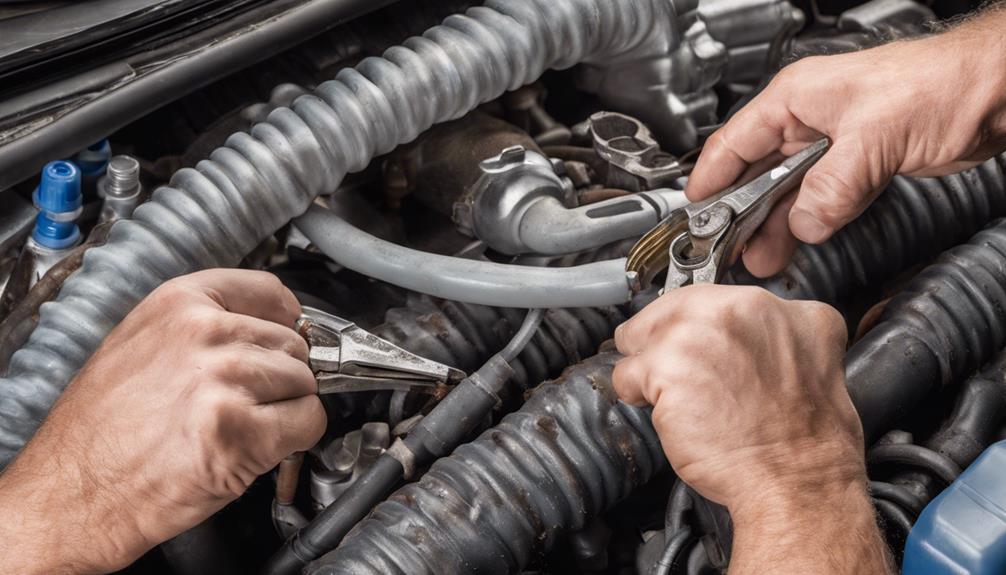
Ensure the engine has cooled down completely before proceeding to remove the old radiator hose. Start by locating the clamps that secure the hose in place. Use a ratchet and socket set to loosen these clamps. Once the clamps are loose, carefully detach the old radiator hose from both the radiator outlet and the engine inlet. Be cautious to avoid damaging surrounding components during this process.
After removing the old hose, take a moment to inspect its condition. Look for any signs of wear, cracks, or leaks. If you notice any of these issues, it's a clear indication that the hose needs to be replaced. Properly disposing of the old radiator hose is essential to prevent environmental harm.
Remember to follow safety precautions throughout this task to avoid any injuries. Once the old hose is removed and inspected, you're one step closer to completing the radiator hose replacement process.
Installing the New Radiator Hose
Inspect the new radiator hose to confirm it matches the specifications required for your vehicle, ensuring a proper fit during installation.
Before securing connections, follow these steps to effectively install the new radiator hose:
- Lubrication: Apply coolant or soapy water to the ends of the new radiator hose for easier installation and to prevent damage to the hose.
- Placement: Slide the new radiator hose onto the stub-outs from the radiator and engine, ensuring it's securely seated to prevent leaks.
- Clamp Application: Position hose clamps over the ends of the new radiator hose and tighten them securely to hold the hose in place and maintain a tight seal.
- Maintenance: Regularly inspect the radiator hoses for wear, cracks, or leaks to prevent potential cooling system issues in the future.
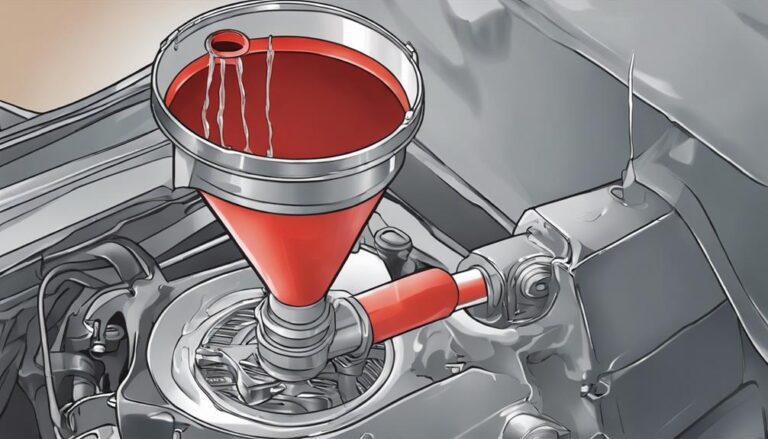
Refilling the Coolant System
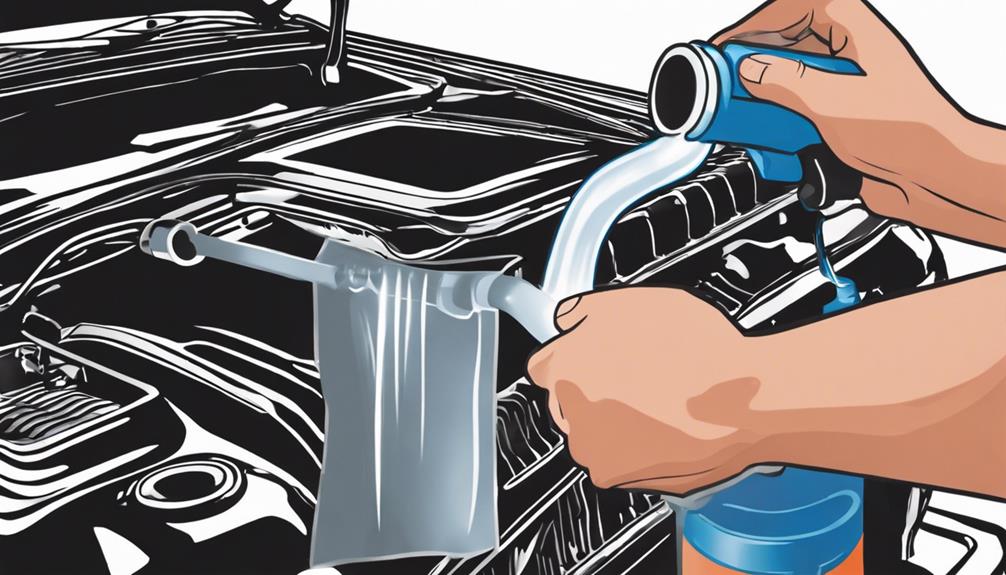
When refilling the coolant system, begin by closing the petcock on the bottom of the radiator after replacing the hoses. This step ensures that no coolant leaks out during the refilling process. Next, fill the radiator with the correct coolant mixture up to the appropriate level. It's crucial to follow the manufacturer's recommendations for the proper coolant type and ratio to water. After filling the radiator, continue adding coolant to the reservoir until it reaches the cold level mark. This will help the system operate efficiently.
As you start the engine and allow it to warm up, keep an eye out for any leaks. It's normal for a few air bubbles to escape as the system purges itself, but continuous bubbling may indicate a problem. Monitor the temperature gauge to verify that the repair was successful and that the coolant system is functioning correctly. Maintaining the coolant level and ensuring the absence of air bubbles are essential for the longevity of your vehicle's engine.
Frequently Asked Questions
Is Replacing Radiator Hose Easy?
Replacing a radiator hose is straightforward. Common issues include hose materials affecting durability and potential leaks. Inspecting and replacing hoses regularly can prevent overheating. You can save money by DIY repair. It's an easy process.
How Do You Replace a Radiator Step by Step?
Replacing a radiator hose is straightforward. First, identify the leaking hose and drain the coolant. Use hose clamps and tools to remove and replace the hose. Refill the coolant, check for leaks, and monitor the temperature gauge.
How Hard Is It to Fix a Radiator Hose?
Fixing a radiator hose isn't difficult with basic tools. Common mistakes include not draining coolant or using incorrect hose sizes. Consider alternative solutions like inspecting hoses regularly to prevent leaks. Following step-by-step guides can make this repair manageable.
How Long Does It Take to Change a Radiator Hose?
Changing a radiator hose usually takes 30 minutes to 1 hour. You'll need basic tools like a ratchet set and new hoses. Avoid leaks by ensuring proper hose seating and tight clamp fastening.
Conclusion
Congratulations on successfully replacing your radiator hose!
Did you know that a leaking radiator hose can lead to engine overheating, which can cause serious damage to your vehicle?
By following these easy steps, you can ensure your engine stays cool and your car runs smoothly.
Remember to regularly check and replace worn hoses to prevent costly repairs in the future.
Keep up the good work in maintaining your vehicle!