What Is the Best DIY Thermostat Replacement Guide?
If you've ever felt like the temperature in your home is a reflection of chaos rather than comfort, mastering the art of thermostat replacement could be your key to a serene environment.
But with so many DIY guides out there, which one truly stands out as the best? Imagine a guide that not only walks you through each step but also anticipates your questions and concerns before you even realize them.
Stay tuned to discover how to transform your home's climate control system with confidence and precision.
Key Takeaways
- Properly prepare tools and follow step-by-step instructions for successful thermostat replacement.
- Safely remove old thermostat, dispose of it responsibly, and mount the new base securely.
- Carefully wire the new thermostat by matching colors and tightening screws correctly.
- Test the new thermostat thoroughly for functionality and ensure proper heating/cooling system operation.
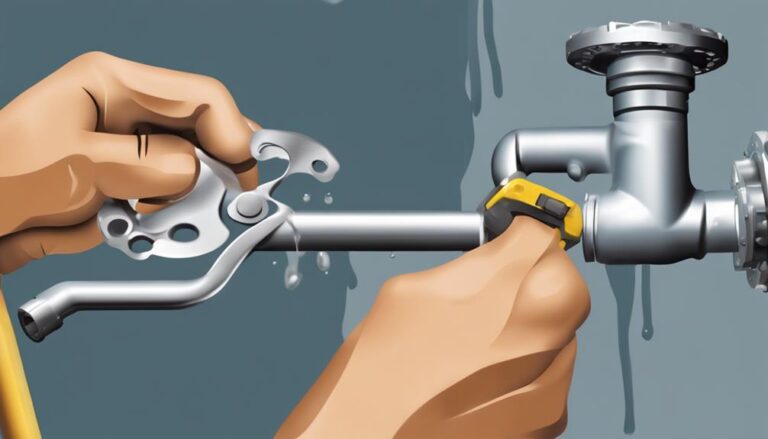
Tools and Materials Needed
To begin the thermostat replacement process, ensure you have the necessary tools and materials at hand. Proper tool organization is crucial for efficiency and safety. A screwdriver with multiple heads is essential for removing and installing screws during the replacement. Additionally, a voltage tester is vital to confirm that the power is off before handling wires, ensuring your safety. A wire stripper is necessary for accurately preparing wires for connection to the new thermostat, preventing any potential electrical issues. Don't forget a level to ensure the new thermostat is mounted straight and aligned correctly on the wall. Keep your smartphone handy for setting up smart thermostats and accessing additional installation instructions or troubleshooting tips.
Common mistakes during this phase include not double-checking that the power is off before beginning work. Troubleshooting tip: always use a voltage tester. Another common mistake isn't organizing your tools properly, which can lead to delays and frustration. Ensure your tools are easily accessible and well-organized before starting the replacement process.
Removing the Existing Thermostat
Ensure that the faceplate of the old thermostat is removed either by popping it off or unscrewing it to access the internal components for replacement. Carefully detach and disconnect the wires from the terminals of the old thermostat. To maintain organization, use marking tabs or masking tape to label each wire with the corresponding terminal letter for easy reference during installation. Secure the wires to the wall with tape to prevent them from slipping back into the wall cavity while you work on the replacement. Prior to installation, make sure the area behind the old thermostat is clean and free of debris to ensure a smooth process.
When disposing of the old thermostat, it's essential to consider proper disposal methods. Many local recycling centers accept thermostats for recycling due to their electronic components. Contact your local waste management facility to inquire about recycling options for thermostats. Proper disposal not only helps the environment but also ensures that hazardous materials are handled responsibly.
Installing the New Thermostat Base
For optimal functionality, ensure the new thermostat base is mounted level on the wall before proceeding with installation. Start by using a level to ensure the base is straight to avoid any issues with the thermostat's operation. Once the base is leveled, it's crucial to conduct a power test using a voltage tester. Confirm that the power is off before proceeding with the installation to prevent any electrical hazards.
After ensuring the base is level and the power is off, you can begin connecting the wires from the old thermostat to the corresponding terminals on the new base. Match the labeled wires carefully to ensure a correct installation. When connecting the wires, make sure to tighten the terminal screws securely. This step is essential to prevent loose connections that could disrupt the thermostat's efficiency.
Remember to follow the manufacturer's instructions closely during the installation process to avoid errors. By following these steps diligently, you can ensure a successful installation of your new thermostat base.
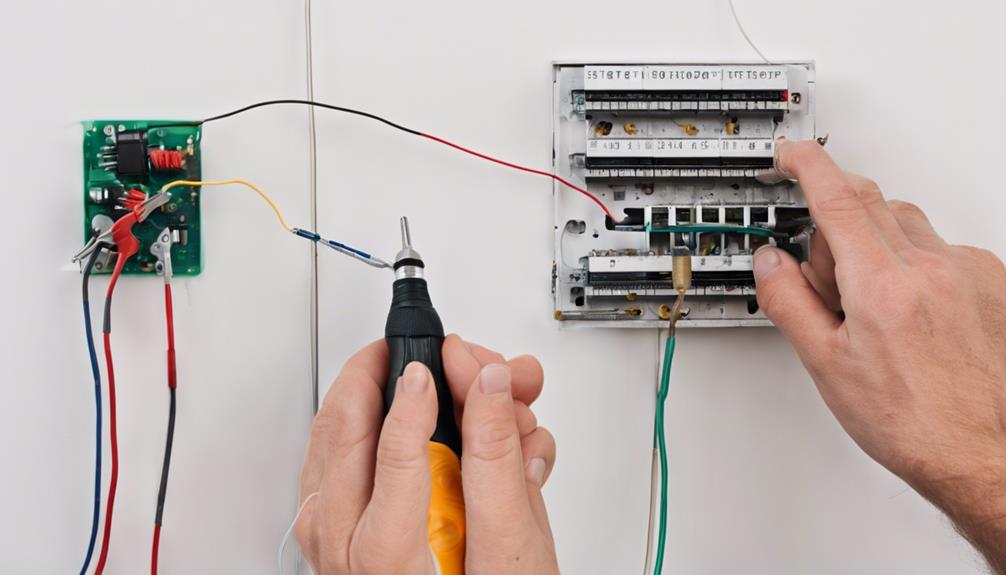
Wiring the New Thermostat
Begin by identifying the corresponding screw terminals on the new thermostat base where you'll connect the wires based on color codes and labels.
Proper wire organization is crucial for a successful installation. Match the wires to the designated screw terminals following the color coding for compatibility. Ensure each low-voltage wire is securely fastened to prevent any troubleshooting issues in the future.
Refer to the installation diagram provided in the manual for accurate wire placement. Remember to tighten the terminal screws appropriately to maintain a stable connection. If your new thermostat requires batteries for operation, make sure to install them according to the manufacturer's instructions.
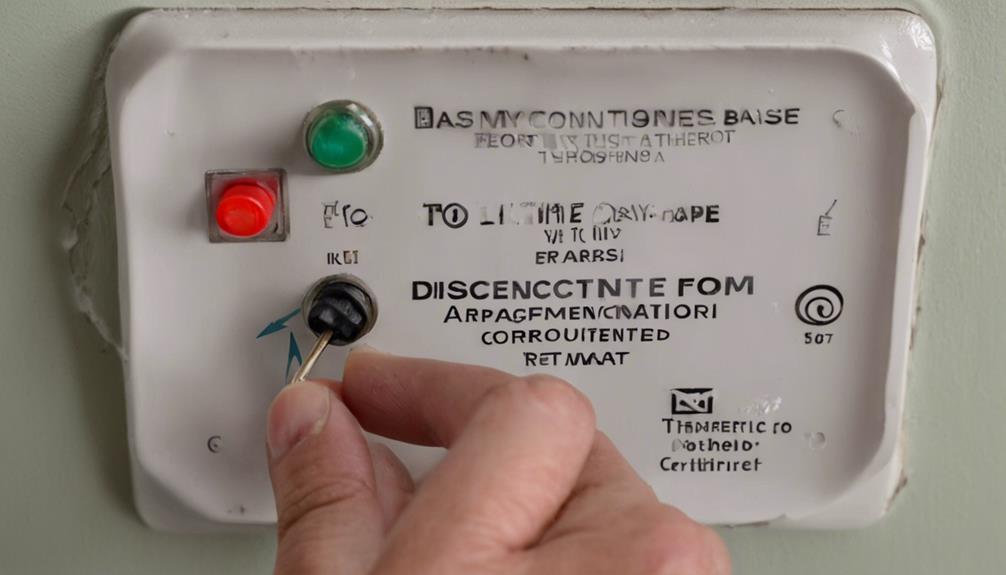
Final Steps and Testing
To complete the installation process, affix the new thermostat securely to the wall using the included screws or mounting hardware. Ensure the thermostat is level to guarantee accurate temperature readings and proper functionality.
Once securely installed, follow these final steps and testing procedures:
- Restore Power: Turn the power back on to the heating/cooling system to prepare for testing.
- Temperature Adjustment: Test the thermostat by adjusting the temperature settings to ensure it responds correctly.
- Display Verification: Verify that the thermostat display is functioning properly and accurately reflecting temperature changes.
- System Test: Conduct a full system test to confirm that the heating/cooling system activates and responds appropriately to the thermostat commands.
For troubleshooting tips, refer to the manufacturer's manual or online resources. Additionally, explore the energy-saving features of your new thermostat to optimize efficiency and reduce energy consumption.
Frequently Asked Questions
Can I Replace the Thermostat Myself?
You can replace the thermostat yourself. Ensure compatibility checks and follow wiring tips. Turn off power. Use basic tools. Take pictures of the wiring. A step-by-step guide will assist in a successful installation.
How Do I Know What Thermostat to Get?
To know what thermostat to get, check compatibility with your HVAC system first. Consider heating/cooling type. Look for features like programmability and Wi-Fi. Ensure wiring requirements match. Research online or consult pros for guidance.
What Is the Simplest Thermostat to Use?
For the simplest thermostat to use, opt for a basic non-programmable model. It offers clear temperature settings and easy manual controls. While lacking advanced features, it's cost-effective, reliable, and perfect for straightforward temperature control in homes.
Can I Replace My Old Thermostat With Any Thermostat?
Before replacing your old thermostat, ensure compatibility with your HVAC system for proper function. Certain models may require specific wiring or a C-wire for power. If unsure, seek professional installation to guarantee accuracy and efficiency.
Conclusion
In conclusion, by following the comprehensive DIY thermostat replacement guide, you can transform your home's temperature control system with ease.
Embrace the opportunity to upgrade your thermostat and enhance your living environment. With careful preparation and attention to detail, you can confidently tackle this project and enjoy the benefits of a more efficient and reliable heating and cooling system.
Take the leap towards a more comfortable home today.