DIY Guide: Replace Heater Core Blower Motor
Have you ever wondered if a malfunctioning blower motor could be the culprit behind your car's heating issues?
Well, the truth is, a faulty heater core blower motor can indeed be the reason your heat isn't working efficiently.
But fear not, because in this guide, we will walk you through the steps to replace it yourself.
From safety precautions to testing the new blower motor, each step is essential in ensuring your car's heating system runs smoothly.
So, let's get started on this DIY journey towards a cozy and warm ride.
Key Takeaways
- Safety precautions are crucial: ventilate, wear protective gear, park safely, and disconnect the battery.
- Use the right tools: socket set, screwdriver set, pliers, ratchet, and coolant catch pan.
- Carefully remove and install the blower motor, ensuring compatibility, alignment, and secure connections.
- Test the blower motor post-installation: listen for noises, check airflow, troubleshoot with a multimeter, and verify wiring connections.
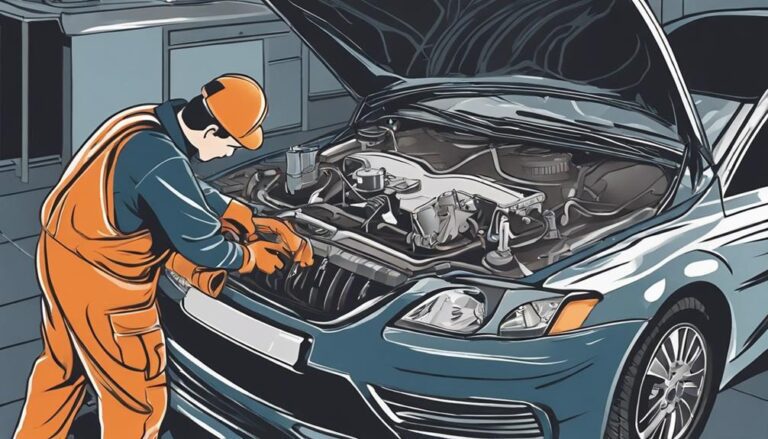
Safety Precautions for Blower Motor Replacement
Before starting the blower motor replacement process, make sure you have the necessary safety equipment and tools on hand to protect yourself from potential hazards. Safety tips are essential for a successful repair. Confirm proper ventilation in the area where you'll be working to avoid inhaling harmful fumes or particles. Keep a pair of safety goggles on to shield your eyes from debris and a mask to prevent breathing in dust or other airborne particles. It's also advisable to wear gloves to protect your hands from sharp edges or hot surfaces.
When working on the blower motor replacement, make sure the vehicle is parked on a flat, stable surface. Engage the parking brake to prevent any accidental movement. Always disconnect the battery before starting any work to avoid electrical shocks. Take your time to inspect the area and identify any potential risks before proceeding with the repair. By following these safety precautions, you can ensure a smooth and safe blower motor replacement process.
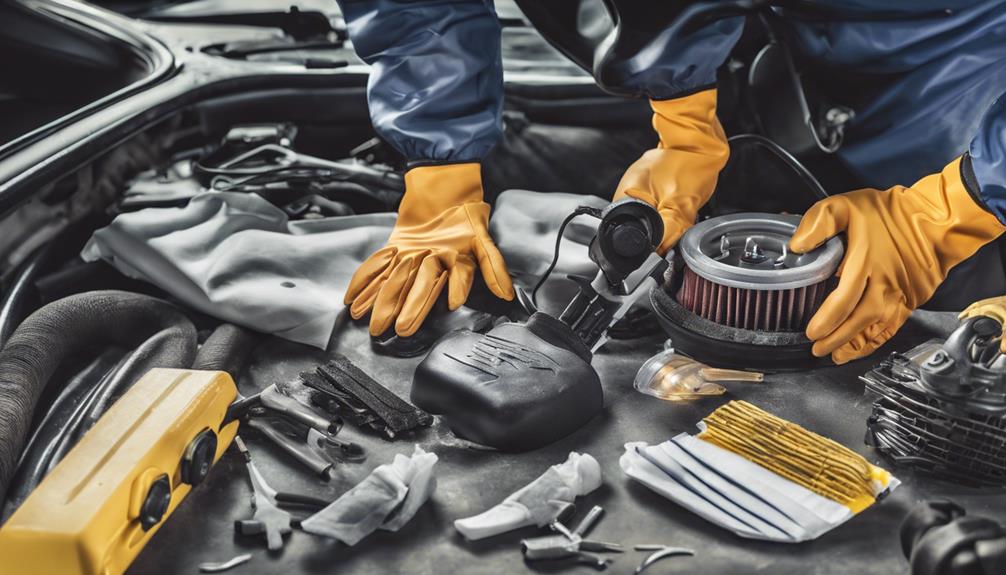
Tools Needed for Heater Core Repair
You'll need specific tools to effectively complete the heater core repair process. Here are the essential tools required for this task:
- Socket Set: To remove bolts and fasteners holding components in place.
- Screwdriver Set: For various screws and panels that need to be removed.
- Pliers: Useful for gripping and maneuvering small parts.
- Ratchet and Extension: Assists in reaching and loosening hard-to-reach bolts.
- Coolant Catch Pan: To collect any coolant that may leak during the repair process.
When troubleshooting the heater core, make sure you follow a maintenance schedule to prevent issues from arising. Regularly checking for leaks, proper coolant levels, and listening for any unusual noises can help maintain the heater core's functionality.
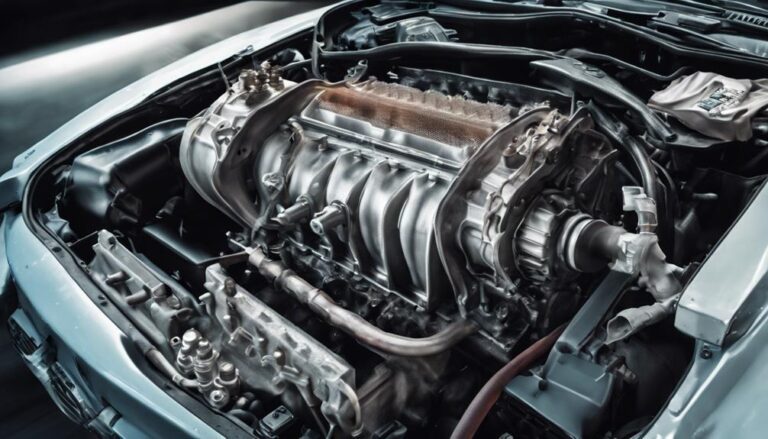
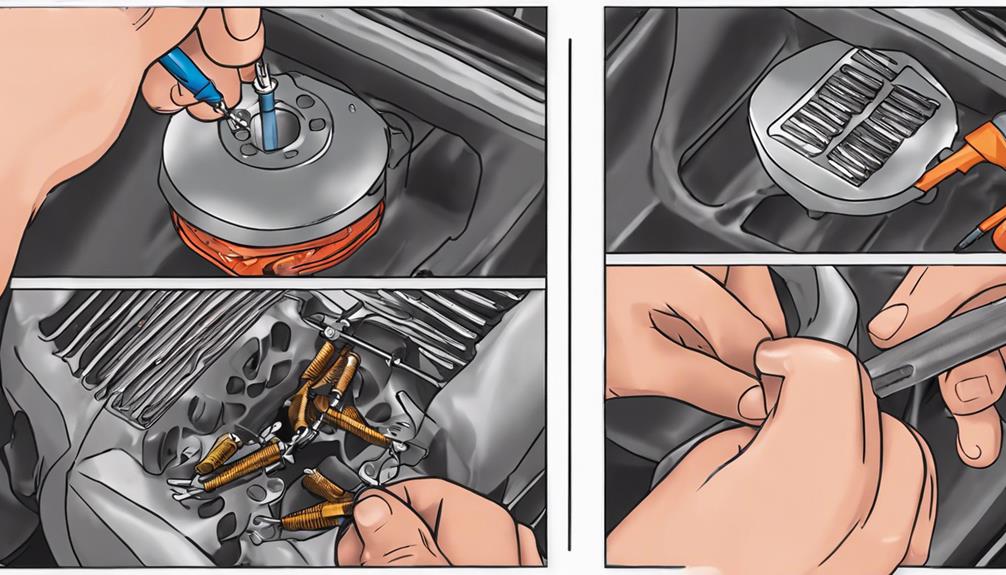
Removing the Old Blower Motor Assembly
To efficiently remove the old blower motor assembly, make sure you have access to the necessary tools and a clear workspace. Before beginning the removal process, it's important to disconnect the vehicle's battery to prevent any electrical mishaps. Here are some troubleshooting tips to guarantee a smooth motor removal process:
| Troubleshooting Tips | Description | Solution | Tools Needed |
|---|---|---|---|
| Motor not functioning | Blower motor fails to start | Check fuse and wiring | Multimeter, Screwdriver |
| Strange noises | Unusual sounds when running | Inspect for debris or damage | Socket set, Pliers |
| Weak airflow | Reduced air coming from vents | Check for clogged air filters | Vacuum, Replacement filters |
When removing the blower motor assembly, locate the motor beneath the dashboard on the passenger side. Begin by disconnecting the wiring harness and removing any retaining screws or bolts. Carefully extract the motor from its housing and be mindful of any additional components connected to it. Once free, the old blower motor is ready for replacement.
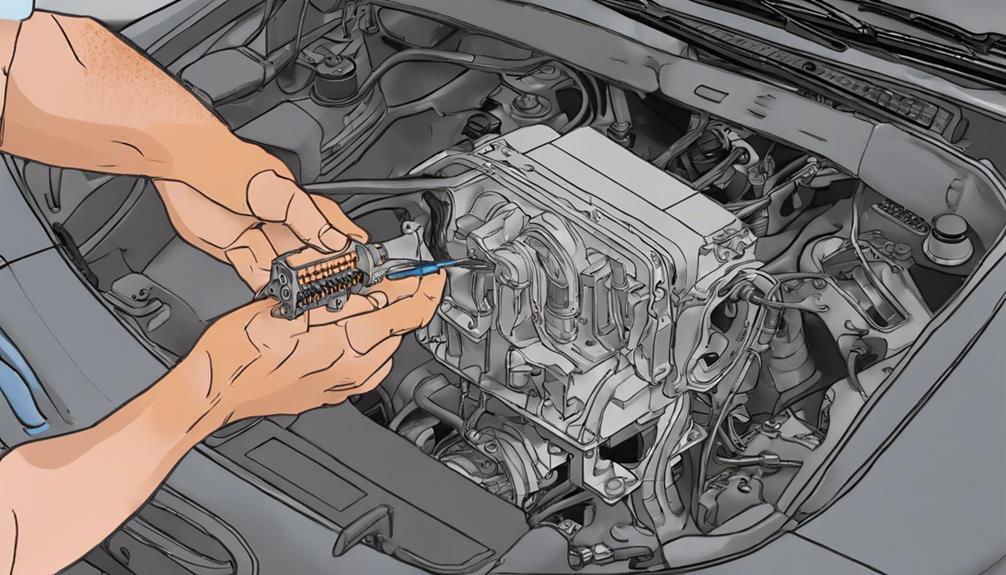
Installing the New Blower Motor Unit
Located beneath the dashboard on the passenger side, the new blower motor unit will be installed by verifying the compatibility with your vehicle make and model and by reconnecting the wiring harness and securing it with the appropriate screws or bolts.
Here are some tips to guarantee a successful installation:
- Check Compatibility: Confirm that the new blower motor unit is compatible with your vehicle make and model.
- Align Properly: Make sure the blower motor is aligned correctly before securing it in place.
- Tighten Securely: Utilize the correct tools to tighten the screws or bolts to prevent any loose connections.
- Double-Check Wiring: Confirm that the wiring harness is properly connected to the new blower motor unit.
- Test Before Reassembly: Test the blower motor functionality before reassembling the dashboard to avoid any rework.
If you encounter any issues during the installation process, refer to these troubleshooting common issues:
- Inadequate Airflow: Inspect for any obstructions in the blower motor unit.
- Strange Noises: Examine for loose components or debris inside the blower motor.
- Electrical Problems: Guarantee all electrical connections are secure and functioning correctly.
- Overheating: Monitor the blower motor temperature to prevent overheating.
- Unresponsive Controls: Confirm the control panel settings and connections for any malfunctions.
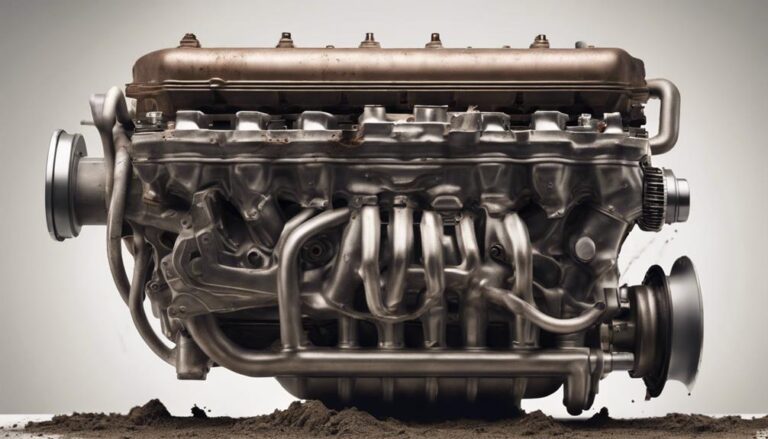
Testing the Heater Core Blower Motor
After confirming proper installation of the blower motor unit, proceed to test the functionality of the heater core blower motor by following these steps. To begin, turn on the vehicle's ignition and set the heater controls to the highest setting. Listen for any unusual noises coming from the blower motor, as this could indicate motor failure. Next, check the airflow coming from the vents to assess the motor performance. If the airflow is weak or inconsistent, it may point to common issues like a clogged air filter or a faulty blower motor resistor.
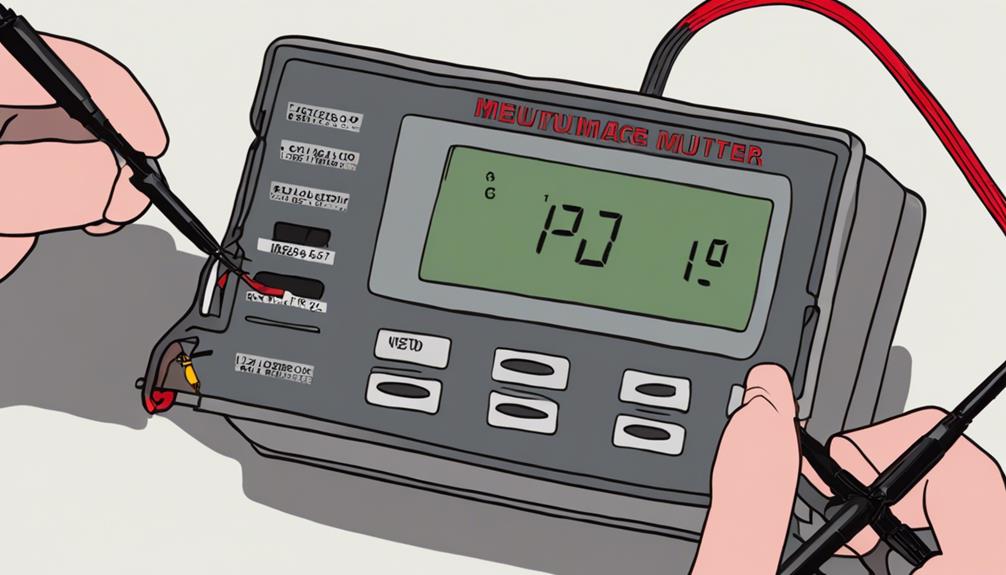
If the motor isn't functioning correctly, you can perform troubleshooting techniques to identify the problem. Use a multimeter to test the voltage going to the blower motor and make sure it's within the manufacturer's specifications. Additionally, inspect the wiring connections for any signs of damage or corrosion that could be affecting the motor's operation. By systematically checking these components, you can diagnose and address any issues with the heater core blower motor effectively.
Frequently Asked Questions
Can I Replace the Blower Motor Without Removing the Entire Dashboard?
You can replace the blower motor without removing the entire dashboard. Access the motor from underneath the dashboard, disconnect electrical connections, remove mounting screws, and replace the motor. This method allows for a more efficient repair process.
How Often Should the Blower Motor Be Replaced?
Blower motor lifespan varies but typically lasts 8-12 years. To extend its life, clean air filters regularly, avoid running it on high constantly, and address any strange noises promptly. Maintaining it well is key.
Is It Necessary to Flush the Heater Core Before Installing the New Blower Motor?
Before installing the new blower motor, it's essential to flush the heater core. This heater core maintenance guarantees peak performance and prevents future issues. Follow manufacturer's instructions for the flushing process to maintain blower motor compatibility and efficiency.
Are There Any Common Signs That Indicate a Faulty Blower Motor?
If your car's heater isn't working properly or making strange noises, it could signal a faulty blower motor. Troubleshooting tips include checking for weak airflow or unusual sounds. Maintenance precautions involve regular inspection and cleaning.
Can I Use a Used Blower Motor as a Replacement, or Should I Always Opt for a New One?
You can use a used blower motor as a replacement, but opting for a new one is recommended for reliability. New motors guarantee longevity and come with warranties, though used ones may offer cost savings initially. Refurbished motors blend affordability with quality.
Conclusion
To sum up, replacing the heater core blower motor is a straightforward process that can be done with the right tools and safety precautions.
By carefully removing the old blower motor assembly and installing the new unit, you can guarantee proper functioning of your vehicle's heating system.
Remember to test the heater core blower motor after installation to confirm that everything is working as it should.
Stay safe and enjoy the warmth in your car!