Recharging Your Car's AC System: 7 Easy Steps
Imagine cruising down the road on a scorching summer day, windows down, wind tousling your hair, and the sun beating down relentlessly. Suddenly, you reach for the AC knob, only to be greeted by warm air.
Fret not, as recharging your car's AC system in just 7 easy steps can bring back the cool breeze you crave. From locating the low-pressure service port to ensuring optimal refrigerant levels, each step plays a vital role in reviving your AC system.
So, are you ready to embark on this journey to cooler drives?
Key Takeaways
- Properly prepare equipment and follow safety guidelines for efficient and safe AC recharge.
- Check compressor functionality before proceeding with the recharge process.
- Connect the dispenser to the low-pressure fill port securely for effective refrigerant recharge.
- Monitor pressure levels and system performance to ensure optimal AC functionality post-recharge.
Gather Necessary Tools and Supplies
To begin preparing for recharging your car's AC system, gather the necessary tools and supplies required for the task. Proper tool organization is key to efficiency. Ensure you have safety gear selected, including safety goggles and gloves, to protect yourself during the process. Refrigerant disposal must be handled according to regulations to prevent harm to the environment.
Next, focus on pressure gauge calibration. This step is crucial to accurately measure the pressure levels in the system. The AC recharge kit should come with a low side gauge, which you can use for this purpose. Make sure to follow the instructions provided with the kit meticulously to avoid any errors.
Prepare the AC Dispenser
Prepare the AC dispenser by ensuring it is properly assembled and connected for a successful recharge of your car's AC system. The AC dispenser is a crucial tool that assists in adding the right amount of refrigerant to your AC system. It typically consists of a trigger for dispensing refrigerant and a low side gauge for pressure monitoring. Proper equipment and safety measures are essential during this process to prevent any mishaps. Below is a table outlining the necessary steps to prepare the AC dispenser effectively:
| Prepare the AC Dispenser | Steps |
|---|---|
| 1. Gather all components | Ensure all parts of the AC dispenser are present. |
| 2. Check for leaks | Inspect the dispenser for any leaks or damage. |
| 3. Connect the dispenser | Properly connect the dispenser to the refrigerant canister. |
| 4. Attach the gauge | Securely attach the low side gauge to monitor pressure. |
| 5. Review manufacturer's instructions | Follow the guidelines to avoid overcharging or undercharging. |
Check Compressor Functionality
Check the functionality of your car's compressor by activating the AC system and observing for key indicators of proper operation.
- Listen for Engagement: When you turn on the AC to the maximum cooling setting, listen for the distinct sound of the compressor engaging. This indicates that the compressor is receiving the necessary signal to start cooling the air.
- RPM Analysis: Observe the RPM of the engine to see if it changes when the AC is activated. An increase in RPM signifies that the compressor is engaging and working to cool the air in the system.
- Visual Inspection: Look for visual signs of the compressor clutch engaging and disengaging as you turn the AC on and off. The clutch should visibly move, indicating that the compressor is functioning correctly.
Ensure the compressor is operating efficiently before proceeding with the AC recharge process to guarantee optimal cooling performance in your vehicle.
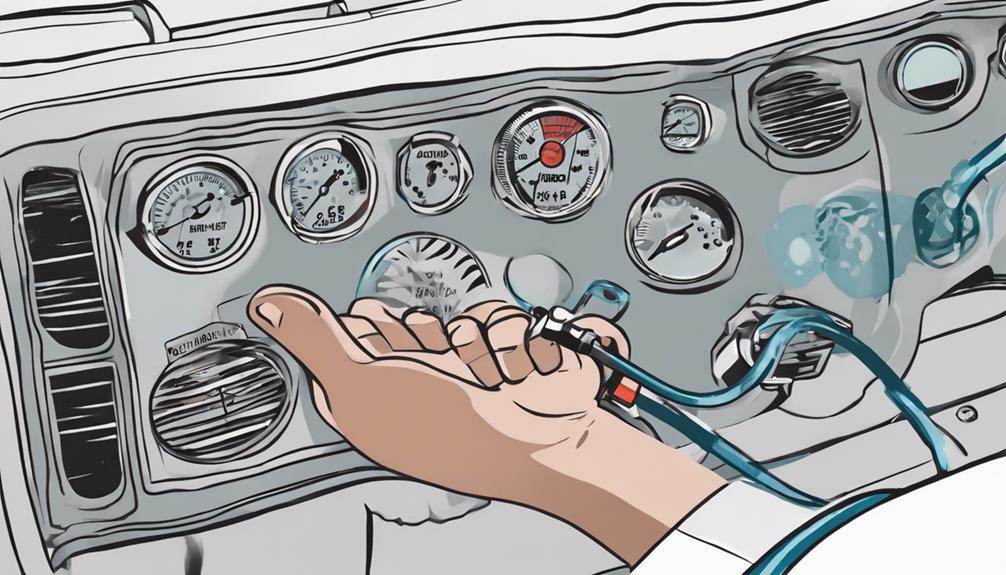
Locate Low Pressure Fill Port
To successfully locate the low-pressure fill port, start by identifying the larger diameter metal tubing of your AC system.
Look for a blue or black cap marked with an 'L' to signify the low-pressure port.
Connecting the recharge hose securely to this port is crucial for a successful AC recharge.
Port Location Tips
When locating the low-pressure fill port for recharging your car's AC system, keep an eye out for a thicker tubing attached near the firewall on the passenger side. Here are some tips to help you locate the port effectively:
- Follow the Tubes: Trace the tubes coming out of the firewall until you find the thicker one that leads to the low-pressure service port.
- Check for Labeling: Look for markings like 'L' for low pressure or 'H' for high pressure to identify the correct port.
- Use a Recharge Kit: Consider using a kit with color-coded or labeled fittings for an easier identification and connection process.
Necessary Equipment List
Before recharging your car's AC system, ensure you have refrigerant cans, a refrigerant dispenser, and safety goggles ready, along with locating the low-pressure fill port on your vehicle. Safety precautions are vital when dealing with refrigerants, so wearing safety goggles is a must to protect your eyes from leaks or splashes.
Using a refrigerant dispenser aids in the proper technique needed to control the refrigerant flow accurately. Proper technique also involves identifying the low-pressure fill port correctly, ensuring the recharge hose connects to the appropriate part of the AC system.
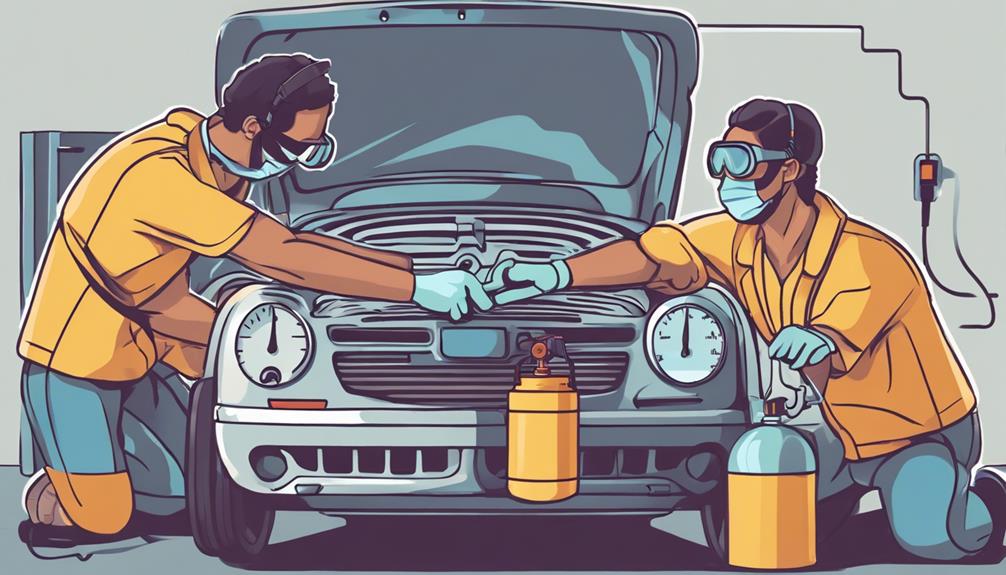
Safety Precautions Reminder
Ensure you have your safety goggles and gloves on as you locate the low-pressure service port for connecting the recharge hose and adding refrigerant to your car's AC system.
Importance of Proper Handling:
- Protect Yourself: Safety goggles and gloves shield against refrigerant exposure and eye injuries.
- Connect Correctly: The low-pressure service port is where the recharge hose connects to add refrigerant accurately.
- Prevent Damage: Properly locating the low-pressure fill port prevents overcharging, avoiding potential AC system damage.
Connect Dispenser to Fill Port
To properly connect the AC dispenser to the fill port on your vehicle, securely attach the correct adapter for a leak-free seal. Identifying the low-pressure service port is crucial before proceeding. Once located, use the designated adapter that fits securely onto the fill port. This step is essential to prevent leaks and ensure an effective recharge.
Before attaching the dispenser, inspect the connection points for any signs of damage or leaks. Once you confirm that everything is in good condition, proceed to connect the dispenser to the fill port. Make sure the seal between the dispenser and the fill port is tight to prevent any refrigerant from escaping. Following the manufacturer's instructions is key to ensure a proper connection.
Recharge the AC System
After securely connecting the dispenser to the fill port, the next step is to begin recharging the AC system using a refrigerant recharge kit with a trigger and low side gauge.
- Attach the Recharge Hose: Connect the recharge hose to the low-pressure service port on your car's AC system. This is where the refrigerant will be added.
- Monitor Pressure Levels: Keep an eye on the pressure gauge while adding refrigerant. Overcharging the system can lead to issues, so it's crucial to maintain the correct pressure levels.
- Slowly Add Refrigerant: Add refrigerant gradually, pausing to check pressure readings. This method allows you to achieve the optimal refrigerant level without overfilling the system.
Maintenance Tips: Regularly check your AC system for leaks and ensure it's properly charged to keep it running efficiently.
Common Mistakes: Avoid overcharging the system, as this can cause damage and reduce cooling efficiency. Seek expert advice if you encounter any difficulties during the recharge process.
Finalize and Test the System
Make sure to conduct a system pressure check to confirm the refrigerant levels.
Verify the temperature to ensure it falls within the optimal range.
Testing these factors will help guarantee that your AC system is functioning efficiently.
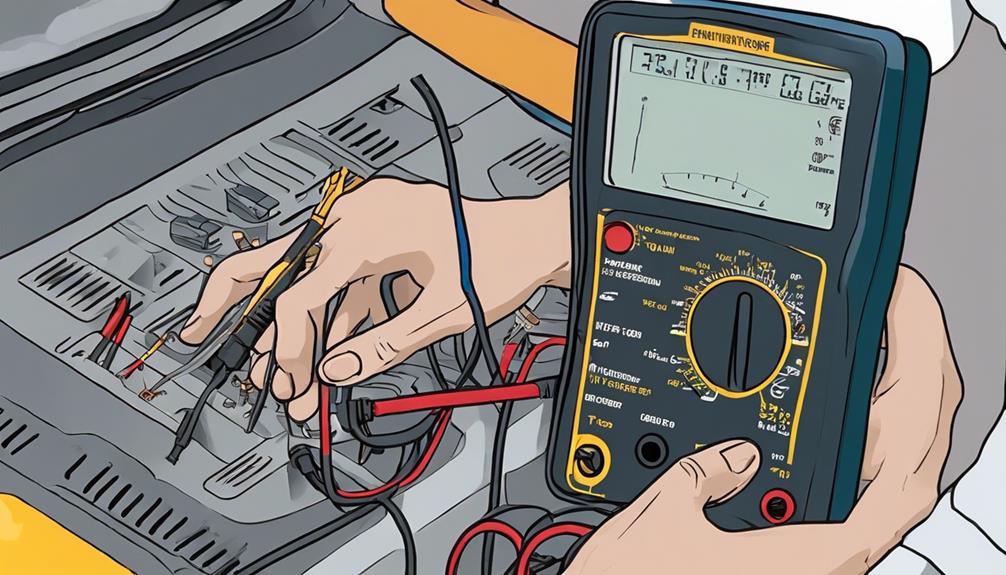
System Pressure Check
Check the system pressure using a pressure gauge to ensure it falls within the recommended range post-recharging the AC. Here are three essential points to consider:
- Pressure gauge accuracy: Utilize a reliable pressure gauge to get an accurate reading of the system pressure.
- System performance: Monitor pressure level indicators to assess the efficiency and performance of the AC system.
- Troubleshooting tips: Abnormal pressure readings may indicate underlying issues; troubleshoot any anomalies to maintain optimal AC functionality.
Temperature Verification
Verifying the air temperature from the AC vents using a probe thermometer is crucial to ensuring the effectiveness of the recharge process and confirming optimal system functionality. Temperature accuracy is key in evaluating system performance post-recharge.
By monitoring the airflow consistency and cooling efficiency, you can assess whether the AC system is operating as expected. A significant temperature drop after recharging indicates that the process was successful and that the system is functioning optimally.
As part of the final system test, pay attention to a noticeable decrease in cabin temperature, which further confirms the successful recharge. Proper temperature verification is essential for maintaining a comfortable and cool environment inside your vehicle, especially during hot weather.
Frequently Asked Questions
What Are the Steps to Recharge Car Ac?
To recharge your car's AC system efficiently, locate the low-pressure service port, connect the recharge hose, start the car, and add refrigerant slowly while monitoring the pressure levels. Stop when the system reaches the correct level.
What Is Step 7 in Adding Freon to Your Central Air Conditioner?
To ensure optimal performance of your central air conditioner, step 7 involves checking the refrigerant level. This action helps avoid overcharging or undercharging, maintaining cooling efficiency. Balancing the freon level is crucial for effective AC operation.
Can I Recharge My Car AC Myself?
Yes, you can recharge your car AC yourself with DIY maintenance. DIY AC recharge kits offer car cooling solutions. Ensure correct refrigerant quantity following safety guidelines. Monitor pressure levels carefully to prevent damage.
How Do You Refill R-134a in a Car?
To refill R-134a in your car, securely connect the refrigerant can to the low-pressure line port. Monitor the pressure gauge, add refrigerant gradually, and troubleshoot leaks if needed. Ensure proper mixing, avoid overcharging, and follow safety precautions for a successful refill.
Conclusion
In conclusion, recharging your car's AC system is a simple process that can greatly enhance your driving experience. By following these 7 easy steps, you can ensure optimal cooling performance, increased comfort, and the prevention of excessive wear on AC components.
Remember to take necessary safety precautions and avoid overcharging the system. Just like a well-oiled machine, your car's AC system will run smoothly and efficiently with a proper recharge.


![Top-rated Car AC Repair Shop in [City]](https://landroverbar.com/wp-content/uploads/2024/02/highly_rated_car_service-768x439.jpg)