What Are the Steps for Heater Core Replacement?
Have you ever wondered what it takes to replace a heater core in your vehicle? The process may seem challenging, but with the right tools and a bit of patience, it can be done.
The steps involved in replacing a heater core include draining the cooling system, removing the dashboard, accessing and replacing the heater core, installing the new heater core, and reassembling the dashboard. Each step plays a vital role in ensuring your vehicle's heating system works efficiently.
But what exactly does each step entail? Let's break it down.
Key Takeaways
- Drain and flush the cooling system before accessing the heater core.
- Disconnect the dashboard, locate the heater core, and replace it carefully.
- Ensure compatibility and proper installation of the new heater core.
- Reassemble the dashboard methodically and test the heater core's functionality post-installation.
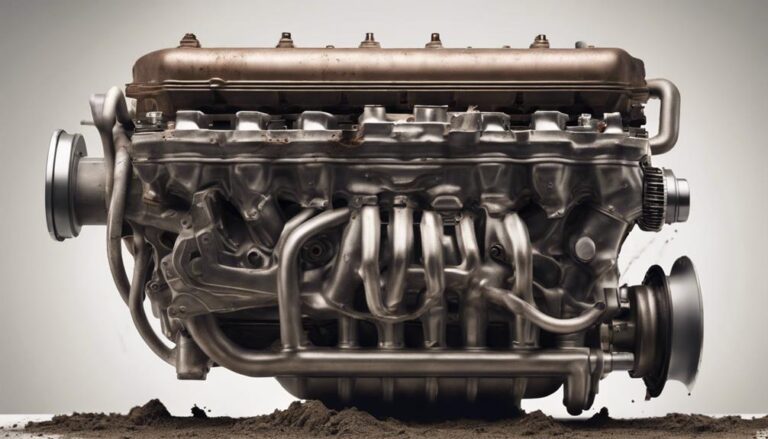
Drain the Cooling System
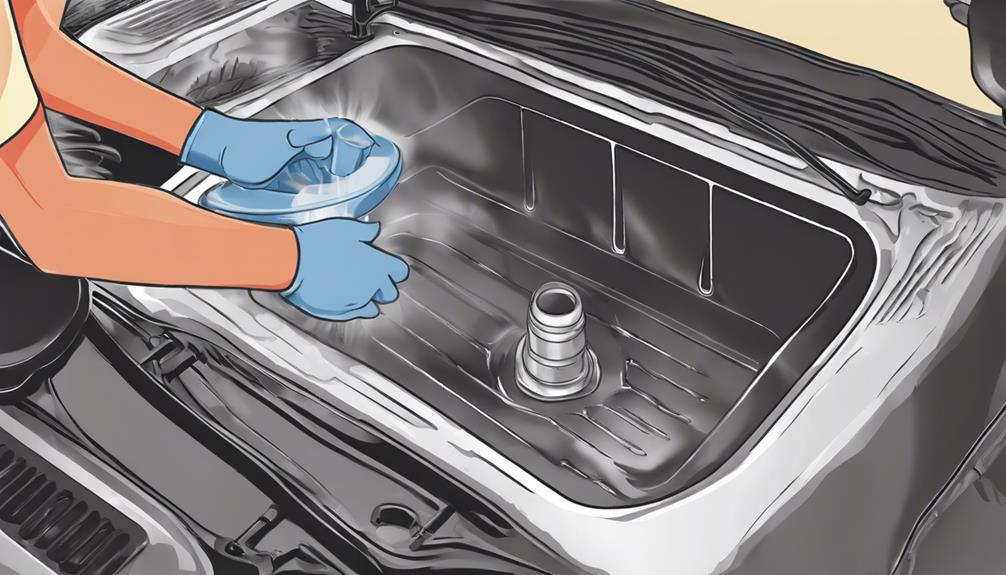
To begin the process of draining the cooling system, locate the drain plug near the bottom of the radiator. Place a container under the drain plug to catch the coolant for proper disposal later. Open the drain plug by turning it counterclockwise, allowing the coolant to flow out. Once all the coolant has drained, securely tighten the drain plug back into place.
Next, proceed with removing the heater core. Begin by accessing the heater core, which is usually located behind the dashboard inside the vehicle. Carefully detach any hoses or connections leading to the heater core. Take note of the positions of the hoses to make certain proper reconnection later on. Once the connections are detached, carefully remove the heater core from its housing.
With the cooling system drained and the heater core removed, you can now move forward with a radiator flush to clean out any remaining debris and old coolant. After the flush, refill the cooling system with fresh coolant, making certain all air pockets are properly bled out.
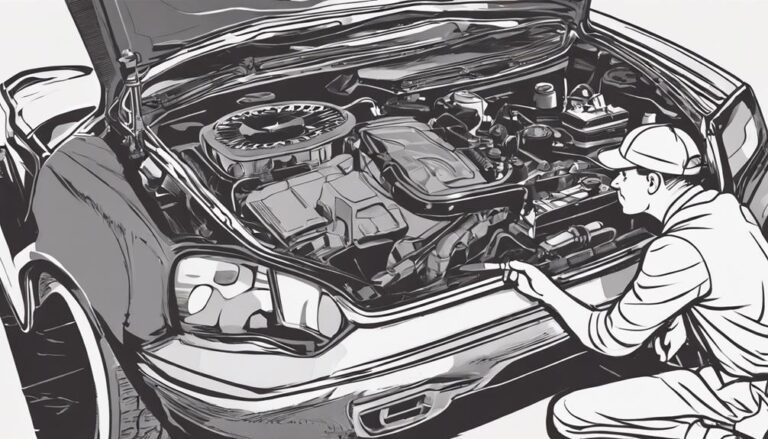
Remove the Dashboard
With precision and care, carefully begin the process of removing the dashboard to access the heater core located behind it. This step is important in the heater core replacement process and requires attention to detail.
The following steps will guide you through the dashboard removal:
- Disconnect the Battery: Prior to starting, disconnect the vehicle's battery to prevent any electrical mishaps during the removal process.
- Gather Necessary Tools: Make sure you have the required tools such as screwdrivers, trim removal tools, and socket wrenches to effectively remove the dashboard.
- Allocate Time for Completion: Removing the dashboard can be time-consuming, so allocate a few hours for this task to make sure you can work carefully and methodically.
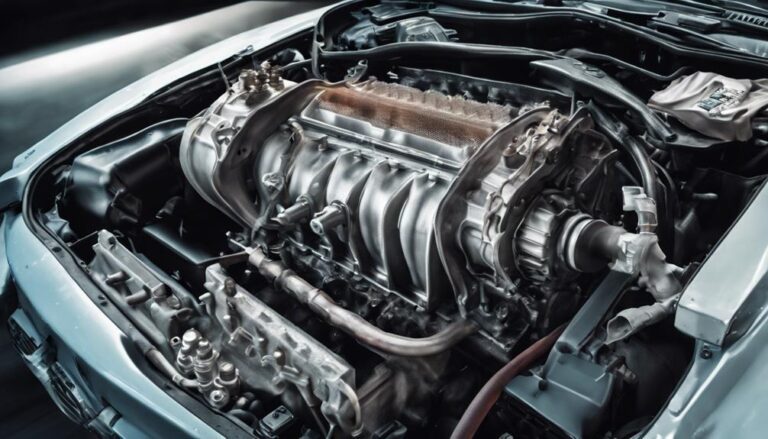
Access and Replace the Heater Core
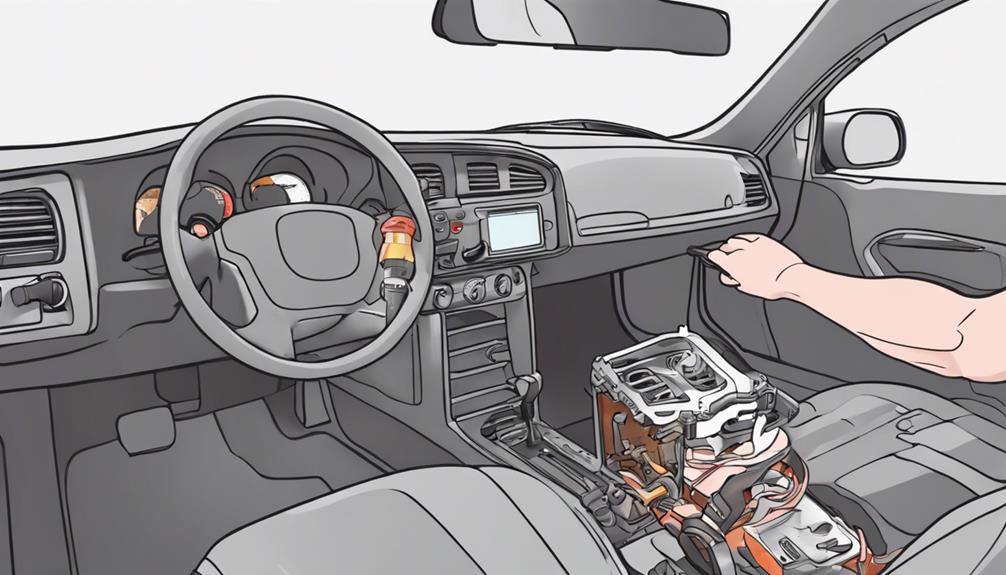
After successfully removing the dashboard, the next step in replacing the heater core involves accessing and replacing the component located behind where the dashboard was situated. To access and replace the heater core, follow these steps:
- Locate the Heater Core: Identify the heater core's position behind the dashboard.
- Disconnect Hoses: Remove the hoses connected to the heater core carefully.
- Remove Mounting Screws: Unscrew the mounting screws holding the heater core in place.
- Extract the Old Heater Core: Gently pull out the old heater core from its housing.
- Install the New Heater Core: Prepare to install the new heater core in the same location.
| Steps | Actions |
|---|---|
| Locate the Heater Core | Identify the core's position. |
| Disconnect Hoses | Carefully remove hose connections. |
| Remove Mounting Screws | Unscrew screws holding the core. |
| Extract the Old Heater Core | Gently pull out the old core. |
| Install the New Heater Core | Prepare for new core installation. |
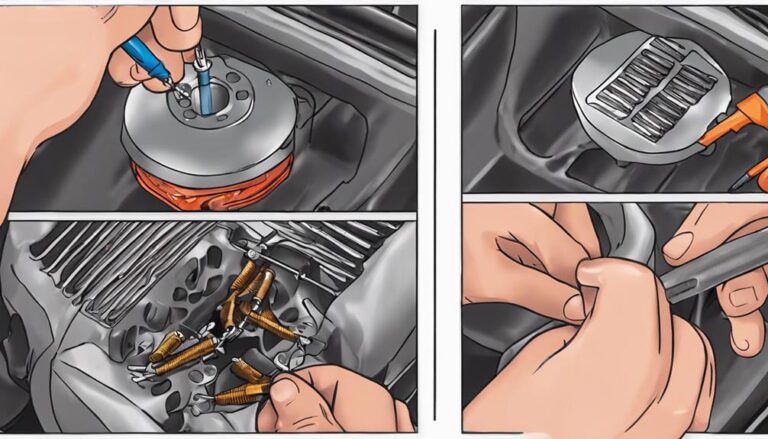
Install the New Heater Core
When positioning the new heater core, make sure it aligns correctly to facilitate a secure fit within the housing. Here are three essential steps to follow when installing the new heater core:
- Check Compatibility: Before installation, make sure that the new heater core is compatible with your vehicle model. Verify that it matches the specifications and size required for efficient operation.
- Secure Connection: Connect the inlet and outlet hoses to the corresponding ports on the heater core. Tighten the hose clamps securely to prevent any leaks that could affect the system's efficiency.
- Proper Seating: Gently place the heater core into the housing, making sure it sits flush and level. Avoid any kinks or bends in the hoses that could restrict the flow of coolant and impact the heater core's performance.
Reassemble the Dashboard

To proceed with reassembling the dashboard, begin by carefully aligning the main dashboard panel with the mounting points to guarantee a proper fit and secure attachment. Make sure all electrical connectors and wiring harnesses are correctly connected before pushing the dashboard back into place. Once aligned, gently push the dashboard towards the mounting points, making sure it fits snugly and evenly.
Dashboard reassembly tips include double-checking that all screws, bolts, and clips are securely fastened to prevent any rattling or loose parts while driving. Take your time during this step to avoid damaging any components or scratching the interior trim. Additionally, refer to any pictures or notes taken during disassembly to help guide you through the reassembly process accurately.
Common mistakes to avoid include forcing the dashboard into place, which can lead to misalignment or damage. Be patient and methodical when reassembling to ensure everything fits correctly. Finally, avoid over-tightening screws or bolts, as this can strip the threads or damage the mounting points.
Frequently Asked Questions
How Often Should the Heater Core Be Replaced?
You should replace the heater core if you notice issues like insufficient heat or a sweet smell. Maintenance is essential to extend its lifespan. Professionals recommend replacing every 8-10 years, but DIY tips can help.
Can a Clogged Heater Core Be Cleaned Instead of Replaced?
If your heater core is clogged, you can attempt DIY cleaning before considering replacement. Heater core maintenance involves flushing out debris and blockages. Common issues like poor heating can often be resolved through troubleshooting and proper cleaning techniques.
Are There Any Warning Signs That Indicate the Heater Core Needs to Be Replaced?
Feeling chilly? Watch out for heater core leaks and that funky heater core odor. When your ride starts fogging up or you spot coolant on the floor, it's likely time for a replacement.
Is It Necessary to Flush the Cooling System After Replacing the Heater Core?
After replacing the heater core, it is necessary to flush the cooling system to guarantee proper maintenance. This step removes any debris or contaminants that may have entered the system during troubleshooting, helping to maintain peak performance.
How Long Does It Typically Take to Replace a Heater Core?
Replacing a heater core can typically take around 4-6 hours for DIYers, while a professional service may complete it in 2-3 hours. Labor costs vary. Doing it yourself saves money but requires patience and skill.
Conclusion
To sum up, once you have successfully installed the new heater core and reassembled the dashboard, your vehicle should be ready to go.
Just make sure to top off the cooling system with fresh coolant and check for any leaks.
Now you can hit the road with your car heating up like a cozy fireplace on a chilly winter day.
Happy driving!