How to Change a Transmission Filter
To change a transmission filter, locate and remove the old filter, replace it with a new one, and secure it in place. Changing a transmission filter is a crucial maintenance task to ensure optimal performance and longevity of your vehicle.
By following the proper steps, you can easily complete this task at home. In the following guide, we will walk you through the step-by-step process of changing a transmission filter, providing you with the knowledge and confidence to tackle this important maintenance procedure on your own.
Let’s dive into the details of how to change a transmission filter and keep your vehicle running smoothly.
Gather The Necessary Tools And Supplies
Before you begin changing the transmission filter, it’s crucial to gather the right tools and supplies. This will ensure a smooth and efficient process, preventing any unnecessary delays or frustrations along the way.
Identify The Correct Filter
Start by identifying the correct transmission filter for your specific vehicle make and model. Refer to your owner’s manual or consult a reliable automotive resource to ensure you have the appropriate filter for your vehicle.
Ensure You Have The Right Tools
Having the proper tools on hand is essential for a successful filter change. Here’s a list of the essential tools you’ll need:
- Ratchet and socket set: A comprehensive set with various socket sizes to fit the bolts and nuts securing the transmission pan.
- Flat-head screwdriver: For prying off the old gasket and removing the transmission pan.
- Oil drain pan: To catch and dispose of the old transmission fluid properly.
- Replacement gasket or RTV sealant: Depending on your vehicle’s specifications, you’ll need a new gasket or sealant for the transmission pan.
- New transmission filter: Ensure you have the correct filter that matches your vehicle’s requirements.
- Torque wrench: To properly tighten the transmission pan bolts to the recommended specifications.
- Safety gear: Gloves and safety goggles to protect yourself from transmission fluid and debris.
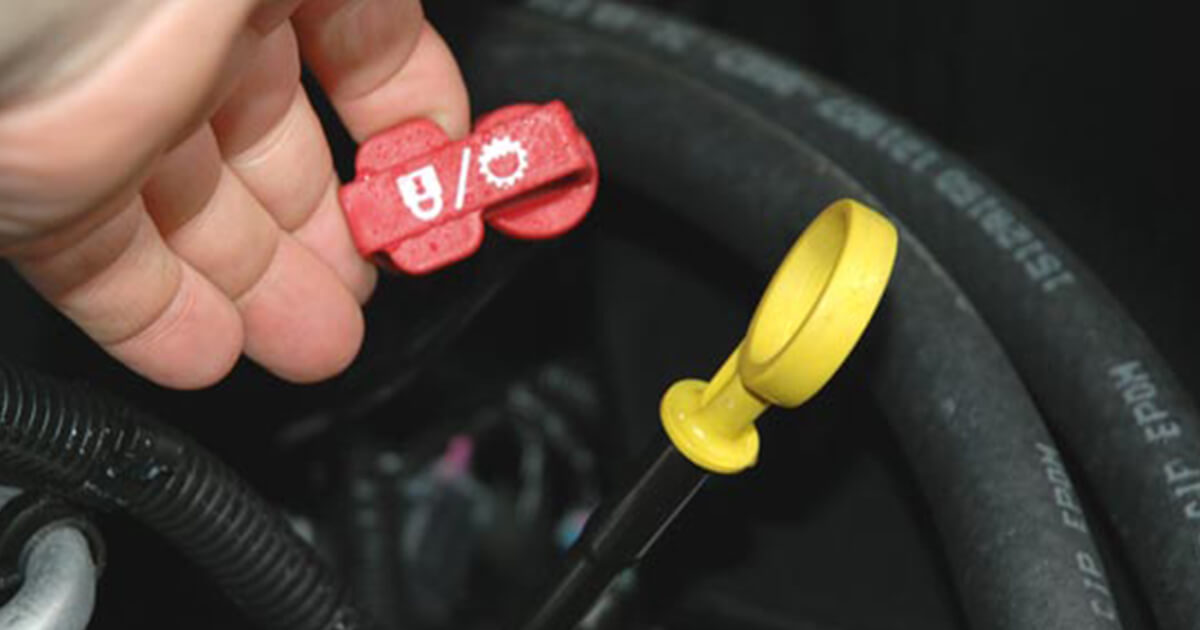
Credit: www.mobil.com
Prepare The Vehicle
To change a transmission filter, start by preparing the vehicle. This involves lifting the car with a jack and protecting yourself with safety gear before locating and removing the transmission pan.
Park The Car On A Level Surface
Find a flat surface to ensure safety and ease of access for changing the transmission filter.
Engage The Emergency Brake
Secure the vehicle by activating the emergency brake to prevent it from rolling during the process.
Locate The Transmission Pan
Identify the transmission pan, typically found underneath the vehicle, which houses the filter.
Drain The Transmission Fluid
Draining the transmission fluid is a crucial step in changing a transmission filter.
Place A Drain Bucket Below The Transmission Pan
Make sure to position a drain bucket directly below the transmission pan.
Remove The Pan And Drain The Fluid
- Remove the bolts securing the transmission pan.
- Carefully lower the pan to drain the old fluid into the bucket.
Clean The Pan And Magnet
- Wipe down the pan to remove any debris or residue.
- Clean the magnet attached to the pan to ensure it functions properly.

Credit: knowhow.napaonline.com
Replace The Transmission Filter
When it comes to maintaining your vehicle’s transmission, replacing the transmission filter is an essential task that should not be overlooked. The transmission filter helps to keep the transmission fluid clean and free from contaminants, ensuring smooth gear shifts and optimal performance. In this guide, we will walk you through the steps to replace the transmission filter, ensuring your vehicle’s transmission continues to operate efficiently.
Remove The Old Filter
Before installing a new transmission filter, it is crucial to remove the old filter. Begin by locating the transmission filter, which is typically housed within the transmission pan. Use a socket wrench to carefully loosen the bolts securing the transmission pan to the bottom of the transmission. Once the bolts are removed, gently lower the pan to access the old filter. Take care to avoid spilling any remaining transmission fluid during this process.
Inspect And Clean The Filter Housing
Upon removing the old filter, carefully inspect the filter housing for any signs of debris or build-up. Ensure that the housing is free from any contaminants that could hinder the performance of the new filter. Use a clean cloth or a mild cleaning solution to carefully wipe and clean the filter housing, ensuring a clean and smooth surface for the new filter to be installed.
Install The New Filter
Once the filter housing is clean and free from debris, it is time to install the new transmission filter. Carefully position the new filter in place, ensuring it is securely seated within the housing. Take care to align the filter correctly to prevent any leaks or improper functioning. Reattach the transmission pan to the bottom of the transmission, ensuring the bolts are tightened securely. Finally, refill the transmission with the appropriate amount of transmission fluid, as recommended by the manufacturer.
Reinstall The Transmission Pan And Fill With Fluid
After replacing the transmission filter, carefully reinstall the transmission pan and fill it with the recommended fluid. Ensure that the pan is secured and the fluid is at the correct level to maintain optimal transmission functionality. Regular maintenance of the transmission filter is essential for the smooth operation of your vehicle.
Place A New Gasket On The Pan
To begin the process of reinstalling the transmission pan, you should first place a new gasket on the pan. This gasket acts as a seal between the pan and the transmission, preventing any fluid from leaking out. Make sure to choose the correct gasket that matches the shape and size of your transmission pan. Placing the gasket correctly is crucial for ensuring a secure and leak-free fit.Reinstall The Pan And Tighten The Bolts
Once the new gasket is in place, it’s time to reinstall the transmission pan. Carefully line up the pan with the transmission housing, ensuring all bolt holes align properly. Slowly insert the bolts and hand-tighten them to secure the pan. Be cautious not to overtighten the bolts as this can damage the pan or the transmission housing. Tightening the bolts evenly and securely will help prevent leaks and ensure a proper seal.Refill The Transmission With Fluid
With the transmission pan securely in place, it’s time to refill the transmission with fluid. Refer to your vehicle’s manual or consult a professional to determine the correct type and amount of transmission fluid needed. Using a funnel, slowly add the fluid into the transmission dipstick tube. Take your time and double-check the fluid level as you go to ensure you do not overfill or underfill the transmission. It’s essential to maintain the proper fluid level for optimal transmission performance and longevity.
Credit: www.matthewsvolvosite.com
Frequently Asked Questions On How To Change A Transmission Filter
Can I Change My Own Transmission Filter?
Yes, you can change your own transmission filter. It is a simple process that requires basic tools and some mechanical knowledge.
What Are The Symptoms Of A Bad Transmission Filter?
Symptoms of a bad transmission filter include slipping gears, delayed shifting, overheating, and strange noises.
How Long Does It Take To Change A Transmission Filter?
It usually takes around 1-2 hours to change a transmission filter. This process involves draining the fluid, removing the old filter, installing the new one, and refilling the transmission fluid. The exact time can vary depending on the vehicle and the expertise of the mechanic.
Where Is The Transmission Filter Located?
The transmission filter is typically located inside the transmission pan.
What Is A Transmission Filter And Why Is It Important?
A transmission filter is a critical component that prevents contaminants from entering the transmission system, ensuring smooth operation and prolonging its lifespan.
How Often Should I Change My Transmission Filter?
It is recommended to change your transmission filter every 30,000 to 60,000 miles or as specified in your vehicle’s maintenance manual.
What Are The Signs That My Transmission Filter Needs To Be Changed?
If you notice slipping gears, delayed engagement, or a burning smell in your vehicle, it may be a sign that your transmission filter needs to be changed.
Conclusion
Changing a transmission filter is a crucial maintenance task for ensuring the longevity and performance of your vehicle. By following the simple steps outlined in this guide, you can protect your transmission from damage and avoid costly repairs in the future.
Regular maintenance is key to a smooth-running vehicle.