How To Build a Shallow Mount Subwoofer Box – Best 12 Steps
Shallow mount subwoofers give us more advantages which the large-size counterparts are unable to. They are more compact in size and definitely easier to handle. It is for this reason that you want to make every effort to know how to install one. Our discussions hereunder endeavor to explore the step-by-step procedure of so doing. Just read on to find out how to go about the business. You will receive the insight and inspiration you require to do a good job.
How To Build a Shallow Mount Subwoofers Box
Tools and Materials Required
• Jigsaw • Table saw or circular saw • Electric drill • ¾-inch medium density fiberboard • 2-inch drywall screws • Pan-head sheet metal screws (1/2″ and 3/4″) • Carpenter’s glue • Silicon caulk • Non-hardening rope caulk • Speaker terminal cup
Measure And Cut The Medium-Density Fiberboard

Start off by measuring the medium-density fiberboard. Do so for the sides, top, and back of the box. Use the table saw which has a carbide-tipped blade to do this job. In case you lack the cutting equipment or expertise to do the job, you may as well go for the ready-made ones. Simply go to any large home improvement store to acquire one. You may as well utilize the circular saw; only be careful that you cut out square shapes.
Mark The Woofer Cutout

After you have already measured out and cut the medium-density fiberboards, you now have to mark the woofer cutout. During this stage, you will be basically preparing these boards for the subsequent job of generating the cuts and joining. To do so, make use of a compass or the template which may often accompany your subwoofer. Use them to inflict cuts on one of the identical front pieces. Exercise some caution as you do this.
Fasten The Double-Thickness of Medium-Density Fiberboards

In case you opt for the double-thickness medium-density fiberboards, you have to join and fasten the two of them. Use the carpenter’s glue to join the two pieces together. Reinforce this bond by driving in a number of sheet metal screws.
If you, however, have opted for the single-thickness medium-density fiberboards, you have to use the bracing to add some strength to the joints. The 2-by-2-inch strips of lumber are by far the best tools for the job. Follow this by applying some glue and screwing the seams after which you are to attach the top and the bottom.
Bore A Hole Near the Inside Edge of the Traced Circle
Using a drill press, bore a hole near the inside edge of the traced circle. Make it large enough to be able to accommodate the jigsaw blade. Just in case you lack the drill press, use the handheld drill as well as a large bit. At this stage, the opening of the woofer shall be complete.
Bore a Rectangular Hole in the Back Panel of the Woofer Box
Use the same procedures above to bore a rectangular hole in the back panel of the woofer box. Run a bead of silicone caulk around and about the terminal cup’s edge. Follow this by screwing it into place by use of the ½-inch sheet metal screws. The role of this rectangular hole is to accommodate the terminal cup. You shall install the cup in the next procedure.
Fasten Every Piece Together
Now that you have completed both the back and the front pieces, it is now time to fasten together every piece. While at it, be sure to overlap the largest sides of the box on the smaller ones. This is to provide greater strength. These medium-density fiberboards are generally susceptible to the issue of splitting. To counter this vulnerability, you have to pre-drill some holes in each of the pieces you intend to fasten. It is into these holes that you are fastening the screws.
Wipe Off Excess Glue
In the course of fastening the pieces together, it is not uncommon for some glue to spill off. These may stain your hands and also stick some pieces of materials together. You do not want any of these to happen to you. To achieve this, you are advised to wipe them off. Use some clean piece of cloth to do so. Finish off this step by clamping the pieces to straighten them.
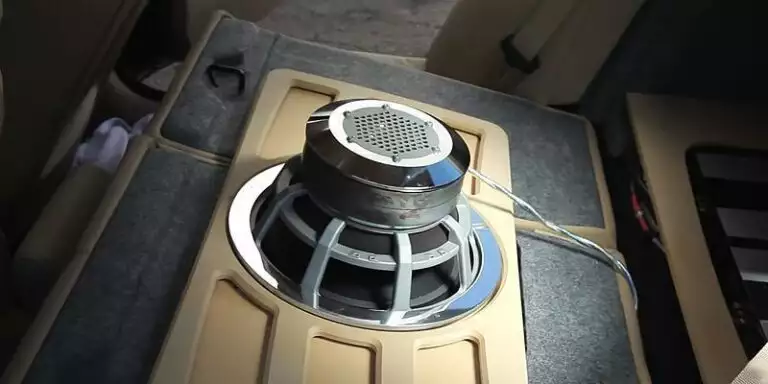
Drop The Subwoofer in the Box
You are now ready to drop the subwoofer in the box. Do so gently and take care not to damage its structure. Follow this by fitting the box appropriately in the space wherein you have installed it. In case it may have gotten out of the square, enlarge the opening a little bit. A rasp or sandpaper will do this pretty well. Yet again, you have to exercise some bit of caution as you do this. You do not want to inflict any further damage on your box.
Mark The Locations of the Screw Holes
With the subwoofer now intact in its place, you have to mark the locations of the screw holes. Use a pencil to do so. Thereafter, remove the subwoofer and then predrill the holes. This will make it possible for you to mount the screws.
Test The Installation
You are almost getting there. However, before you can say that you are now completely set, you have to test the installation. Do so first and foremost waiting for the glue to dry completely. After this, run a bead of silicone caulk over the internal seals of the box. Leave the caulk unattended for around 12-24 hours. Slot the subwoofer back in after the expiration of this duration of time.
Hook Up the Speaker Wires
After you have ascertained that the caulk has completely cured, you have to now hook the speaker wires which join the subwoofer and the terminal cup. Use non-hardening rope caulk to seal it down. You will find this material in the weather strip section of your hardware store.
Conclusion
Having done all, we might help you build your shallow mount subwoofers box, we leave it to you to now go ahead and do so. As you may see from our explanations above, this procedure is not so complicated. You only need to exercise some attentiveness to details. Best of luck with your next installation exercise!