What Are the Steps for Auto Electrical Diagnosis?
When it comes to tackling auto electrical diagnosis, think of it like navigating a complex maze; intricate yet methodical. Imagine the satisfaction of unraveling the mystery behind your vehicle's electrical gremlins. But where do you start on this electrifying journey?
Well, the first step is crucial, setting the tone for the entire process. By understanding the fundamental principles and following a structured approach, you can become the Sherlock Holmes of auto electrical mysteries.
So, let's dive into the intricate web of wires and components that power your vehicle's electrical system.
Key Takeaways
- Conduct thorough visual inspections to identify electrical system issues.
- Test battery and charging system components for proper function.
- Check fuses and relays for signs of damage or failure.
- Utilize diagnostic tools like multimeters for accurate troubleshooting.
Understanding Electrical System Basics
Understanding the basics of automotive electrical systems involves grasping the importance of ground connections in completing circuits and ensuring smooth electrical flow. In these systems, voltage drop is a crucial factor. When current flows through a circuit, there will be a drop in voltage due to the resistance encountered. This drop can lead to issues like dim lights or slow motor operation. To address this, resistance testing is essential. By measuring resistance in different parts of the circuit, you can pinpoint areas with high resistance causing excessive voltage drops. This methodical approach helps in diagnosing and resolving electrical problems efficiently.
When troubleshooting automotive electrical systems, paying attention to these voltage drops through resistance testing can liberate you from unnecessary guesswork. By understanding the flow of electricity and the impact of resistance, you gain a clearer picture of how the system operates. This knowledge empowers you to identify and rectify issues swiftly, ensuring your vehicle's electrical components function optimally.
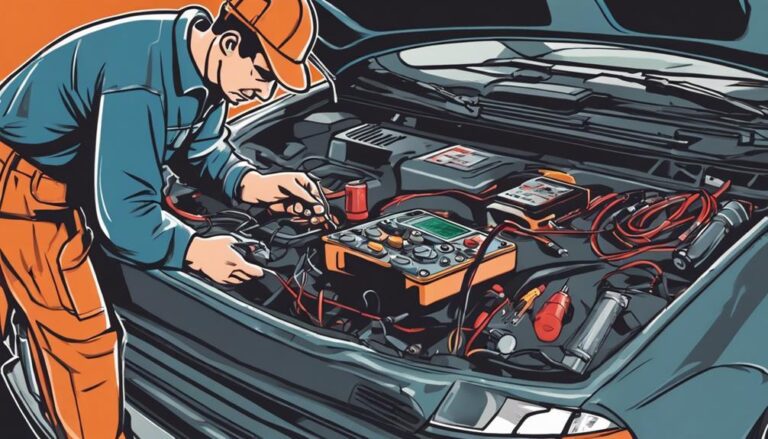
Performing Initial Visual Inspection
Start your initial visual inspection by carefully examining the vehicle's electrical components, wires, and connections for any visible signs of damage or corrosion. When identifying common issues during this step, pay close attention to the following visual inspection techniques:
- Look for melted insulation, burnt wires, loose connections, or any abnormalities that may signal electrical problems.
- Check battery terminals for corrosion and ensure they're securely connected.
- Examine the battery's overall condition to assess its health.
- Inspect fuses for signs of being blown or charred marks that indicate fuse failure.
- Verify the condition of wiring harnesses, connectors, and grounds to pinpoint potential areas of concern.
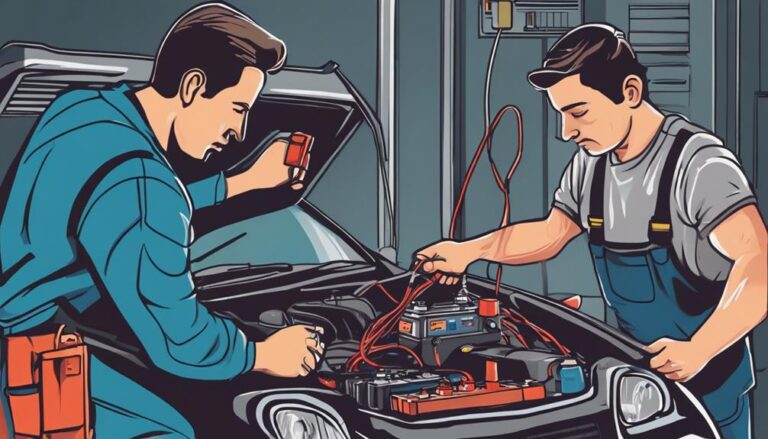
Testing Battery and Charging System
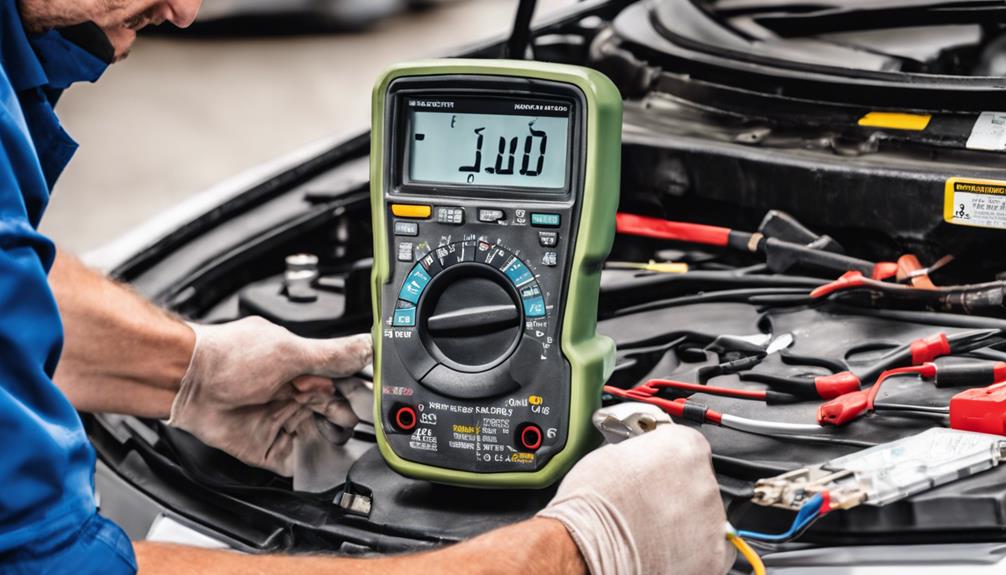
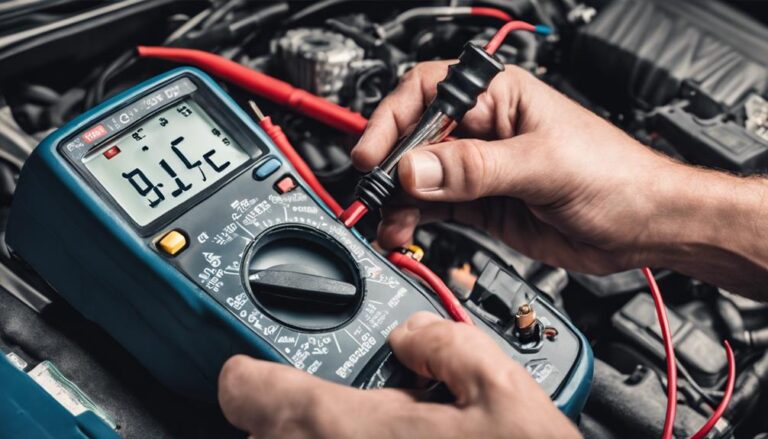
To properly assess the condition of the battery and charging system, begin by measuring the battery voltage with a voltmeter to ensure it falls within the 12.5-12.8 volts range for optimal performance.
Testing the alternator's charging function is crucial; check the battery voltage while the engine is running, aiming for around 13.5-14.8 volts. Use a multimeter for diagnosing charging issues like overcharging or undercharging, which can impact the battery's health.
Inspect the alternator belt for wear or damage as a loose or slipping belt can affect the charging system's efficiency. Additionally, check for loose or corroded battery terminals that can hinder the electrical connection, leading to charging problems.
For battery maintenance tips, ensure the terminals are clean and secure. Troubleshooting techniques involve looking for signs of corrosion or damage and testing the alternator's output. By following these steps, you can effectively evaluate the battery and charging system to maintain optimal performance.
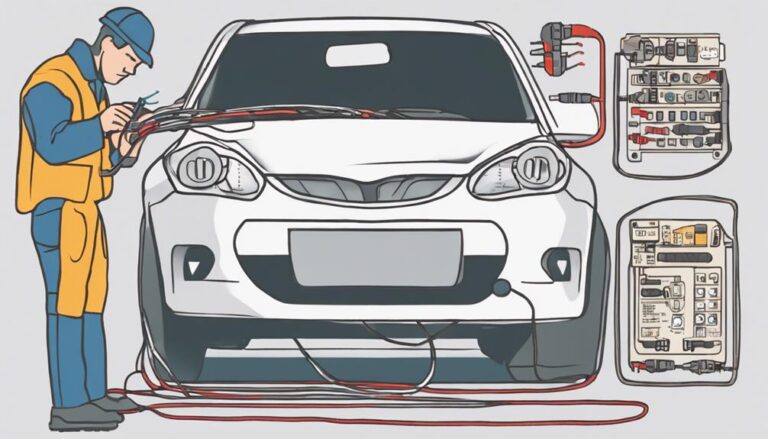
Checking Fuses and Relays
Inspecting the fuses and relays in your vehicle is a crucial step in maintaining the integrity of the electrical system and ensuring optimal functionality. Here are some essential points to consider during this process:
- Fuse troubleshooting techniques: Visual inspection for breaks or discoloration is key to identifying blown fuses.
- Common fuse failures: Look out for signs of damage such as a melted metal strip inside the fuse.
- Relay maintenance tips: Test relays using a multimeter to ensure they're functioning correctly and to diagnose any issues with electrical components.
- Relay replacement guidelines: If a relay is faulty, ensure you replace it with a compatible part to avoid further electrical problems.
Properly functioning fuses and relays are crucial for safeguarding your vehicle's electrical system integrity and preventing damage to various components. By following these steps, you can proactively address any issues with your fuses and relays, ensuring a smooth-running electrical system.
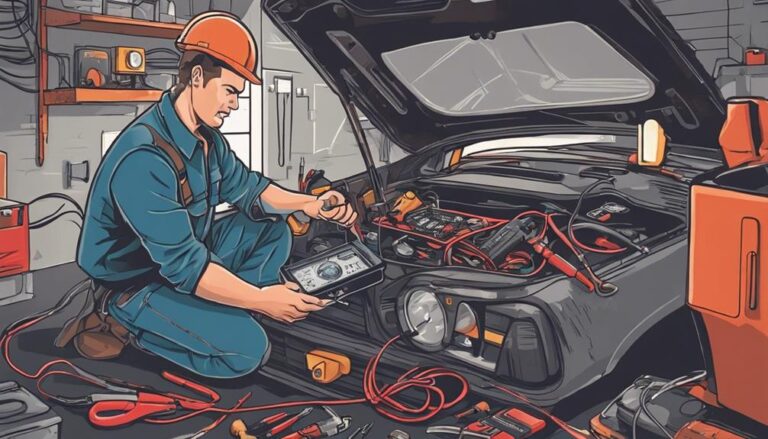
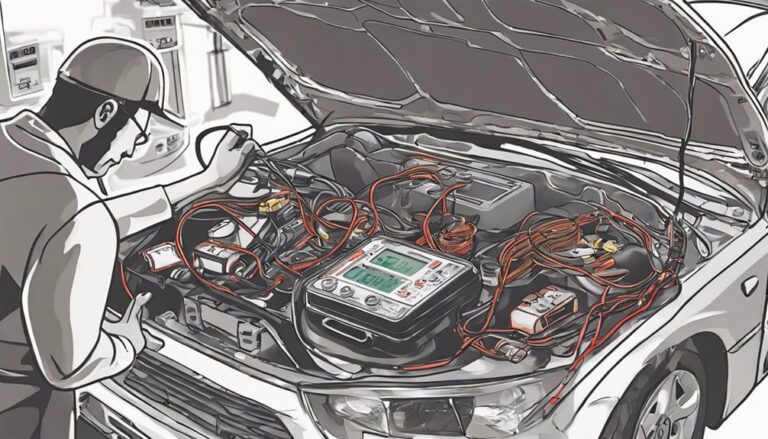
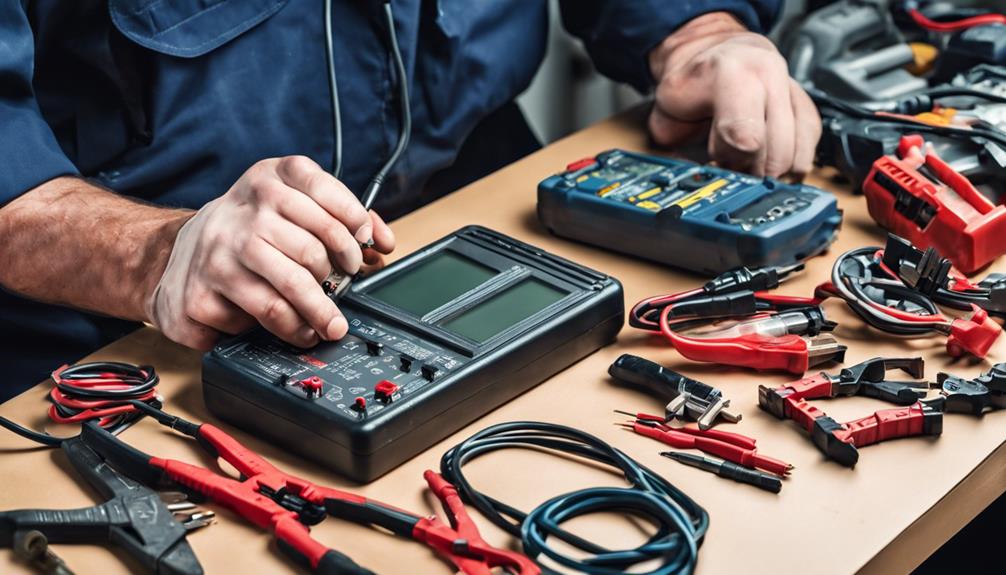
Using Diagnostic Tools for Troubleshooting
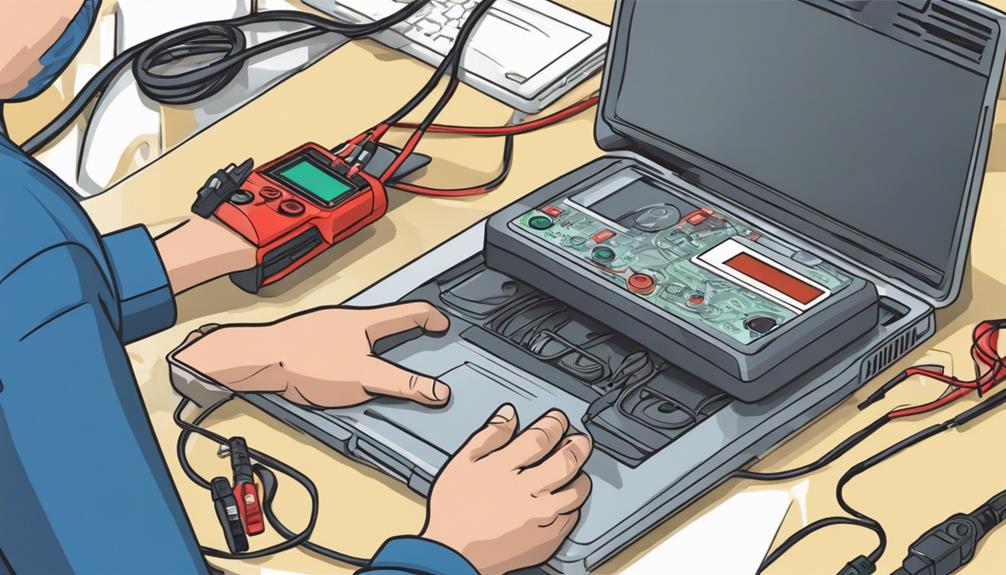
Utilize diagnostic tools like digital multimeters and wire probe kits to pinpoint electrical issues in automotive circuits effectively. When using multimeter techniques, set the device to the appropriate measurement (voltage, current, or resistance) and connect the leads across the component being tested.
Voltage drop testing is crucial for identifying high-resistance connections or components causing electrical problems. By measuring the voltage before and after the suspected area, you can pinpoint where the voltage drop is occurring.
Wire probe kits complement digital multimeters by allowing you to test specific points in the electrical system accurately. Understanding circuit diagrams is essential for interpreting the layout of automotive wiring, aiding in a systematic diagnosis process.
Jumper wires with inline fuses provide a safe way to bypass circuits for testing components. Test lights and voltmeters play a vital role in quickly identifying electrical issues and troubleshooting automotive systems with precision.
Frequently Asked Questions
What Is the First Step in Any Automotive Electrical Diagnosis?
To start any automotive electrical diagnosis, you need to focus on identifying symptoms accurately. Understanding issues like dead batteries, dim lights, or faulty components is key. By pinpointing symptoms, you can effectively begin voltage testing, continuity testing, wiring inspection, and component testing.
How Do You Run an Electrical Diagnostic on a Car?
To run an electrical diagnostic on a car, start by voltage testing various components to check for power. Then, inspect wiring for any damage. Next, isolate components to pinpoint the issue. Finally, trace circuits using a wiring diagram to identify faulty parts.
How Do You Diagnose an Electric Car?
When diagnosing an electric car, start by inspecting the battery and checking the wiring. Test the voltage and analyze components meticulously. Special tools are key for accurate troubleshooting. Understanding electric systems is vital for effective repairs.
How Long Does It Take to Diagnose Electrical Problems in a Car?
When diagnosing electrical problems in a car, the time it takes varies based on complexity. Basic diagnostics may run 30 minutes to an hour. Advanced tools like digital multimeters expedite the process, saving time and money.
Conclusion
Now that you have carefully examined the electrical system of your vehicle, you're equipped to tackle any issues that may arise.
Just as a skilled detective follows clues to solve a mystery, you have followed the trail of circuits and components to uncover the source of electrical problems.
By utilizing your tools and knowledge, you can confidently navigate the intricate network of wires and connections in your vehicle, ensuring a smooth and reliable ride.