What Are the Steps to Fix Auto Electrical Issues?
Imagine the frustration of getting into your car on a chilly morning, turning the key, and hearing nothing but silence.
The solution to auto electrical issues might be simpler than you think. By following a few straightforward steps, you can troubleshoot and potentially fix common problems affecting your vehicle's electrical system.
From checking the battery to inspecting the wiring, understanding these steps can save you time and money on unnecessary repairs.
Key Takeaways
- Use multimeter to test voltage and circuits, inspect for corrosion, and replace weak batteries promptly.
- Test alternator output, check drive belt, and address dimming lights or power warning signs.
- Check wiring for damage, test continuity and voltage, inspect connectors, and refer to wiring diagrams for accurate troubleshooting.
- Regularly maintain battery, alternator, and wiring to prevent issues like dim headlights, starting problems, and burning smells.
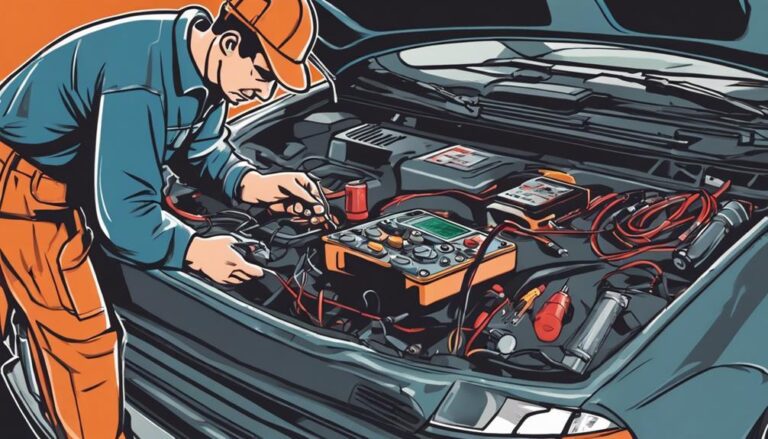
Common Signs of Auto Electrical Problems
Do your headlights appear dim, accompanied by a clicking sound when you try to start your vehicle? These symptoms are common indicators of auto electrical problems. Dim headlights suggest a lack of power reaching the bulbs, often caused by a weak battery or faulty alternator.
The clicking sound during starting could stem from a discharged battery unable to provide sufficient power to the starter motor. Additionally, an electrical system warning light on the dashboard may illuminate, signaling potential issues within the car's electrical system.
If you experience the engine cranking but failing to start, it could also be a result of underlying auto electrical problems. Moreover, a burning smell emanating from the engine hints at a severe electrical issue requiring immediate attention.
To prevent such issues, regular maintenance checks on the battery, alternator, and wiring are crucial. Promptly addressing these symptoms can help diagnose and resolve auto electrical problems efficiently, averting further damage.
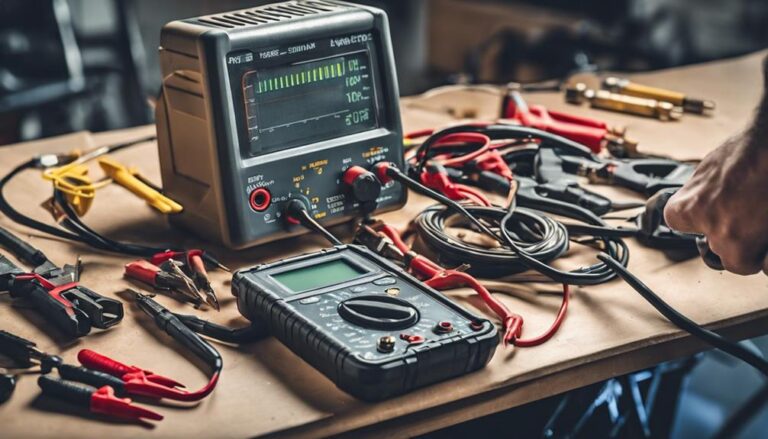
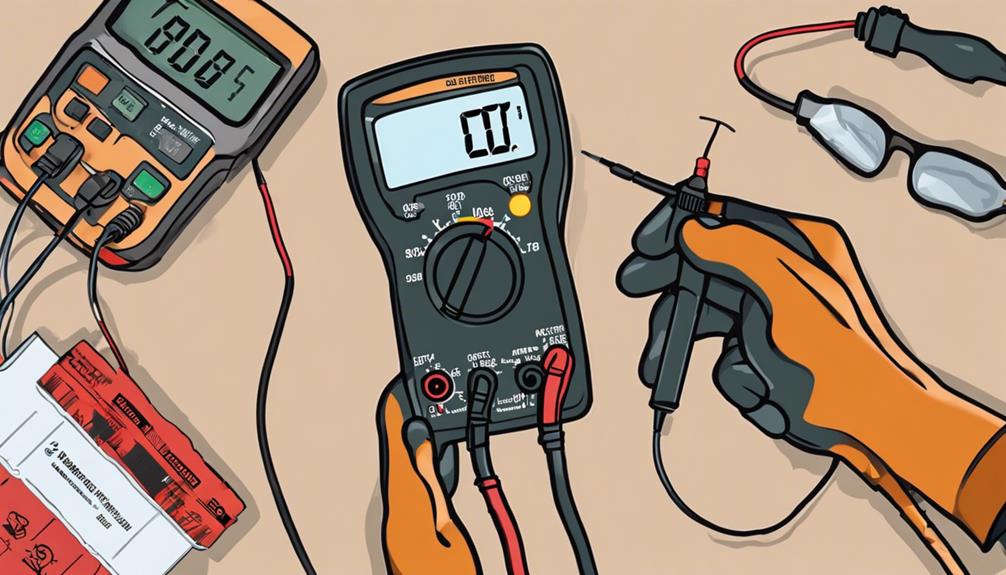
Tools Needed for Electrical Troubleshooting
To effectively troubleshoot auto electrical issues, it's essential to have specific tools at your disposal for precise measurements and diagnostics. A multimeter is a must-have tool for voltage testing and circuit analysis, allowing you to measure voltage, current, and resistance in the electrical system accurately.
Additionally, a wire stripper is crucial for removing insulation from wires to make proper connections, while a fuse tester helps determine if a fuse is blown and needs replacement. Electrical tape plays a vital role in insulating and securing electrical connections, preventing shorts and ensuring safety.
Lastly, needle-nose pliers are handy for gripping and bending wires during electrical work, making it easier to manipulate components. With these tools in your arsenal, you'll be well-equipped to tackle various auto electrical issues efficiently and effectively.
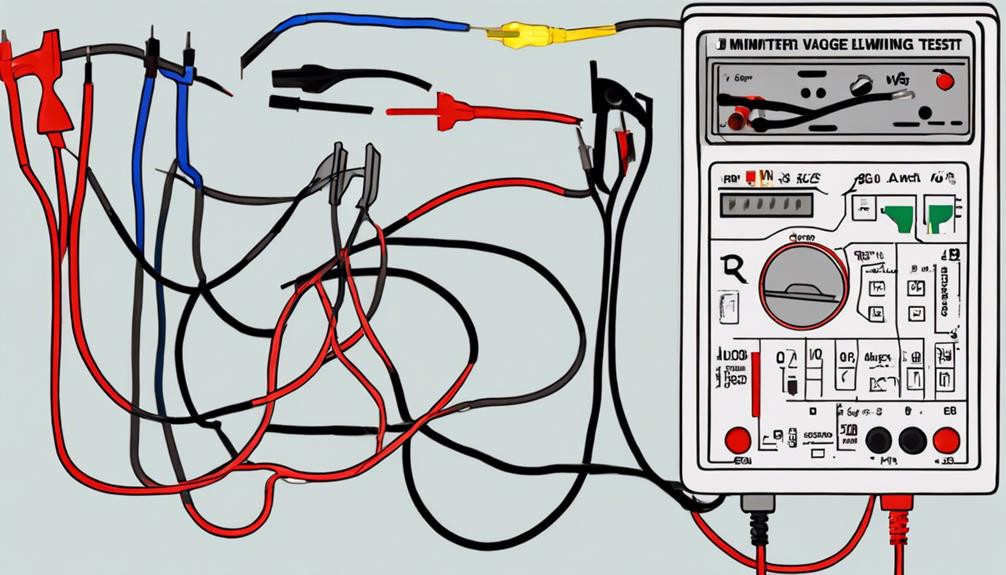
Step-by-Step Guide to Testing Car Battery
Check the battery voltage with a multimeter to ensure it exceeds 12 volts for proper functionality. Start by turning off the vehicle and all accessories. Locate the battery terminals and connect the multimeter's red lead to the positive terminal and the black lead to the negative terminal. A voltage reading below 12 volts indicates a weak battery that may need attention.
As part of battery maintenance, inspect the terminals for corrosion, which can hinder the battery's performance. Additionally, consider using a load tester to evaluate the battery's ability to hold a charge under load conditions, providing a more comprehensive assessment.
For maintenance-free batteries, check the fluid level to ensure optimal operation. If the battery fails testing or shows signs of deterioration, replacing it with a new one may be necessary to address any electrical issues effectively. Regular battery testing and maintenance can help prevent unexpected breakdowns and ensure reliable performance.
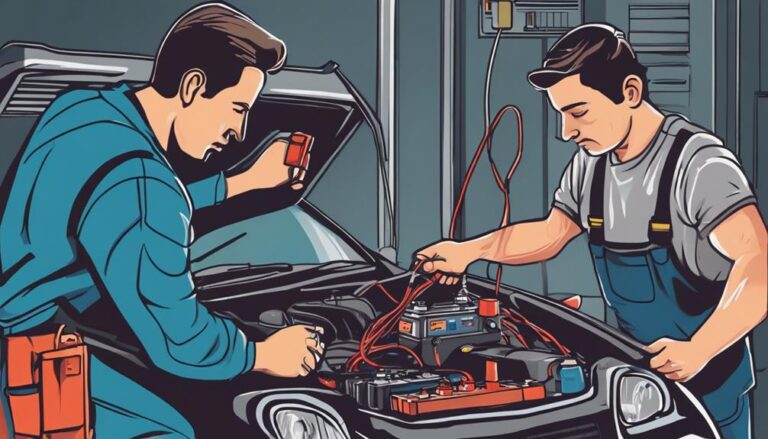
How to Diagnose Faulty Alternator
Ensure your vehicle's alternator is functioning optimally by testing its output voltage with a multimeter while the engine is running within the range of 13.5-14.5 volts. To diagnose a faulty alternator effectively, follow these steps:
- Voltage Testing: Connect a multimeter to the battery terminals. With the engine running, check the voltage; if it falls below 13.5 volts or exceeds 14.5 volts, your alternator may be faulty.
- Visual Inspection: Look for dimming headlights, power warning lights on the dashboard, or electrical components losing power, which are all signs of potential alternator issues.
- Belt Examination: Inspect the drive belt connected to the alternator for wear, cracks, or looseness, as these can impact the alternator's performance.
- Auditory Cues: Listen for abnormal sounds like grinding or whining coming from the alternator area, as these noises could indicate internal problems.
If you suspect a faulty alternator based on these diagnostics, consider alternator repair or replacement to avoid further electrical complications in your vehicle.
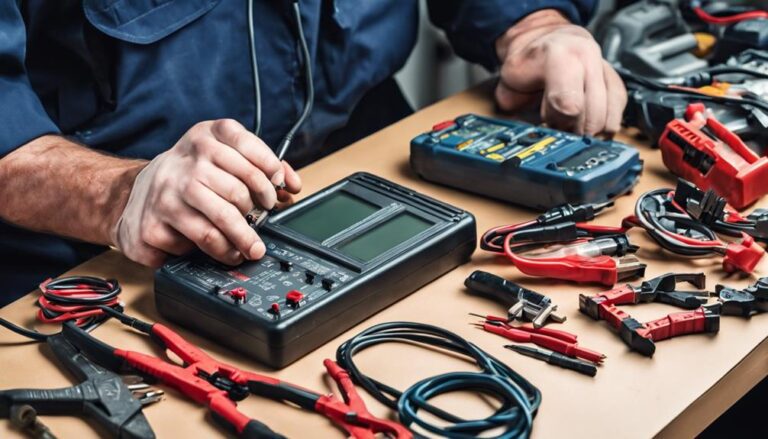
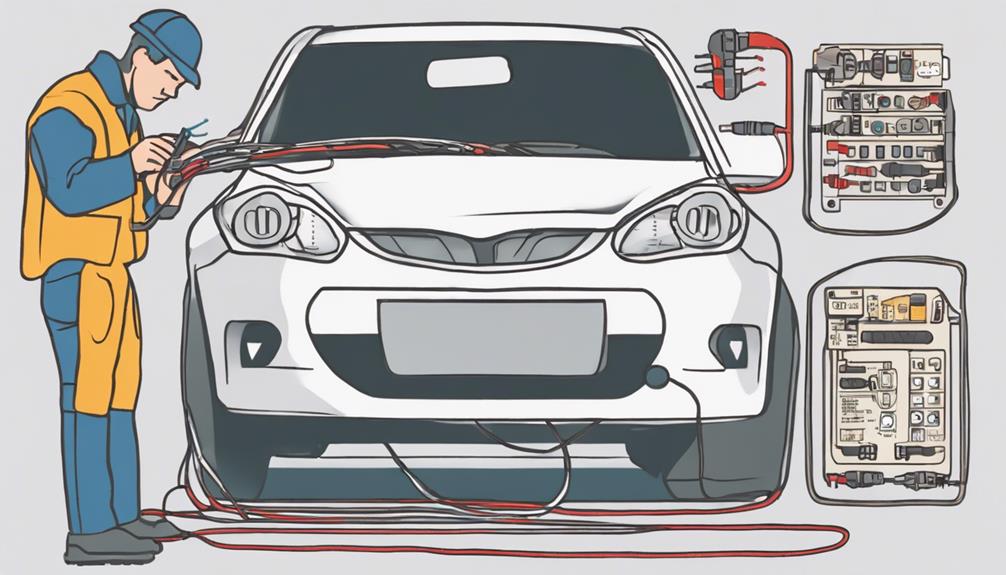
Troubleshooting Car Electrical Wiring Issues
When troubleshooting car electrical wiring issues, start by checking for rodent damage, a common culprit behind electrical problems in vehicles. Rodents are known to chew on wires, leading to shorts or open circuits. To prevent rodent damage, consider using rodent deterrent sprays or installing wire loom to protect the wiring.
Next, understanding electrical circuits is crucial. Use a digital multimeter to test for continuity and voltage in the wiring. This helps identify any breaks or irregularities in the circuit. Inspect wire connectors for corrosion or loose connections that may disrupt electrical flow. Look for melted insulation or burnt wires as signs of electrical issues.
When troubleshooting, refer to a factory wiring diagram to accurately identify and trace wiring problems. This document provides a detailed layout of the vehicle's electrical system. By following these steps and employing proper wiring maintenance techniques, you can effectively diagnose and resolve car electrical wiring issues.
Frequently Asked Questions
What to Do if Your Car Has Electrical Problems?
If your car has electrical problems, start with DIY troubleshooting like checking lights and fuses. Test battery and alternator with a multimeter. Look for corroded cables or bad spark plugs. If stuck, seek professional diagnosis for safety.
Are Electrical Problems in Cars Expensive to Fix?
Fixing car electrical issues can be costly. Consider DIY solutions for savings. Dead battery replacement averages $342-$352. Alternator repairs cost $608-$790. Starter motor issues range from $428-$581. Don't overlook fuse box or wiring problems.
How Do You Fix an Electrical Short in a Car?
To fix an electrical short in a car, start by identifying the location of the short using a multimeter. Check for burnt wires or damaged components. Repair the short by replacing faulty parts. Test the system for successful resolution.
What Is the Most Common Cause of Electrical Problems in Cars?
When your car experiences electrical problems, the most common culprit is often a dead battery or a faulty alternator. Recognizing these signs early and maintaining your vehicle's electrical components can prevent major issues from occurring.
Conclusion
Now that you have learned the steps to fix auto electrical issues, remember to always prioritize safety and take necessary precautions.
For example, Jim had a problem with his car's headlights flickering. By following the troubleshooting steps, he was able to identify a loose connection in the wiring harness and fix it quickly.
Remember, with the right tools and knowledge, you can tackle any electrical issue in your vehicle efficiently.