5 Best Steps for Safe PCV Valve Replacement
Imagine driving your car and suddenly experiencing a loss of power and rough idling. You suspect it could be a faulty PCV valve causing these issues.
But before you rush into replacing it, there are five essential steps you need to follow to make sure the safe and effective replacement of your PCV valve. Starting with preparing your vehicle for the task ahead, each step plays a critical role in maintaining your car's performance and longevity.
Key Takeaways
- Inspect, locate, and remove the old PCV valve carefully.
- Install the new PCV valve correctly and securely.
- Verify proper fitting and functioning after replacement.
- Monitor engine performance for any irregularities post-replacement.
Preparing the Vehicle
To begin preparing the vehicle for PCV valve replacement, make sure the engine is cool and the car is parked on a level surface. Start by checking the engine to make it isn't hot to prevent any burns or injuries. Inspecting hoses is important at this stage; look for any signs of wear, cracks, or leaks, as they may need to be replaced during the PCV valve replacement process.
Carefully examine all hoses connected to the PCV system to make they're in good condition. Check for any soft spots or areas that seem brittle, as these could indicate potential issues. Additionally, inspect the hose clamps to guarantee they're secure and not causing any leaks.
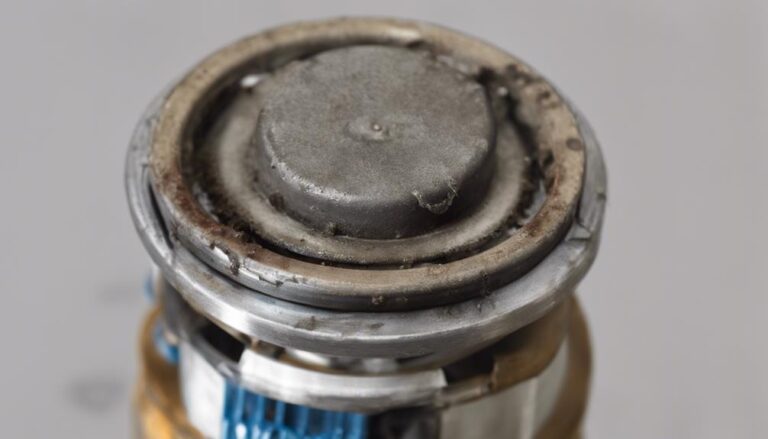
Locating the PCV Valve
Position yourself in front of the engine bay and visually scan for a small cylindrical component connected to the engine block with hoses. The PCV (Positive Crankcase Ventilation) valve plays an important role in maintaining your engine's health by regulating internal pressure and removing harmful gases. Here are some key steps for identifying and troubleshooting the PCV valve:
- Look for a small cylindrical component with hoses attached to the engine block.
- Check for any signs of oil leaks around the PCV valve.
- Make sure the hoses connected to the valve are in good condition and securely attached.
- Use your vehicle's manual to locate the specific position of the PCV valve.
- If you suspect a faulty PCV valve, perform a vacuum test to check its functionality.
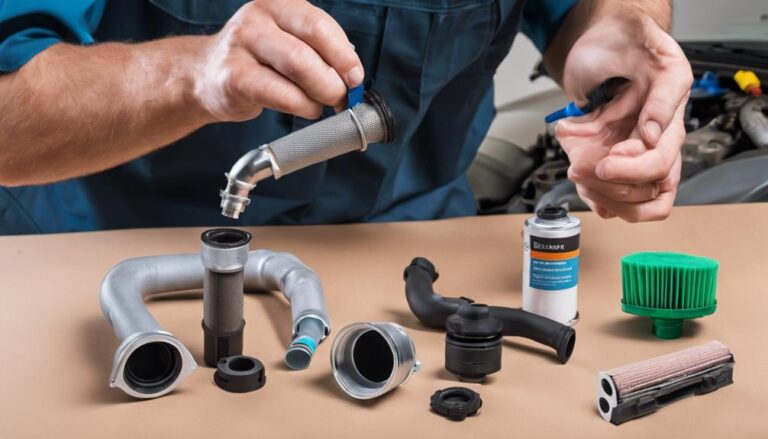
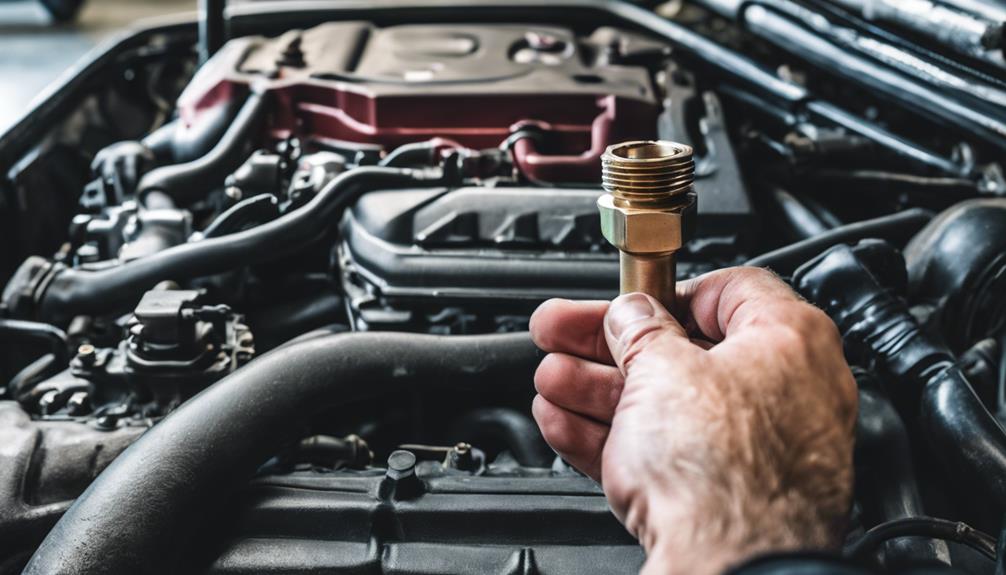
Removing the Old Valve

Inspect the hoses connected to the PCV valve for any signs of wear or damage before proceeding to remove the old valve. Start by locating the PCV valve, usually found on the valve cover or in the vicinity of the intake manifold. Once identified, carefully detach the hoses connected to the valve. Use a pair of pliers to loosen the hose clamps, then gently pull the hoses off the valve.
Next, unscrew the PCV valve from its housing using an appropriate sized wrench. Be cautious not to damage the surrounding components during this process. If the valve seems stuck, try gently twisting it back and forth while applying steady pressure to release it.
After removing the old PCV valve, inspect it for any signs of damage or clogging. If necessary, troubleshoot any issues that may have led to its malfunction. When disposing of the old valve, check with local recycling facilities for proper disposal options to ensure environmental responsibility.
Following these steps will prepare you for the next phase of installing the new PCV valve.
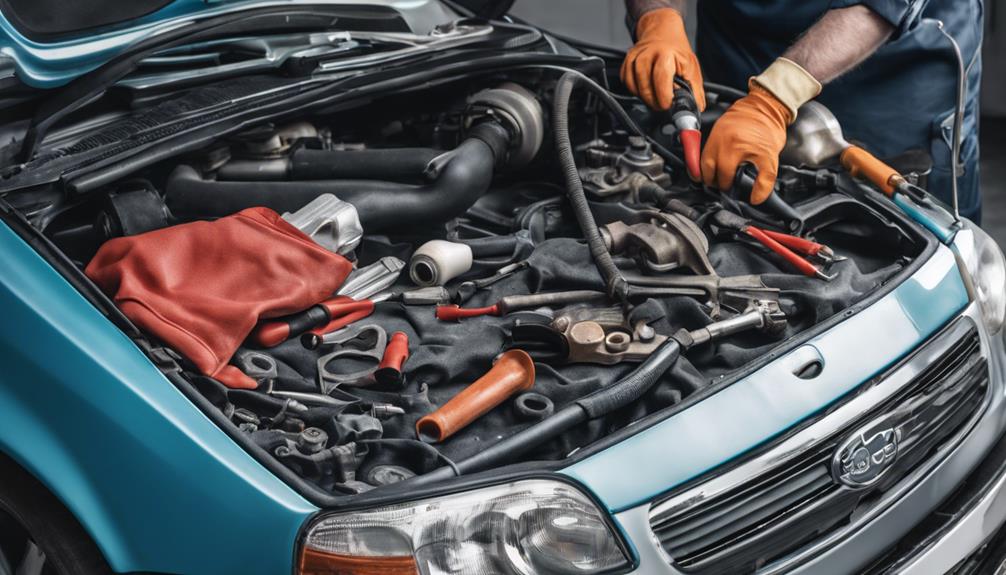
Installing the New Valve
When installing the new PCV valve, make sure proper alignment with the housing to facilitate a secure fit. This step is important to guarantee ideal functionality and prevent any potential leaks. Follow these key points for a successful installation:
- Align Carefully: Align the new PCV valve correctly with the housing to avoid fitment issues.
- Apply Proper Torque: Use a torque wrench to tighten the valve to the manufacturer's recommended specifications for a secure connection.
- Inspect the Seal: Before installing, inspect the seal on the new PCV valve to make sure it's intact and free from any damage.
- Avoid Over-tightening: Be cautious not to over-tighten the valve, as it may lead to damage or distortion of components.
- Double-check Alignment: Once installed, double-check the alignment of the valve to guarantee it sits flush within the housing.
Following these steps will help you successfully install the new PCV valve with proper torque and seal inspection, ensuring ideal performance of your vehicle's emission control system.
Testing the Replacement
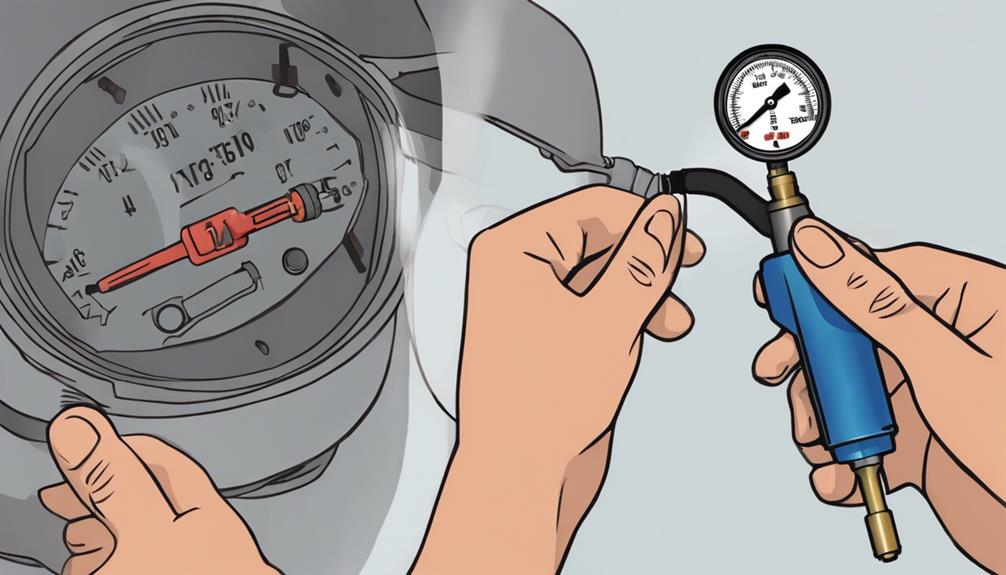
To confirm the successful replacement of the PCV valve, conduct a thorough test to verify its proper functionality and integration within the system. Start by checking if the valve was correctly installed and securely fitted in place. Once installation is confirmed, proceed with a functionality check to make sure the valve is functioning as intended. This involves evaluating if the PCV system is effectively regulating the flow of gases and maintaining proper pressure levels within the engine.
For a detailed evaluation, perform a performance test by monitoring the engine's idle speed, acceleration, and overall operation after the replacement. Any irregularities in these aspects could indicate a faulty PCV valve. Additionally, conduct leakage testing to confirm there are no air or vacuum leaks in the system, which could impact the performance of the new valve.
| Testing Steps | Description |
|---|---|
| Correct Installation Check | Verify proper fitting and secure installation of the new valve. |
| Functionality Check | Make sure the PCV system effectively regulates gas flow and pressure. |
| Performance Evaluation | Monitor engine performance post-replacement for any abnormalities. |
| Leakage Testing | Check for air or vacuum leaks that could impact the valve's operation. |
Frequently Asked Questions
How Often Should the PCV Valve Be Replaced?
Replace the PCV valve every 30,000 miles for peak engine performance. To maintain efficiency, check and clean the valve regularly. Avoid common misconceptions by following proper installation techniques to guarantee a secure fit.
Can a Faulty PCV Valve Cause Other Engine Issues?
Like a conductor directing an orchestra, staying on top of PCV valve maintenance orchestrates smooth engine performance. Neglecting this can lead to a cacophony of engine issues, impacting efficiency and longevity.
Is It Necessary to Clean the PCV System Before Installing a New Valve?
Before installing a new PCV valve, cleaning the PCV system is important. Use proper techniques to guarantee top performance. Take care to remove debris and buildup, safeguarding your engine's efficiency and longevity.
Are There Any Signs or Symptoms That Indicate a PCV Valve Replacement Is Needed?
When it's time for a PCV valve replacement, watch for warning signs like rough idling or decreased fuel efficiency. An inspection is key to confirm the requirement. DIY replacement is possible, but professional help guarantees a precise fix.
Can Using a Low-Quality Replacement PCV Valve Cause Damage to the Engine?
Using a low-quality replacement PCV valve can harm your engine. Inferior valves may fail sooner, impacting engine performance. To guarantee longevity and proper function, opt for high-quality replacements. Regular maintenance tips include monitoring valve lifespan and addressing quality concerns promptly.
Conclusion
To sum up, replacing your PCV valve is a simple process that can help maintain the health of your vehicle's engine. By following these steps carefully, you can guarantee a safe and effective replacement.
Remember, proper maintenance is key to keeping your car running smoothly. So, take the time to check and replace your PCV valve as needed to prevent potential issues down the road.
Your engine will thank you for it in the long run.