How to Fix a Leaking Oil Pan
To fix a leaking oil pan, first, drain the oil, then remove the pan and clean the surface. Next, apply a new gasket and reattach the pan securely.
Leaking oil pans can cause damage to your vehicle and should be fixed promptly. Ignoring the issue can lead to more serious problems down the line. By following these simple steps, you can resolve the leak and ensure your engine stays well-lubricated.
Keeping your oil pan in good condition is essential for the overall health and longevity of your vehicle. Regular maintenance and timely repairs will help prevent costly damages and keep your car running smoothly.
Assessing The Leak
When it comes to fixing a leaking oil pan, the first step is to assess the extent of the leak. Identifying the Oil Pan, Determining the Severity of the Leak, and taking appropriate action are crucial in preventing further damage to your vehicle.
Identifying The Oil Pan
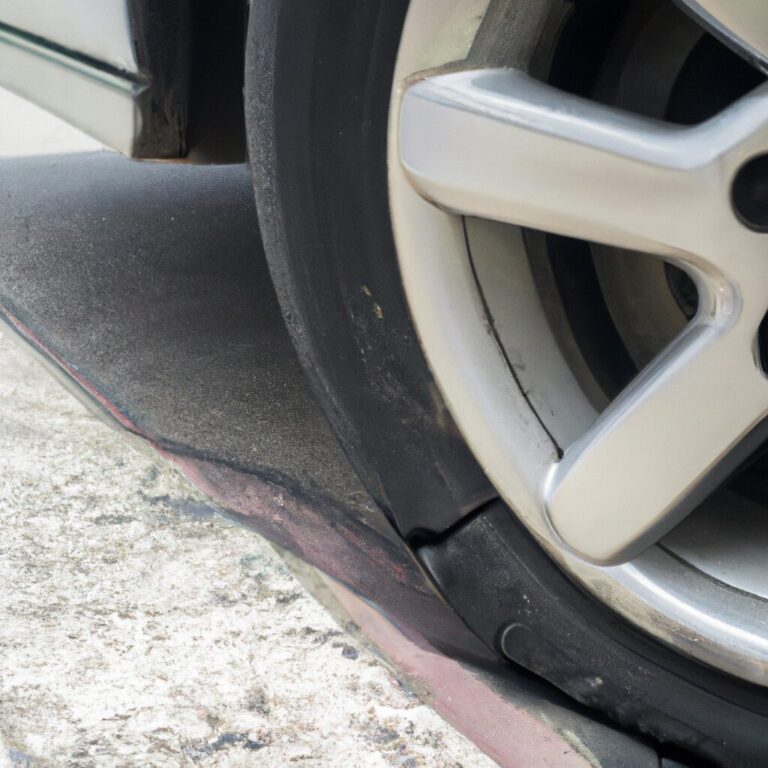
Before assessing the leak, it’s important to identify the location of the oil pan. This component is typically located underneath the engine and is used to collect and store the engine oil. It is often made of metal and can be identified by its flat, rectangular shape positioned beneath the engine assembly.
Determining The Severity Of The Leak
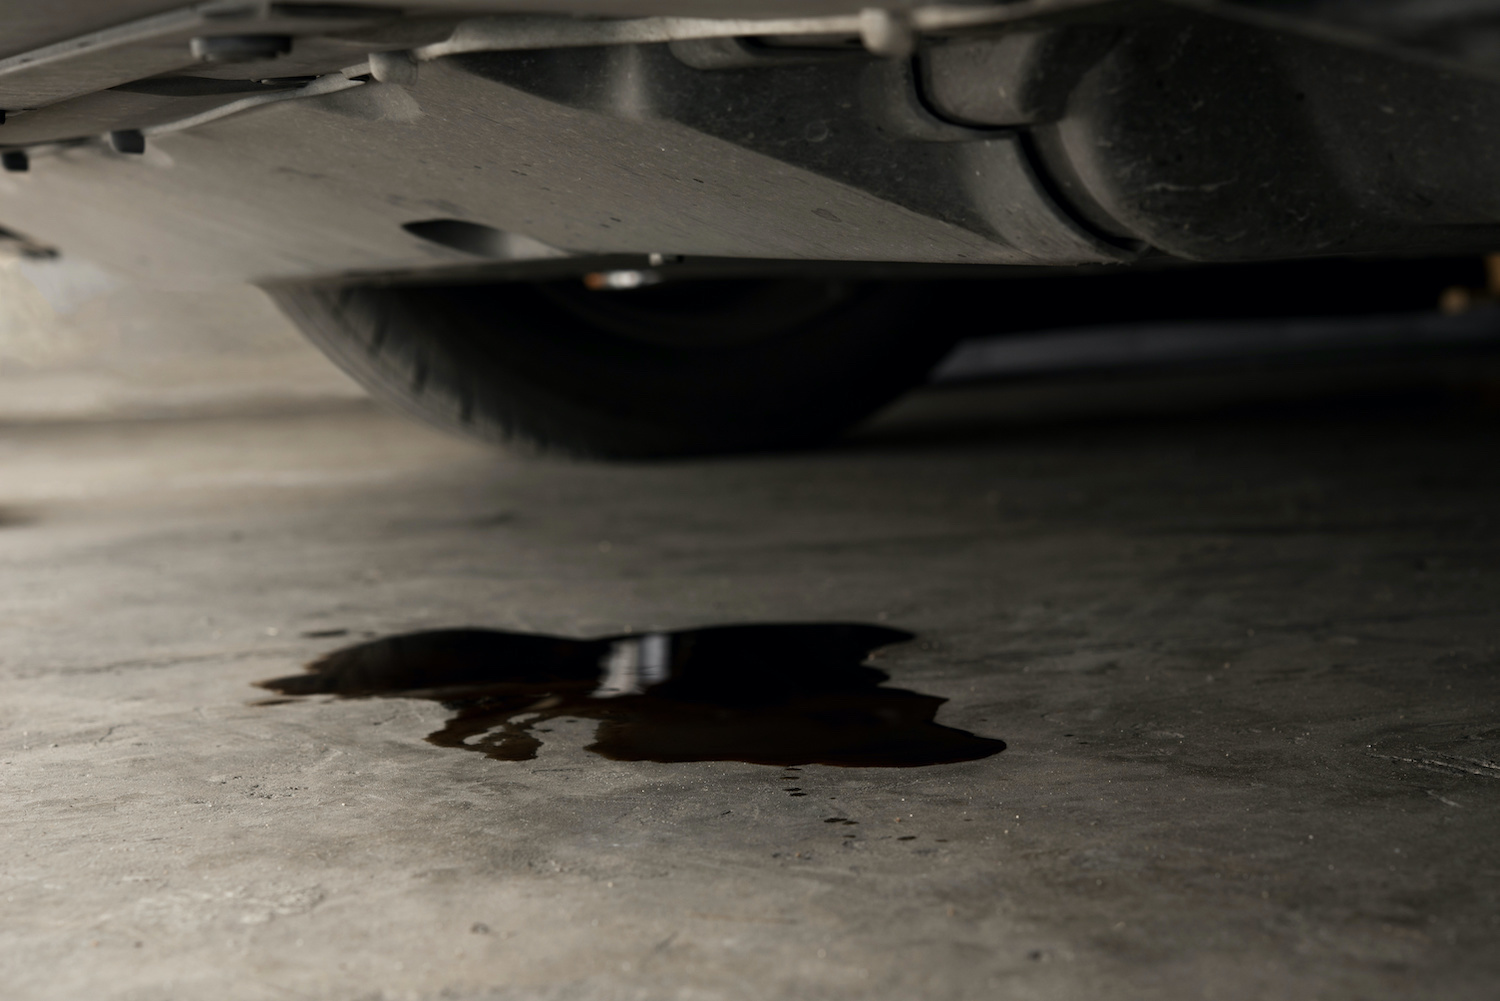
Once the oil pan is identified, the next step is to determine the severity of the leak. This can be done by examining the amount of oil that has leaked onto the ground or accumulated on the surface of the oil pan. Additionally, checking the oil level in the engine can provide insight into the rate of oil loss.
Credit: www.carparts.com
Preparing For The Repair
Discover how to effectively fix a leaking oil pan with these essential tips and steps to ensure a successful repair. From identifying the issue to taking the necessary precautions and using the right tools, this guide will help you tackle the problem like a pro.
Gathering The Necessary Tools And Materials
Before starting the repair, ensure you have the required tools and materials handy.
- Socket Wrench Set: Needed to remove the oil pan bolts.
- New Oil Pan Gasket: Essential for achieving a proper seal.
- Oil Drain Pan: To collect the draining oil for proper disposal.
- Shop Rags: For cleaning up any spills or mess during the repair.
Draining The Engine Oil
It is crucial to drain the old engine oil before repairing the leaking oil pan.
- Locate Drain Plug: Position the oil drain pan beneath the plug.
- Remove Drain Plug: Use a wrench to remove the drain plug and let the oil drain completely.
- Dispose of Old Oil: Ensure to dispose of the old oil following local regulations.
Removing The Old Gasket
To fix a leaking oil pan, start by removing the old gasket using a gasket scraper or putty knife. Thoroughly clean the surface to ensure a proper seal for the new gasket. Once clean, inspect the pan for any signs of damage or warping that may have caused the leak.
Removing the Old Gasket Lifting the Vehicle and Securing it To begin the process, ensure the vehicle is safely lifted and securely in place. Locating and Removing the Oil Pan Begin by locating the oil pan underneath the vehicle. Carefully disconnect any attached components. Unbolt the oil pan and remove it gently. Remember to wear protective gear throughout the process for safety.
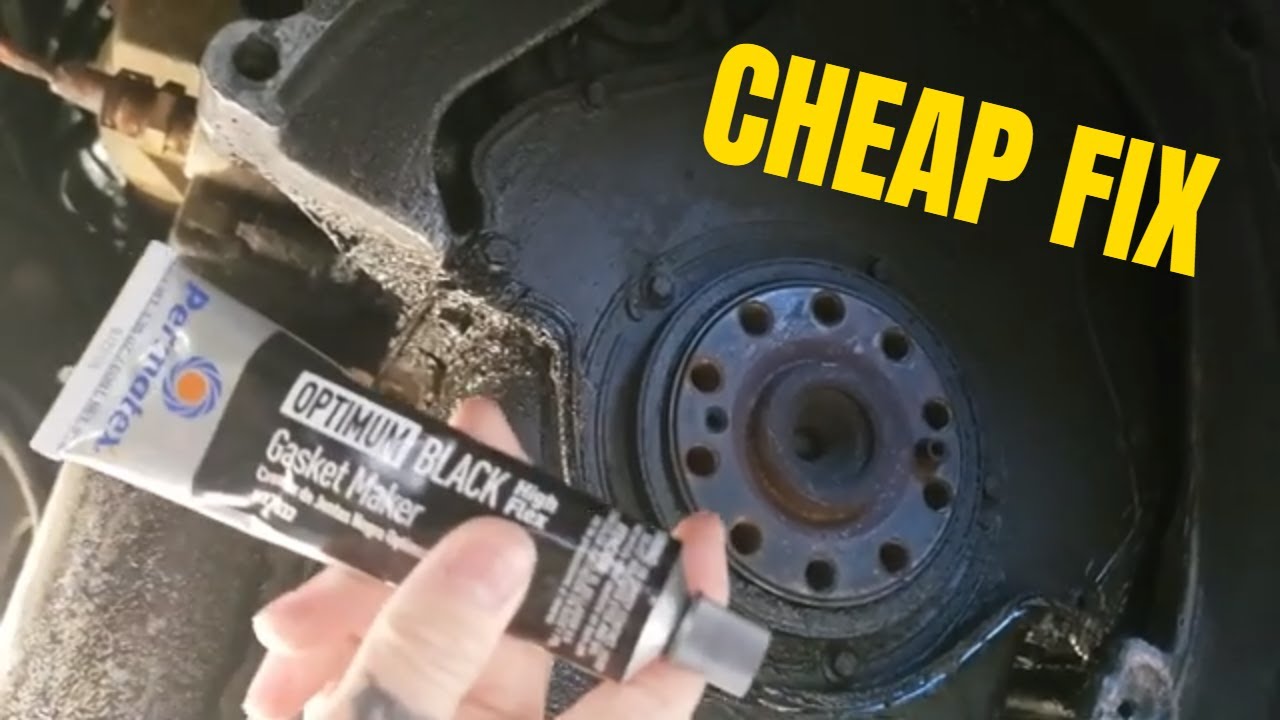
Credit: m.youtube.com
Cleaning And Installing The New Gasket
When it comes to fixing a leaking oil pan, one of the crucial steps is cleaning and installing the new gasket. Proper cleaning and a well-installed gasket are essential for preventing future leaks and maintaining the integrity of the oil pan and engine.
Cleaning The Oil Pan And Engine Surface
To begin, clean the oil pan and engine surface thoroughly to ensure there is no residual oil or debris that could interfere with the new gasket’s proper sealing. Use a suitable degreaser and a clean cloth to remove all traces of old gasket material, oil, and grime from the surfaces. Ensure both the oil pan and engine surface are dry and free from any contaminants before proceeding to the next step.
Applying The New Gasket And Sealant
Next, apply a thin, even layer of high-quality gasket sealant on the clean oil pan surface. Make sure to apply the sealant according to the manufacturer’s instructions, as using too little or too much can compromise the effectiveness of the seal. Once the sealant is in place, carefully position the new gasket onto the oil pan, ensuring it aligns with the bolt holes and any alignment marks. Take care not to displace the sealant during this process.
After the gasket is in position, carefully reinstall the oil pan, ensuring that the bolts are tightened to the manufacturer’s specifications in a crisscross pattern to ensure even pressure on the gasket. It’s crucial to avoid over-tightening the bolts, as this can deform the gasket and compromise the seal.
Reassembling And Testing
After successfully replacing the faulty oil pan, it’s time to reassemble the components and test for any potential leaks. Follow these steps to ensure a smooth reassembly and to make sure your oil pan is no longer leaking.
Replacing The Oil Pan
Before reassembling, make sure the new oil pan is clean and free from any dirt or debris that could cause further damage. Take the following steps to replace the oil pan:
- Position the new oil pan in place.
- Secure it with the appropriate bolts and tighten them evenly.
- Refer to the oil pan replacement guide or your vehicle’s manual for torque specifications.
- Ensure all gaskets or seals are properly aligned and in good condition.
Refilling The Engine Oil
After replacing the oil pan, it’s crucial to refill the engine oil to the correct level. Here’s how to do it:
- Locate the engine oil dipstick or oil fill cap.
- Remove it and insert a funnel into the oil fill hole.
- Pour the recommended amount of engine oil into the funnel.
- Check the oil level using the dipstick and add more oil if necessary.
- Replace the dipstick or oil fill cap securely.
Testing For Leaks
Once you have reassembled the oil pan and refilled the engine oil, it’s essential to test for any leaks before taking your vehicle for a ride. Follow these simple steps to conduct a leak test:
- Start the engine and let it run for a few minutes.
- Inspect the area around the oil pan and oil filter for any signs of leakage.
- If you notice any leaks, immediately stop the engine and address the issue.
- Check the tightness of the oil pan bolts and oil filter to ensure they are properly secured.
- If there are no leaks, turn off the engine and double-check the oil level using the dipstick.
By following these steps to reassemble and test your oil pan, you can ensure a reliable repair that will keep your engine running smoothly without any oil leaks. Remember to conduct regular maintenance checks to prevent future issues and extend the lifespan of your oil pan.
Credit: m.youtube.com
Frequently Asked Questions Of How To Fix A Leaking Oil Pan
How Much Does It Cost To Fix A Oil Pan Leak?
Repairing an oil pan leak typically costs between $150 to $400, depending on the extent of damage and labor required.
Can You Seal An Oil Pan Leak?
Yes, you can seal an oil pan leak by using an appropriate sealant product designed for that purpose.
Can You Drive With An Oil Pan Leak?
Yes, but it’s not recommended. An oil pan leak can cause serious damage to your engine. It’s best to fix it as soon as possible.
Is Oil Pan Leak Serious?
An oil pan leak can be a serious problem that needs immediate attention. If left unchecked, it can lead to engine damage and potential failure. Make sure to get it fixed as soon as possible to avoid further complications.
How Do I Know If My Oil Pan Is Leaking?
If you notice oil spots under your car or a burning smell, it’s a sign of a leaking oil pan.
Can I Drive With A Leaking Oil Pan?
Driving with a leaking oil pan could lead to engine damage, so it’s best to fix it promptly.
What Causes An Oil Pan To Leak?
Common causes include worn gaskets, loose bolts, or damage from road debris.
Conclusion
Fixing a leaking oil pan is a manageable task that can save you money and prevent further damage to your vehicle. By following the simple steps outlined in this blog post, you can avoid costly repairs and ensure the smooth operation of your car.
Taking the time to address an oil pan leak will ultimately extend the lifespan of your vehicle and keep it running efficiently. So, don’t hesitate to tackle the issue head-on and keep your car in top condition.