Complete Guide to Motor Mount Replacement
When it comes to motor mount replacement, understanding the importance of these components is key. Feeling vibrations in your vehicle or noticing engine movement that seems out of the ordinary could be signs of worn mounts.
But how do you go about replacing them? You'll need a few essential tools and a systematic approach to guarantee a successful replacement.
Stay tuned to learn the step-by-step instructions and how to test the new motor mount for best performance.
Key Takeaways
- Motor mounts support engines and reduce vibrations for optimal performance.
- Identifying worn mounts early prevents further damage and costly repairs.
- Proper tools like sockets and wrenches are essential for efficient replacement.
- Installation best practices include precise alignment, correct bolt tightening, and thorough checks for security.
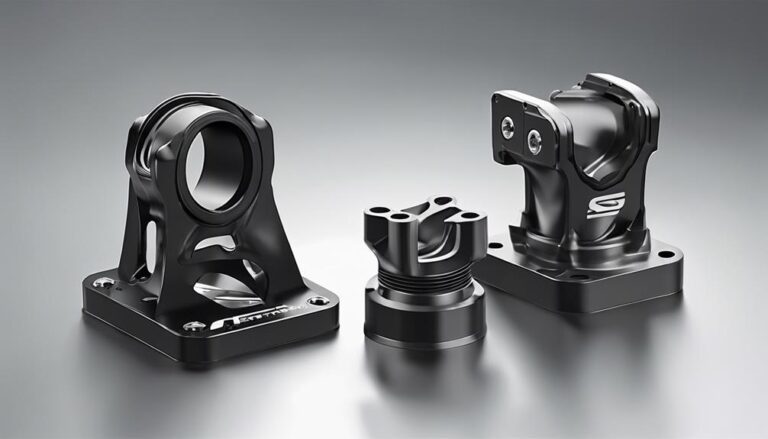
Importance of Motor Mounts

Understanding the important role motor mounts play in supporting the engine and reducing vibrations is essential for maintaining peak vehicle performance. Motor mounts are vital components that secure the engine to the chassis of the car, effectively absorbing engine vibrations and preventing them from transferring to the rest of the vehicle. By minimizing these vibrations, motor mounts enhance the overall driving experience by reducing noise and ensuring a smoother ride.
The benefits of motor mounts extend beyond just comfort. They also help to prolong the lifespan of various engine components by reducing the stress and strain caused by excessive movements. Additionally, properly functioning motor mounts aid in maintaining proper alignment and positioning of the engine, which is essential for the best performance and fuel efficiency. Neglecting the condition of motor mounts can lead to a range of issues, including misalignment, increased wear on other parts, and even potential safety hazards. Regular inspection and maintenance of motor mounts are vital to guarantee the longevity and efficiency of your vehicle.
Signs of Worn Motor Mounts
Detecting worn motor mounts is important for maintaining the best performance and safety of your vehicle. Common symptoms of worn motor mounts include excessive engine movement, especially when shifting from park to drive, or feeling a thud when accelerating. You may also notice a clunking noise coming from the engine bay during sudden acceleration or deceleration. In some cases, you might experience vibrations that resonate through the vehicle, particularly when idling or driving at low speeds.
When facing these symptoms, it's essential to address the issue promptly. Ignoring worn motor mounts can lead to further damage to the engine and surrounding components. Repair options typically involve replacing the worn mounts with new ones. It's recommended to consult a professional mechanic to assess the extent of the damage and determine the best course of action for your specific vehicle model. By addressing worn motor mounts early, you can prevent more severe issues and guarantee a smoother driving experience.
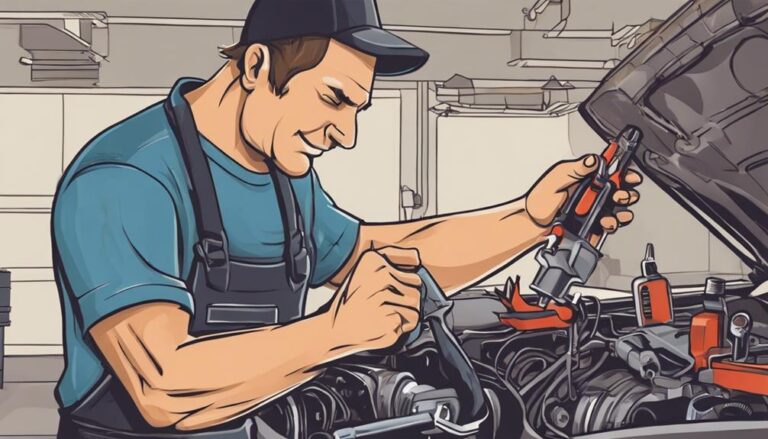
Tools Needed for Replacement
To effectively replace worn motor mounts, you'll need a set of basic tools commonly found in a standard mechanics toolkit. Proper technique and safety precautions are essential during this process. The following tools are necessary for a successful motor mount replacement:
- Socket Set: A socket set with various sizes will help you loosen and tighten bolts efficiently.
- Wrenches: Both open-end and closed-end wrenches will be needed to access and remove bolts in tight spaces.
- Pry Bar: This tool will assist in carefully prying out the old motor mounts without causing damage to surrounding components.
- Jack and Jack Stands: To safely lift and support the vehicle while working underneath.
- Torque Wrench: Essential for tightening bolts to the manufacturer's specifications, ensuring proper installation.
- Safety Gear: Gloves and safety glasses are vital to protect yourself from any potential hazards during the replacement process.
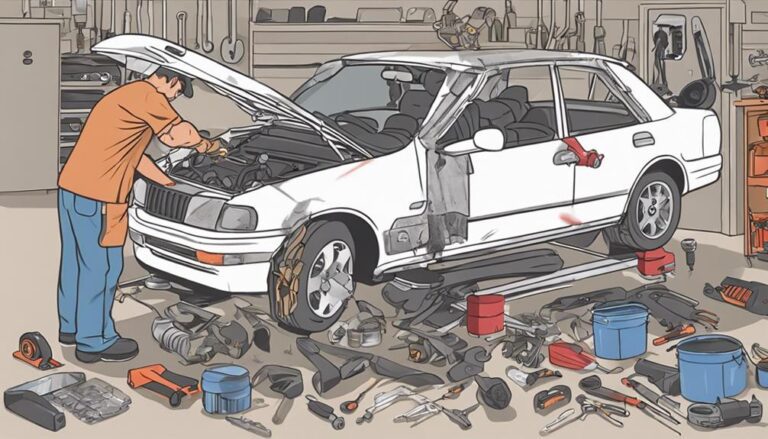
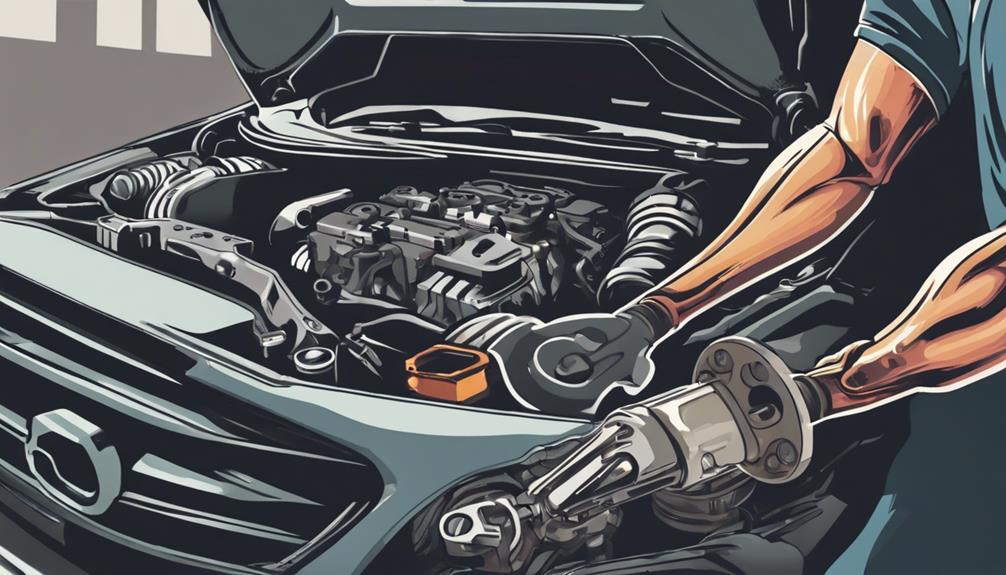
Step-by-Step Replacement Instructions
Gather all the necessary tools and equipment in a well-lit and spacious work area before beginning the motor mount replacement process. To make sure a smooth replacement process, follow these step-by-step instructions:
- Step 1: Start by disconnecting the negative terminal of the car battery to prevent any electrical mishaps.
- Step 2: Raise the vehicle using a jack and secure it with jack stands for safety.
- Step 3: Locate the motor mounts, which are usually situated between the engine and the vehicle frame.
- Step 4: Remove the old motor mounts by unbolting them carefully, making sure not to damage any surrounding components.
Installation Tips:
- When installing the new motor mounts, make sure they're aligned correctly before tightening the bolts.
- Apply a small amount of thread-locking compound to the bolts to prevent them from loosening over time.
Common Mistakes:
- Avoid over-tightening the bolts, as this can lead to premature wear and tear.
- Double-check all connections and bolts to make sure everything is secure before lowering the vehicle.
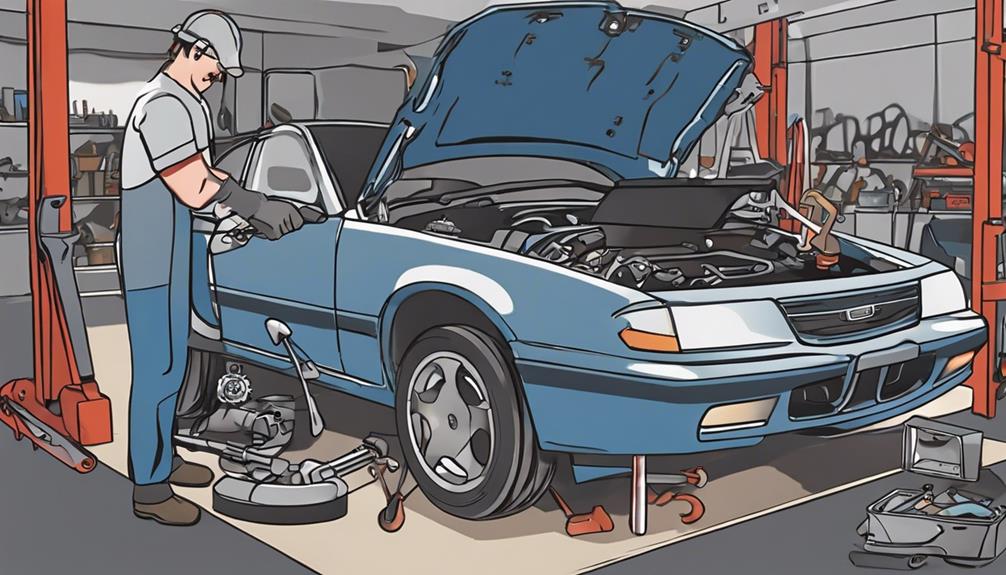
Testing the New Motor Mount
After replacing the motor mounts, assess their effectiveness by subjecting the vehicle to various driving conditions and observing for any abnormal engine movement or vibrations. Conduct a vibration analysis by driving at different speeds and on various terrains to check for excessive shaking or unusual engine behavior. Additionally, perform torque testing by accelerating rapidly from a standstill and observing if the engine shifts excessively, indicating potential mount failure. Below is a table summarizing the key steps for testing the new motor mount:
| Testing Procedure | Description | Potential Issues Detected |
|---|---|---|
| Vibration Analysis | Drive at various speeds | Excessive engine shaking |
| Torque Testing | Accelerate rapidly | Engine shifting |
| from a standstill |
Frequently Asked Questions
How Often Should Motor Mounts Be Replaced?
You should inspect motor mounts regularly as part of your maintenance schedule. By checking them for wear and tear, you can catch issues early and prevent more significant problems down the line.
Can Motor Mounts Be Repaired Instead of Replaced?
You can repair motor mounts as a cost-effective solution, but it may not be as durable or reliable as replacing them. DIY repair can save money, but ensure safety precautions are followed. Weigh the pros and cons carefully.
What Are the Most Common Causes of Motor Mount Failure?
When motor mounts fail, it's often due to vibration issues or engine misalignment. These can result from wear and tear, poor installation, or harsh driving conditions. Regular inspections can help catch problems early and prevent further damage.
Are There Any Specific Maintenance Tips to Prolong the Lifespan of Motor Mounts?
To prolong motor mount lifespan, confirm proper maintenance. Regularly inspect mounts for wear or damage. Keep engine components well-tuned to reduce vibrations. Maintain proper engine cooling for best heat dissipation. These practices enhance longevity and performance.
What Are the Potential Risks of Driving With Worn Motor Mounts?
Driving with worn motor mounts poses safety concerns as it can impact your vehicle's performance and lead to long-term engine damage. Make sure to address this promptly to prevent further issues that could compromise your safety and car's functionality.
Conclusion
In summary, replacing your motor mounts is essential for maintaining the stability and performance of your vehicle. Just like a sturdy foundation supports a towering skyscraper, strong motor mounts support the engine and reduce vibrations.
By following the step-by-step instructions and using the proper tools, you can guarantee a smooth and successful replacement process. Don't overlook the signs of worn motor mounts – address them promptly to keep your vehicle running smoothly.