3 Best Steps to Replace Motor Mounts
When it comes to replacing motor mounts, the process may seem challenging at first glance, but fear not, as it's more straightforward than you think.
By following a few key steps, you can guarantee a smooth switch and peak performance for your vehicle.
So, let's start by preparing the necessary tools and materials, then move on to the significant task of removing the old motor mounts.
But what comes next in the installation process can make all the difference in your vehicle's stability and longevity, making it imperative to master this step.
Key Takeaways
- Prioritize safety measures and preparation for a successful motor mount replacement.
- Carefully remove old mounts using appropriate tools and techniques for a smooth transition.
- Install new mounts securely, aligning and torquing them correctly for improved stability.
- Verify compatibility and conduct final checks to ensure a safe and durable motor mount replacement.
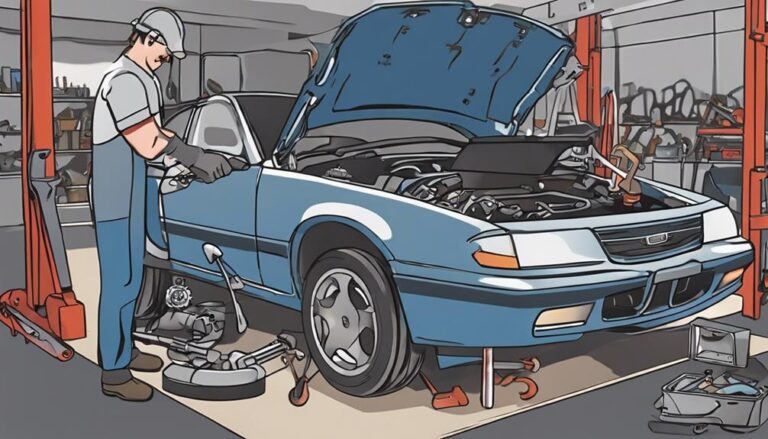
Preparation Steps
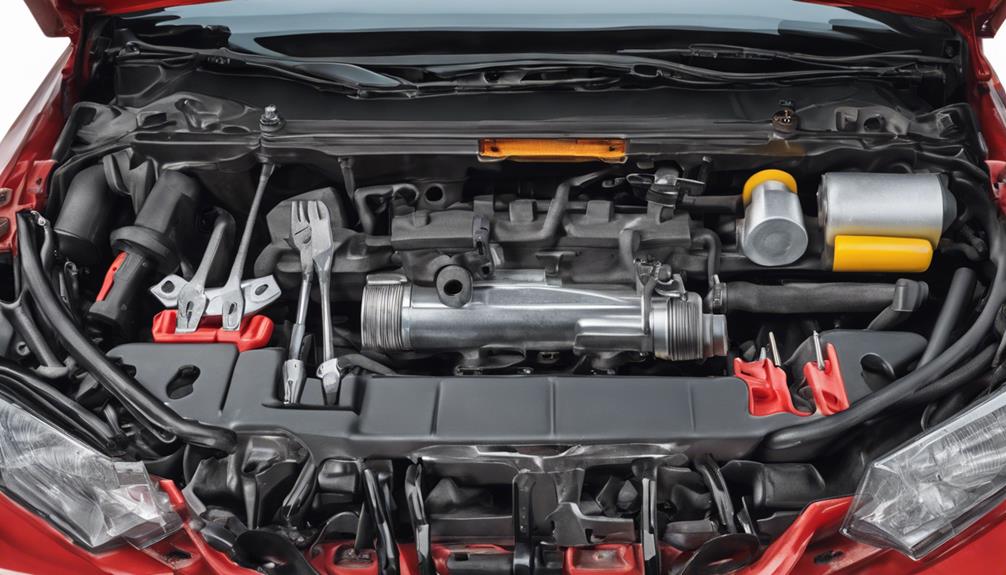
Before beginning the motor mount replacement process, make sure you have all the necessary tools and equipment readily available. For this task, you'll need a set of ratchets and sockets, a torque wrench, jack stands, a floor jack, safety gloves, and safety goggles. These tools are essential for ensuring a smooth and efficient motor mount replacement.
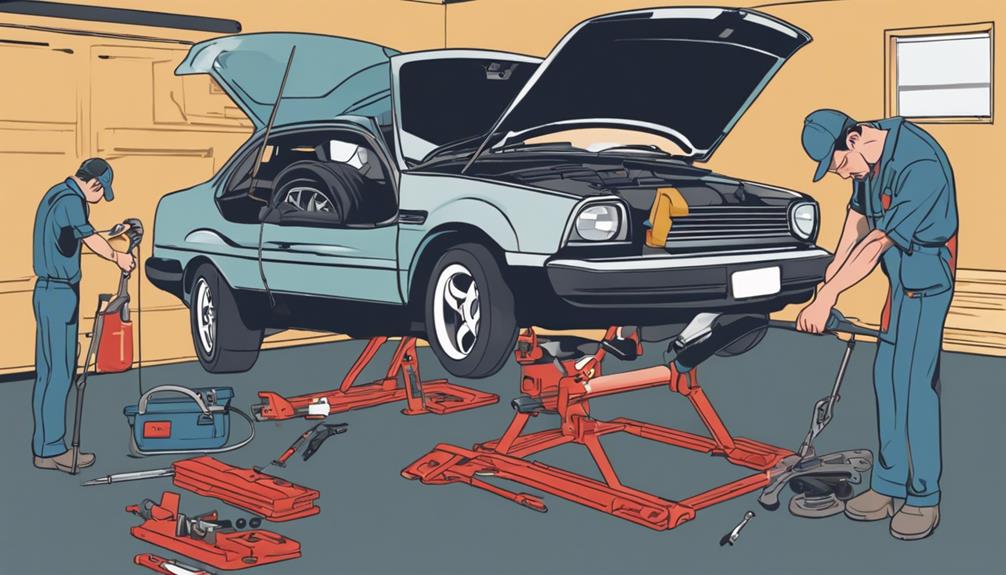
When working on your vehicle, safety precautions are of utmost importance. Always remember to apply the parking brake and chock the wheels to prevent any movement. Additionally, wear your safety gloves and goggles to protect yourself from any potential hazards. Before getting underneath the vehicle, make sure it's securely lifted on jack stands, providing you with enough working space and ensuring your safety throughout the process.
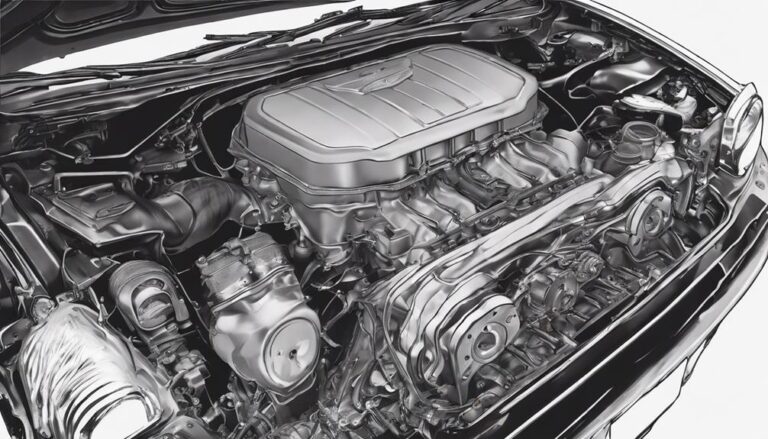
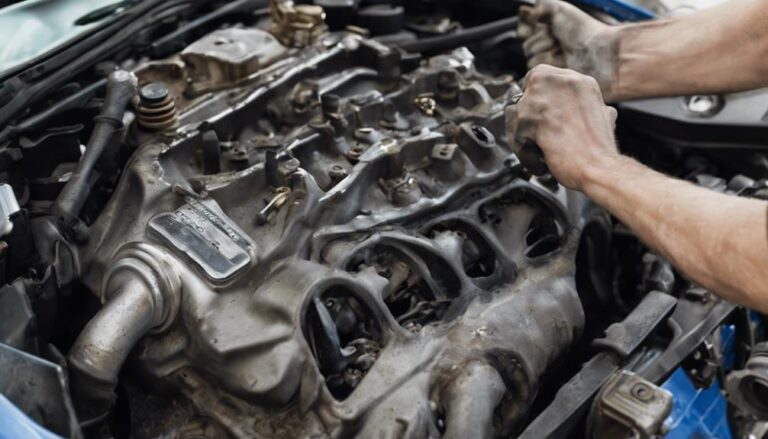
Removing Old Motor Mounts
To remove the old motor mounts, begin by locating the mounting bolts securing the mounts to the engine and frame. Follow these steps for a successful removal process:
- Safety Precautions: Before starting, make sure the vehicle is on a flat surface, engage the parking brake, and chock the wheels. Safety goggles and gloves are recommended to protect yourself during the process.
- Proper Tools: Gather the necessary tools such as a socket wrench set, penetrating oil for rust prevention, and a jack positioned under the engine to support it once the mounts are removed.
- Rust Prevention: Spray penetrating oil on the mounting bolts to help loosen any rust or corrosion, making it easier to remove them without causing damage.
- Jack Positioning: Carefully place the jack under the engine to provide support. Ensure the jack is stable and positioned correctly to prevent any accidents while working on the motor mounts.
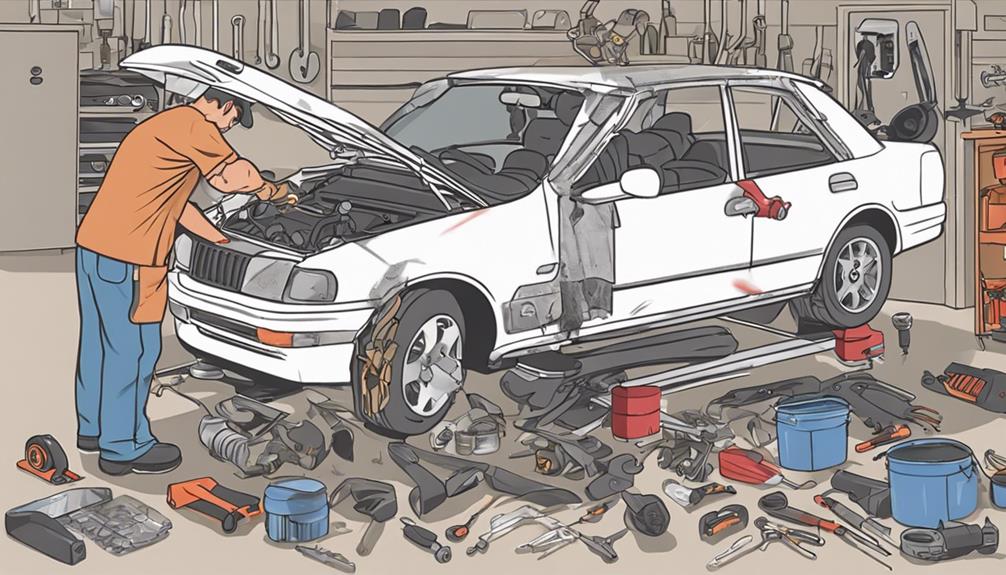
Installing New Motor Mounts
When installing new motor mounts, make sure that the mounting bolts are securely fastened to the engine and frame for best performance and stability.
The mounting process involves aligning the mount with the corresponding slots on the engine and frame, ensuring a proper fit. It's important to follow the torque specifications provided by the manufacturer to prevent over-tightening or under-tightening, which can lead to premature wear or even mount failure.
Upgraded mounts offer several benefits, such as improved stability and reduced engine movement during acceleration and deceleration. They can also help minimize vibrations felt inside the vehicle, resulting in a smoother driving experience. When installing upgraded mounts, verify compatibility with your vehicle's make and model for best performance.
After securing the mounts, double-check all connections and bolts to confirm everything is in place. Proper installation of new motor mounts is essential for maintaining the structural integrity of the engine and ensuring a comfortable ride for you and your passengers.
Frequently Asked Questions
How Often Should Motor Mounts Be Replaced?
You should replace motor mounts every 50,000 to 100,000 miles or as recommended by your vehicle's manufacturer. Regularly inspect for signs of wear such as excessive vibrations or engine movement. Proper maintenance guarantees peak performance.
Are There Any Signs or Symptoms That Indicate Motor Mounts Need to Be Replaced?
Feeling vibrations, hearing clunks, or noticing engine movement are common indications that motor mounts need replacement. Ignoring warning signs can lead to costly repairs. Regular maintenance can prevent these issues.
Can Motor Mounts Be Repaired Instead of Replaced?
When considering motor mounts, it's often best to replace rather than repair them. Regular maintenance can prolong their lifespan. Look out for signs like excessive engine movement or unusual noises, indicating replacement is necessary.
Is It Necessary to Replace All Motor Mounts at the Same Time?
When considering if it's necessary to replace all motor mounts at once, it's ideal to evaluate each one individually. While partial replacement can save costs, benefits include improved performance. Drawbacks may arise if mounts wear unevenly, affecting overall stability.
Are There Any Special Tools or Equipment Required for Replacing Motor Mounts?
To replace motor mounts, you'll need special tools like a jack, jack stands, sockets, and a torque wrench. No specialized equipment is demanded beyond standard tools. Confirm safety and follow proper procedures outlined in your vehicle's manual.
Conclusion
Congratulations, you have successfully replaced your motor mounts! Now your vehicle will run smoother and more efficiently. Just remember, proper maintenance is key to keeping your car in top shape.
Don't forget to check your motor mounts regularly to make sure they're in good condition. Keep up the good work and happy driving!