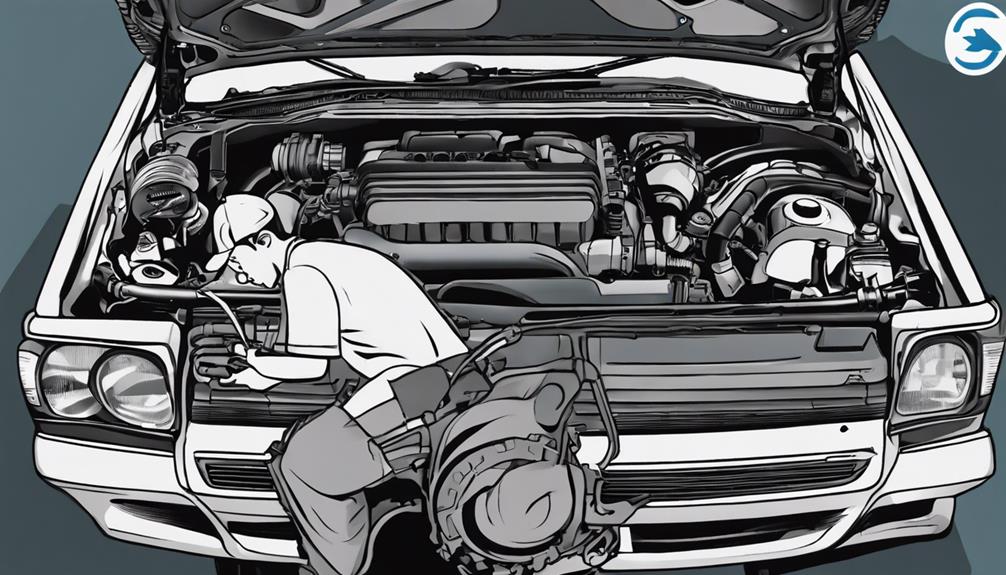
What Is the Step-by-Step Head Gasket Replacement Procedure?
When it comes to replacing a head gasket, the process can seem challenging at first glance. However, with a clear understanding of each step involved, it can be a manageable task that you can tackle successfully.
From preparing the necessary tools and inspecting the current state of the gasket to the meticulous cleaning and precise installation of the new one, each stage plays an important role in ensuring the job is done correctly.
Stay tuned to discover the detailed breakdown of the step-by-step head gasket replacement procedure.
Key Takeaways
- Thoroughly inspect engine components and cylinder head for wear or damage before starting.
- Clean mating surfaces meticulously to ensure proper gasket adhesion and prevent leaks.
- Apply sealant on both sides of the new gasket and follow torque specifications for bolt tightening.
- Reassemble components, refill fluids, and conduct tests to ensure a proper seal and system integrity.
Preparation and Inspection
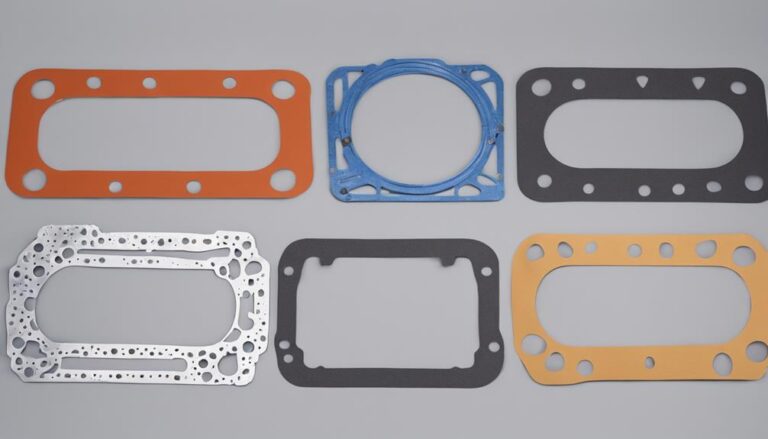
Before beginning the head gasket replacement procedure, thoroughly inspect the engine components for any signs of wear or damage. Gasket material types play an important role in the performance and longevity of the head gasket. Common materials include composite, MLS (multi-layer steel), and elastomer. Make sure you select the appropriate material based on your engine's specifications.
Moving on to cylinder head inspection, start by examining the head for cracks, warping, or any other irregularities. Use a straight edge and feeler gauge to check for flatness and measure any deviations. It's essential to verify that the cylinder head meets the manufacturer's specifications to guarantee a proper seal with the new gasket.
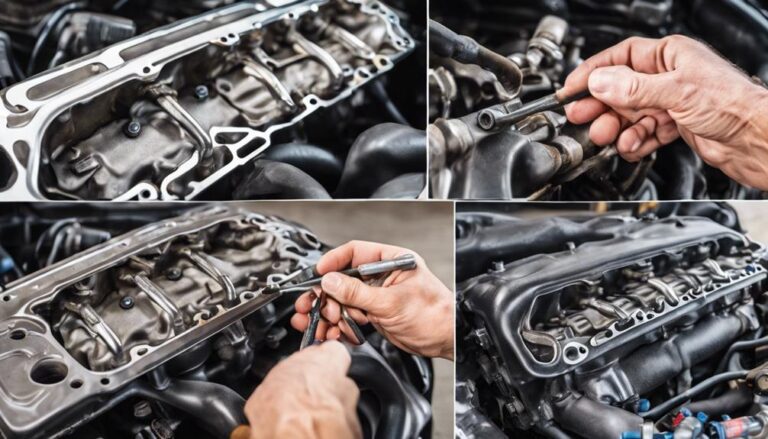
Removal of Components
To begin the removal of components for the head gasket replacement procedure, gather the necessary tools and equipment in a well-lit and organized workspace. Confirm you have items such as wrenches, sockets, a torque wrench, and any specific tools recommended by the vehicle's manufacturer. Start by disconnecting the battery to prevent electrical accidents. Then, drain the coolant and engine oil to avoid spillage during component disassembly.
Next, carefully remove the intake and exhaust manifolds, valve covers, timing belt or chain, and any other components blocking access to the cylinder head. Take note of the location and orientation of each part to aid in reassembly. Follow the manufacturer's torque specifications when loosening bolts to prevent damage to the engine block or cylinder head.
Remember to document each step of the component disassembly process to ensure a smooth reassembly. By following these steps diligently and adhering to torque specifications, you'll effectively prepare the engine for the head gasket replacement.
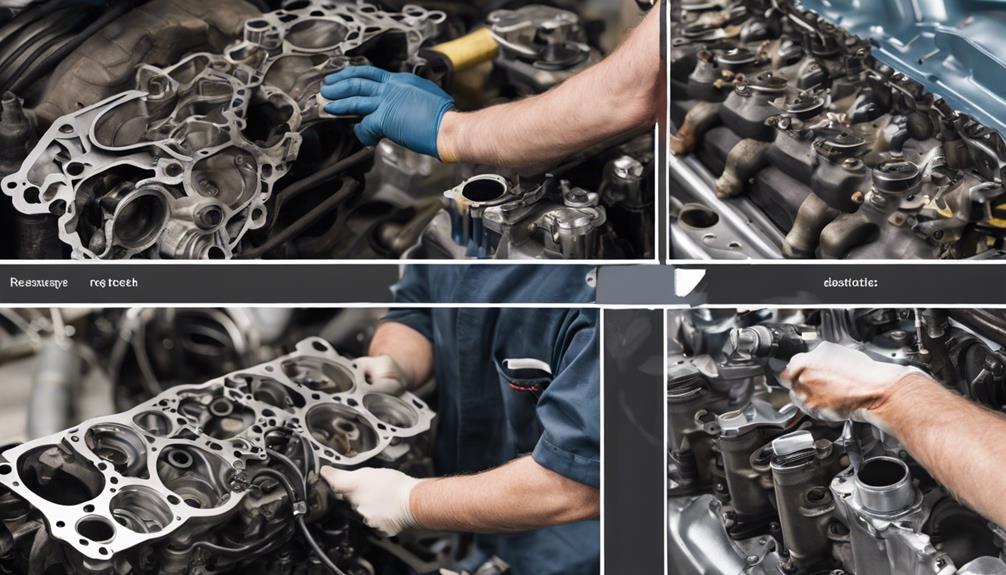
Cleaning and Surface Preparation

After completing the removal of components, the next step in the head gasket replacement procedure is to thoroughly clean and prepare the surfaces for best sealing. Surface cleaning is important to guarantee proper gasket adhesion and prevent leaks.
Begin by cleaning the cylinder head and engine block mating surfaces using a gasket scraper to remove any old gasket material or residue. Be meticulous in this process to guarantee a smooth and flat surface for the new head gasket to seal effectively.
Next, use a suitable solvent or cleaner to remove any oil, coolant, or debris that may be present on the surfaces. Make sure that the cleaning agent is compatible with the materials of the cylinder head and engine block to avoid damage. Once the surfaces are clean, dry them thoroughly with a lint-free cloth or compressed air.
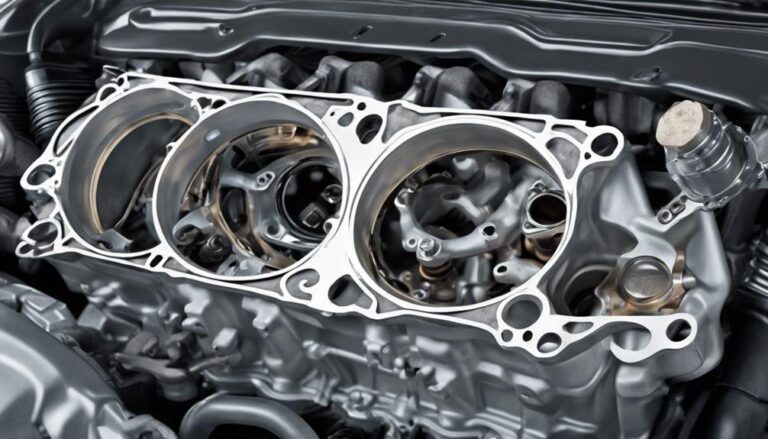
Installation of New Head Gasket
Begin by carefully positioning the new head gasket onto the cleaned and inspected mating surfaces of the cylinder head and engine block, guaranteeing proper alignment and fit. To proceed with the installation of the new head gasket, follow these steps:
- Apply Sealant: Before placing the head gasket, apply a thin, even layer of high-temperature sealant on both sides of the gasket to enhance sealing properties and prevent leaks.
- Proper Alignment: Align the holes of the head gasket with the corresponding holes in the cylinder head and engine block to secure all passages match up correctly for fluid and gas flow.
- Follow Torque Specifications: Refer to the manufacturer's specifications to determine the exact torque values for the cylinder head bolts. Tighten the bolts gradually and uniformly in the specified sequence to the recommended torque settings, guaranteeing proper sealing without causing damage to the components.
Reassembly and Testing
Inspect the alignment of the newly installed head gasket to make certain proper positioning before proceeding with the reassembly and testing phase. This critical step guarantees that the gasket is correctly seated, which is essential for preventing leaks and maintaining engine performance. Once the head gasket is confirmed to be correctly aligned, follow these steps for reassembly and testing:
| Reassembly Steps | Testing Procedures |
|---|---|
| Torque cylinder head bolts to manufacturer specifications | Conduct a compression test to check for proper seal and engine health |
| Install intake and exhaust manifolds | Test coolant pressure to verify the cooling system's integrity |
| Attach all hoses and electrical connectors | Inspect for any signs of leaks or abnormal pressures |
| Refill the engine with coolant and engine oil | Ensure all components are functioning correctly before final assembly |
Frequently Asked Questions
How Long Does a Head Gasket Replacement Typically Take?
Typically, a head gasket replacement can take around 4 to 6 hours. The cost varies depending on the mechanic's hourly rate and the type of vehicle you have. Prioritize obtaining repair time estimates and cost comparisons before proceeding.
What Are the Common Signs of a Failing Head Gasket?
Feeling worried about your vehicle? Signs of a failing head gasket include coolant loss, white smoke, head gasket leak, and overheating. Address these issues promptly to prevent further damage and guarantee your safety.
Can a DIYer Replace a Head Gasket, or Is It Best Left to Professionals?
Yes, a DIYer can replace a head gasket, but it poses challenges. Professional expertise guarantees precision and may uncover underlying issues. Consider your skills and the complexity of the task before attempting this repair to avoid costly mistakes.
Are There Any Special Tools Required for a Head Gasket Replacement?
To replace a head gasket, you'll need special tools like a torque wrench and a gasket scraper. Safety precautions include wearing protective gear and ensuring the engine is cool before starting. Always follow manufacturer guidelines.
How Often Should a Head Gasket Be Replaced in a Vehicle's Lifetime?
On average, a head gasket should be replaced every 100,000 miles. Proper head gasket maintenance, like regular coolant checks and addressing overheating issues promptly, can extend its lifespan. Stay vigilant for signs of wear.
Conclusion
In optimal, replacing a head gasket requires careful preparation, thorough inspection, and precise execution. By following the step-by-step procedure, you can guarantee a successful replacement without any issues. Remember, patience and attention to detail are key in this process.
Just like a surgeon performing a delicate operation, each step must be carried out with precision to guarantee optimal engine performance. So, roll up your sleeves, grab your tools, and get ready to tackle this task head-on!