DIY Valve Cover Gasket Replacement Step-by-Step Guide
As you're driving your car, have you noticed a slight oil leak around the valve cover? Before you rush to the mechanic, consider tackling this DIY valve cover gasket replacement yourself. By following a step-by-step guide, you can save money and gain a sense of accomplishment.
Let's start with preparing the necessary tools and materials, ensuring you're ready for the task ahead. Once you have everything in place, you'll be on your way to successfully replacing the valve cover gasket.
Key Takeaways
- Properly prepare with necessary tools and safety measures.
- Remove old gasket carefully and clean surfaces thoroughly.
- Install new gasket with proper alignment and sealant application.
- Reassemble valve cover by tightening bolts gradually and conducting final pressure testing.
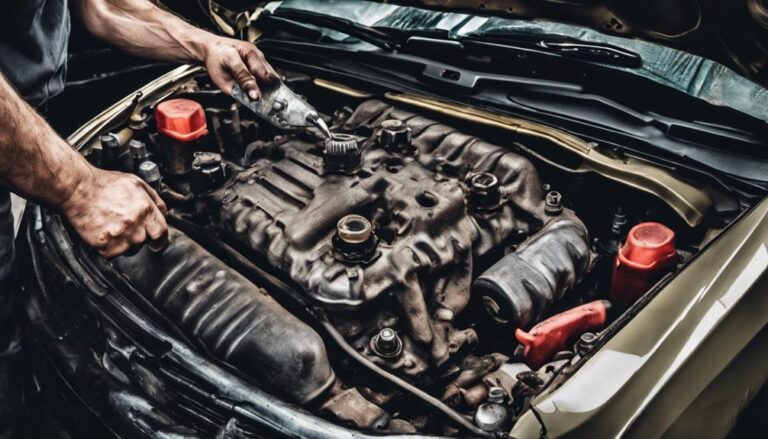
Preparing for the Task
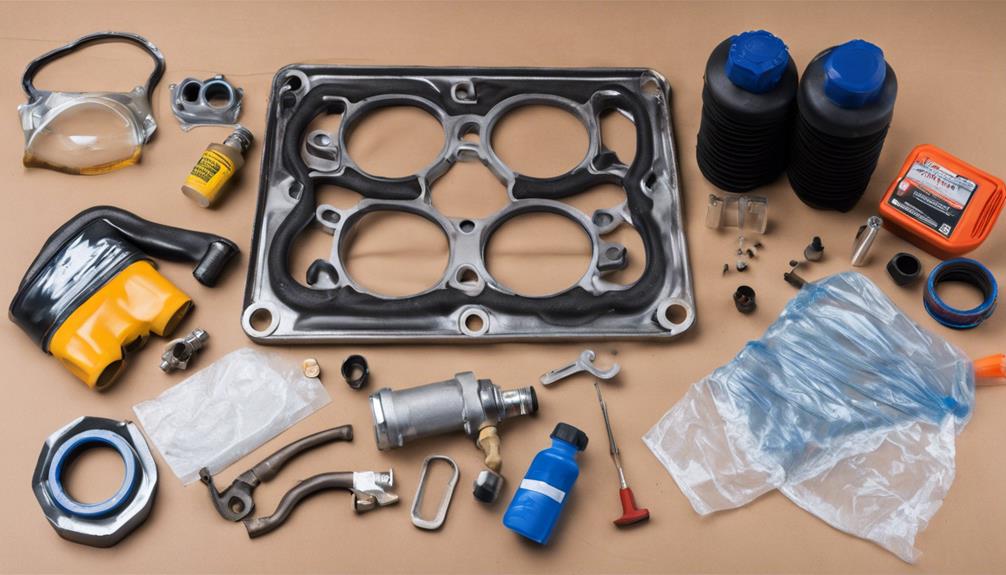
Before beginning the valve cover gasket replacement task, gather all necessary tools and materials for a smooth and efficient process. The tools needed include a socket wrench set, torque wrench, gasket scraper, new gasket, oil filter wrench, and a container for storing drained oil. Safety precautions are important; always disconnect the battery to avoid any electrical mishaps. Make sure the engine is cool before starting to prevent burns from hot components.
Having the right tools at hand saves time and prevents frustration during the process. The socket wrench set allows you to access and remove the bolts securing the valve cover. A torque wrench ensures proper tightening of the bolts once the new gasket is in place, preventing leaks. The gasket scraper helps remove the old gasket without damaging the surface. Remember to dispose of the old gasket properly to avoid environmental harm. Finally, having a container ready for the drained oil keeps your workspace clean and organized. By following these precautions and having the necessary tools, you're well-equipped to tackle the valve cover gasket replacement task effectively.
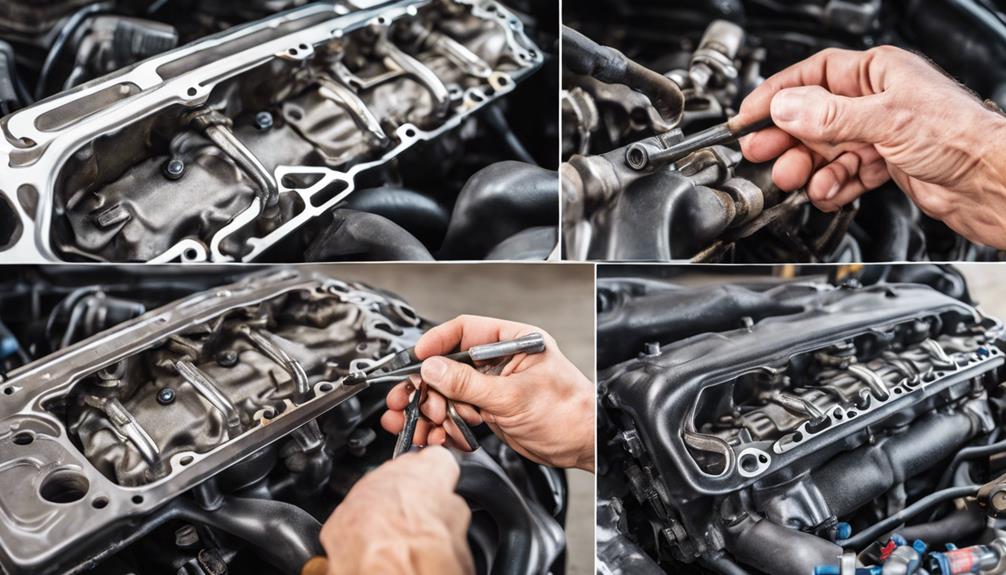
Removing the Old Gasket
To remove the old gasket effectively, carefully use a gasket scraper to gently pry it off the valve cover surface. Make sure to clean the surface thoroughly after removing the old gasket to guarantee a proper seal with the new one.
Here are some key steps to follow:
- Scrape Off Old Gasket: Use a gasket scraper to remove the old gasket without damaging the valve cover.
- Clean the Surface: Wipe the valve cover surface clean using a rag and a suitable solvent to eliminate any residue left behind.
- Inspect for Residue: Check the surface for any remaining pieces of the old gasket that may impact the new gasket's seal.
- Check for Leaks: Inspect the valve cover and surrounding areas for any signs of leaks that may have occurred due to the old gasket failing.
- Prepare for Installation: Once the surface is clean and free of debris, you're ready to install the new gasket securely.
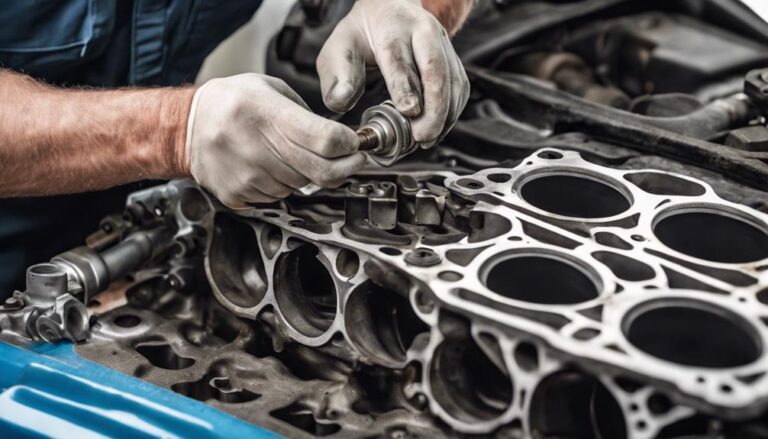
Installing the New Gasket
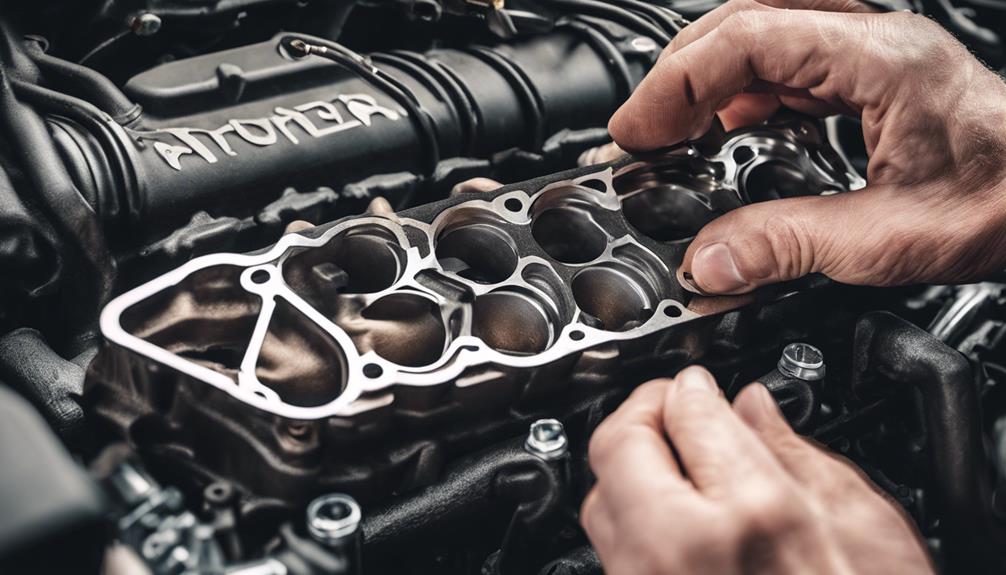
When installing the new gasket, make sure that the surface of the valve cover is clean and free of any debris. Proper gasket alignment is essential to make sure a leak-free seal. Carefully position the gasket on the valve cover, making sure it sits evenly and aligns with the bolt holes.
Before placing the valve cover back onto the engine, apply a thin, uniform bead of silicone sealant to both sides of the gasket. This silicone sealant acts as an additional barrier against oil leaks and helps to secure the gasket in place during installation.
When tightening the valve cover bolts, be cautious not to overtighten them. Use a torque wrench to tighten the bolts to the manufacturer's specifications. Overtightening can lead to gasket deformation, causing leaks. Proper torque application ensures a secure seal without damaging the gasket. This step is critical in preventing oil leaks and ensuring the longevity of the gasket.
Reassembling the Valve Cover
Carefully clean the mating surface of the engine block before reassembling the valve cover. This step is important to guarantee a proper seal and prevent any leaks.
Here is a detailed guide to help you reassemble the valve cover effectively:
- Cleaning Surface: Use a clean rag and a mild solvent to thoroughly clean the mating surface of the engine block. Make sure there's no debris or old gasket material left behind.
- Inspect Gasket: Before placing the valve cover back on, inspect the new gasket for any damage or defects. Replace it if necessary to avoid future issues.
- Positioning the Cover: Carefully place the valve cover back onto the engine block, ensuring it aligns correctly with the bolt holes.
- Tightening Bolts: Gradually tighten the bolts in a crisscross pattern to guarantee even pressure distribution. Refer to your vehicle's manual for the specific torque settings.
- Final Check: Double-check all bolts to confirm they're securely tightened. This will help prevent any oil leaks once the engine is running.
Final Checks and Testing
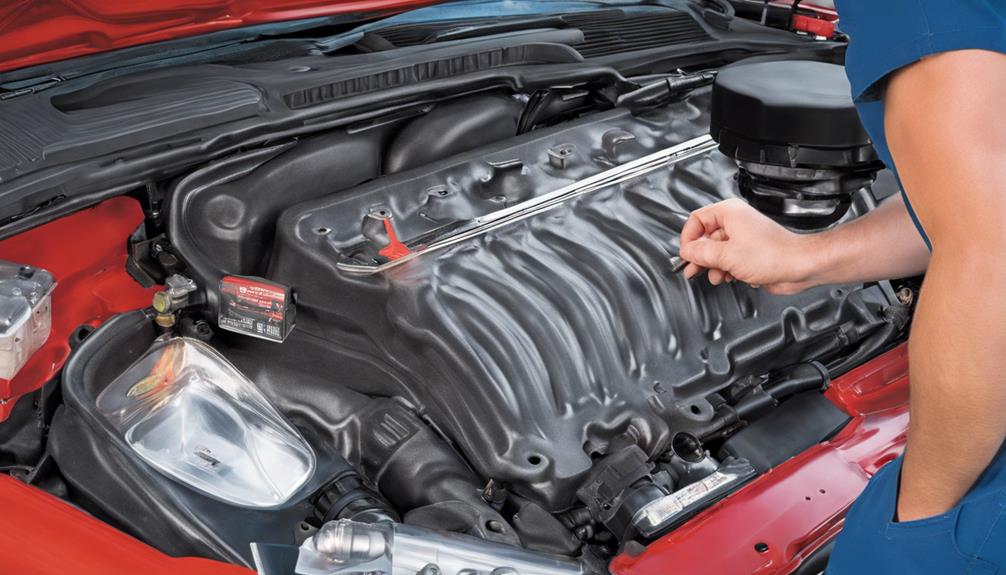
Double check all bolts are securely tightened before proceeding to conduct a pressure test to confirm the effectiveness of the valve cover reinstallation. Ensuring the bolts are properly torqued is important to prevent leaks that could lead to oil seepage and potential engine damage.
Once the bolts are secure, it's time to perform a pressure test. This test involves pressurizing the engine's oil system to verify that the valve cover gasket is properly installed and sealing correctly.
During the pressure test, pay close attention to any signs of leaks or abnormal pressure drops, as these could indicate a faulty installation. A successful pressure test is essential for leak prevention and maintaining the integrity of the engine's oil system.
Additionally, after the pressure test, it's recommended to conduct a performance evaluation by analyzing the oil flow. This step ensures that oil is circulating correctly throughout the engine, providing lubrication to essential components.
Frequently Asked Questions
Can I Reuse My Old Valve Cover Gasket if It Still Looks Intact?
If the valve cover gasket appears intact, it may seem tempting to reuse it. However, gasket reuse considerations should include potential compression loss and leakage risks. Inspect the gasket carefully for any signs of wear or damage before deciding.
How Often Should I Replace My Valve Cover Gasket?
You should replace your valve cover gasket every 60,000-100,000 miles. Regularly inspecting for oil leaks, maintaining proper torque on bolts, and using quality gaskets can prolong its lifespan. By following these maintenance tips, you confirm engine efficiency.
Is It Necessary to Apply Sealant or Gasket Maker When Installing a New Gasket?
When installing a new gasket, it is not always necessary to apply sealant or gasket maker. While sealant can provide extra protection, some gaskets are designed to work without it. Consider your specific engine needs.
What Are the Signs of a Failing Valve Cover Gasket?
When your vehicle starts leaving oily puddles or you smell burning oil, it's likely a failing valve cover gasket. Common symptoms include oil leaks, engine misfires, and a strong oil smell. Timely replacement prevents further damage.
Can a DIY Valve Cover Gasket Replacement Cause Any Damage to My Engine if Done Incorrectly?
If done incorrectly, a DIY valve cover gasket replacement can lead to common mistakes like over-tightening bolts or improper sealing, potentially causing oil leaks, engine misfires, or even internal damage. Be cautious.
Conclusion
Congratulations!
You have successfully conquered the challenge of replacing your valve cover gasket with precision and skill.
Your engine will now be running smoother than ever before, thanks to your expert DIY skills.
Enjoy the satisfaction of a job well done and revel in the knowledge that you have mastered this essential automotive task.
Keep up the great work on maintaining your vehicle like a pro!