How to Install Fuel Filter
To install a fuel filter, locate the filter, disconnect fuel lines, remove old filter, install new filter, and reconnect fuel lines securely. Ensuring proper installation is crucial for optimal engine performance.
When it comes to maintaining your vehicle’s fuel system, installing a new fuel filter is a simple yet essential task. A fuel filter helps keep contaminants and debris from clogging fuel injectors and causing engine issues. By following a few basic steps, you can easily replace your fuel filter and ensure your vehicle runs smoothly and efficiently.
In this guide, we will walk you through the process of installing a fuel filter, providing you with the necessary knowledge and steps to complete the task effectively.
Gathering Tools And Supplies
Before you embark on installing a fuel filter, it’s important to gather the necessary tools and supplies to ensure a smooth and efficient process. Having the right equipment at hand will save you time and frustration down the line. In this section, we’ll walk you through the list of required tools and the necessary supplies you’ll need to get the job done.
List Of Required Tools
Here’s a handy list of tools you should have ready before you begin installing a fuel filter:
- Safety goggles
- Gloves
- Socket wrench set
- Line wrench
- Fuel line disconnect tool
- Jack stands
- Jack or hydraulic lift
- Ratchet strap or tie-downs
Having these tools at your disposal will ensure that you have everything you need to safely and effectively install your new fuel filter. Safety goggles and gloves are essential for protecting your eyes and hands from any potential hazards during the process.
Gathering Necessary Supplies
In addition to the tools mentioned above, you will also need to gather the necessary supplies to successfully complete the fuel filter installation. These supplies include:
- New fuel filter
- Fuel line washers
- Fuel line clamps
- Shop rags
- Gasoline-resistant thread sealant
- Safety glasses cleaner
- Threadlocker
A fresh fuel filter is the heart of the installation process, and it’s important to choose one that meets the specifications of your vehicle. Fuel line washers and clamps will help ensure a secure and leak-free connection. Having shop rags, gasoline-resistant thread sealant, safety glasses cleaner, and threadlocker on hand will assist in keeping everything clean and organized throughout the installation.
Now that you have your tools and supplies gathered, you’re ready to move on to the next steps of installing your fuel filter!

Credit: www.youtube.com
Locating The Fuel Filter
Identifying The Filter’s Location
Understanding the Fuel System:
The fuel filter is a crucial component in your vehicle that ensures clean fuel reaches the engine.
Identifying the Filter:
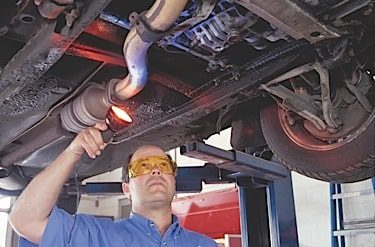
- Look under the vehicle near the gas tank or along the fuel line to find the fuel filter.
- Refer to your car’s manual or consult online resources for specific location guidance.
Understanding The Fuel System
Locating the Filter:
- Begin by parking your car on a level surface with the engine turned off.
- Locate the fuel tank, typically positioned near the rear of the vehicle.
- Follow the fuel lines from the tank towards the engine to find the fuel filter.
Identifying the Filter:
| Car Make | Common Filter Location |
|---|---|
| Toyota | Underneath the car, driver’s side |
| BMW | By the fuel pump or under the hood |
Removing The Old Fuel Filter
Before installing a new fuel filter, it is crucial to properly remove the old one. This process involves two key steps: depressurizing the fuel system and uninstalling the old filter.
Depressurizing The Fuel System
- Locate the fuel pump fuse in the fuse box.
- Start the engine and let it run until it stalls, indicating the fuel pressure has been relieved.
- Turn off the ignition and disconnect the negative battery cable.
Uninstalling The Old Filter
- Locate the old fuel filter under the vehicle near the fuel tank.
- Use a wrench to loosen the fittings on both sides of the filter.
- Remove the fasteners that secure the filter in place.
- Gently detach the old filter from the fuel lines.
- Dispose of the old fuel filter in accordance with local regulations.
Credit: www.autozone.com
Installing The New Fuel Filter
Learn how to properly install a new fuel filter in just a few simple steps. By following this guide, you can easily replace the old filter and ensure smooth and efficient fuel flow in your vehicle. This process is essential for maintaining optimal engine performance and fuel system functionality.
Securing The New Filter
Once you have removed the old fuel filter, it’s time to securely install the new one. Follow these simple steps to ensure proper installation: 1. Inspect the new fuel filter: Before installing the new fuel filter, thoroughly check for any damages or defects. Make sure there are no cracks or leaks and that all connections are intact. 2. Apply lubricant: To ensure a tight seal, apply a small amount of lubricant to the o-rings or gaskets on the new fuel filter. This will help prevent any fuel leaks and make the installation process smoother. 3. Position the new filter: Carefully position the new fuel filter in the same location where the old one was removed. Refer to the vehicle’s manual or online resources for the correct orientation and placement of the fuel filter. 4. Tighten the fittings: Start by hand-tightening the fittings on the new filter to ensure they are correctly aligned. Then, using a wrench or the appropriate tool, gently tighten the fittings until they are snug. Be cautious not to overtighten, as this could cause damage. 5. Double-check for leaks: After securing the new filter, visually inspect the connections for any signs of fuel leakage. If there are no visible leaks, wipe the area clean and proceed to the next step.Re-pressurizing The Fuel System
Once the new fuel filter is securely installed, you need to re-pressurize the fuel system to ensure proper fuel flow. Follow these steps: 1. Locate the fuel pump relay or fuse: In the vehicle’s fuse box, find the fuel pump relay or fuse. Refer to the owner’s manual or consult online resources if you’re unsure about its location. 2. Disable the fuel pump: Remove the fuel pump relay or fuse to disable the fuel pump temporarily. This prevents fuel from flowing while you re-pressurize the system. 3. Turn the ignition key: Insert the ignition key and turn it to the “On” position without starting the engine. This will activate the fuel pump to re-pressurize the system. 4. Repeat the process: Turn the ignition key to the “Off” position and then repeat steps 2 and 3 for two to three cycles. This ensures that the fuel system is adequately pressurized. 5. Check for leaks: Once you have completed the re-pressurization process, inspect the fuel filter connections for any signs of leaks. If there are no leaks and everything looks secure, you are now ready to start the engine. Remember, if you are unsure about any step or encounter difficulties during the installation process, it is always best to seek professional assistance. Now that you have successfully installed the new fuel filter and re-pressurized the system, your vehicle’s fuel system should be in optimal condition, promoting efficient fuel flow and engine performance.Testing The New Fuel Filter
When it comes to installing a new fuel filter, it’s crucial to ensure that the new component is functioning properly. After installing the new fuel filter, it’s essential to perform some tests to guarantee that it is free from leaks and that the fuel flow is unobstructed. In this section, we will discuss how to test the new fuel filter and ensure its proper functioning.
Checking For Leaks
After installing the new fuel filter, it’s vital to check for any potential leaks to prevent fuel from seeping out. Start the test by visually examining the newly installed fuel filter and the surrounding connections for any signs of leakage. Look for any drips or wet spots that may indicate a leak. Additionally, start the vehicle and closely monitor the fuel filter for any signs of leakage. If there are visible leaks, it is crucial to rectify the issue immediately to prevent any safety hazards or damage to the vehicle.
Ensuring Proper Fuel Flow
Another critical test is to ensure that the new fuel filter allows proper fuel flow. After the installation, verify that the fuel lines are correctly connected and that there are no kinks or obstructions that may hinder the flow of fuel. Once the connections are confirmed, start the engine and observe the fuel filter for any signs of interference with the fuel flow. Proper fuel flow is essential for the optimal performance of the vehicle, so it’s crucial to ensure that the new filter allows the fuel to pass through freely.
Credit: www.youtube.com
Frequently Asked Questions Of How To Install Fuel Filter
Which Way Do I Install A Fuel Filter?
To install a fuel filter, follow these steps: 1. Locate the fuel filter under the hood or near the fuel tank. 2. Release the pressure in the fuel system by removing the fuel pump fuse or relay. 3. Use a wrench to disconnect the fuel lines from the filter.
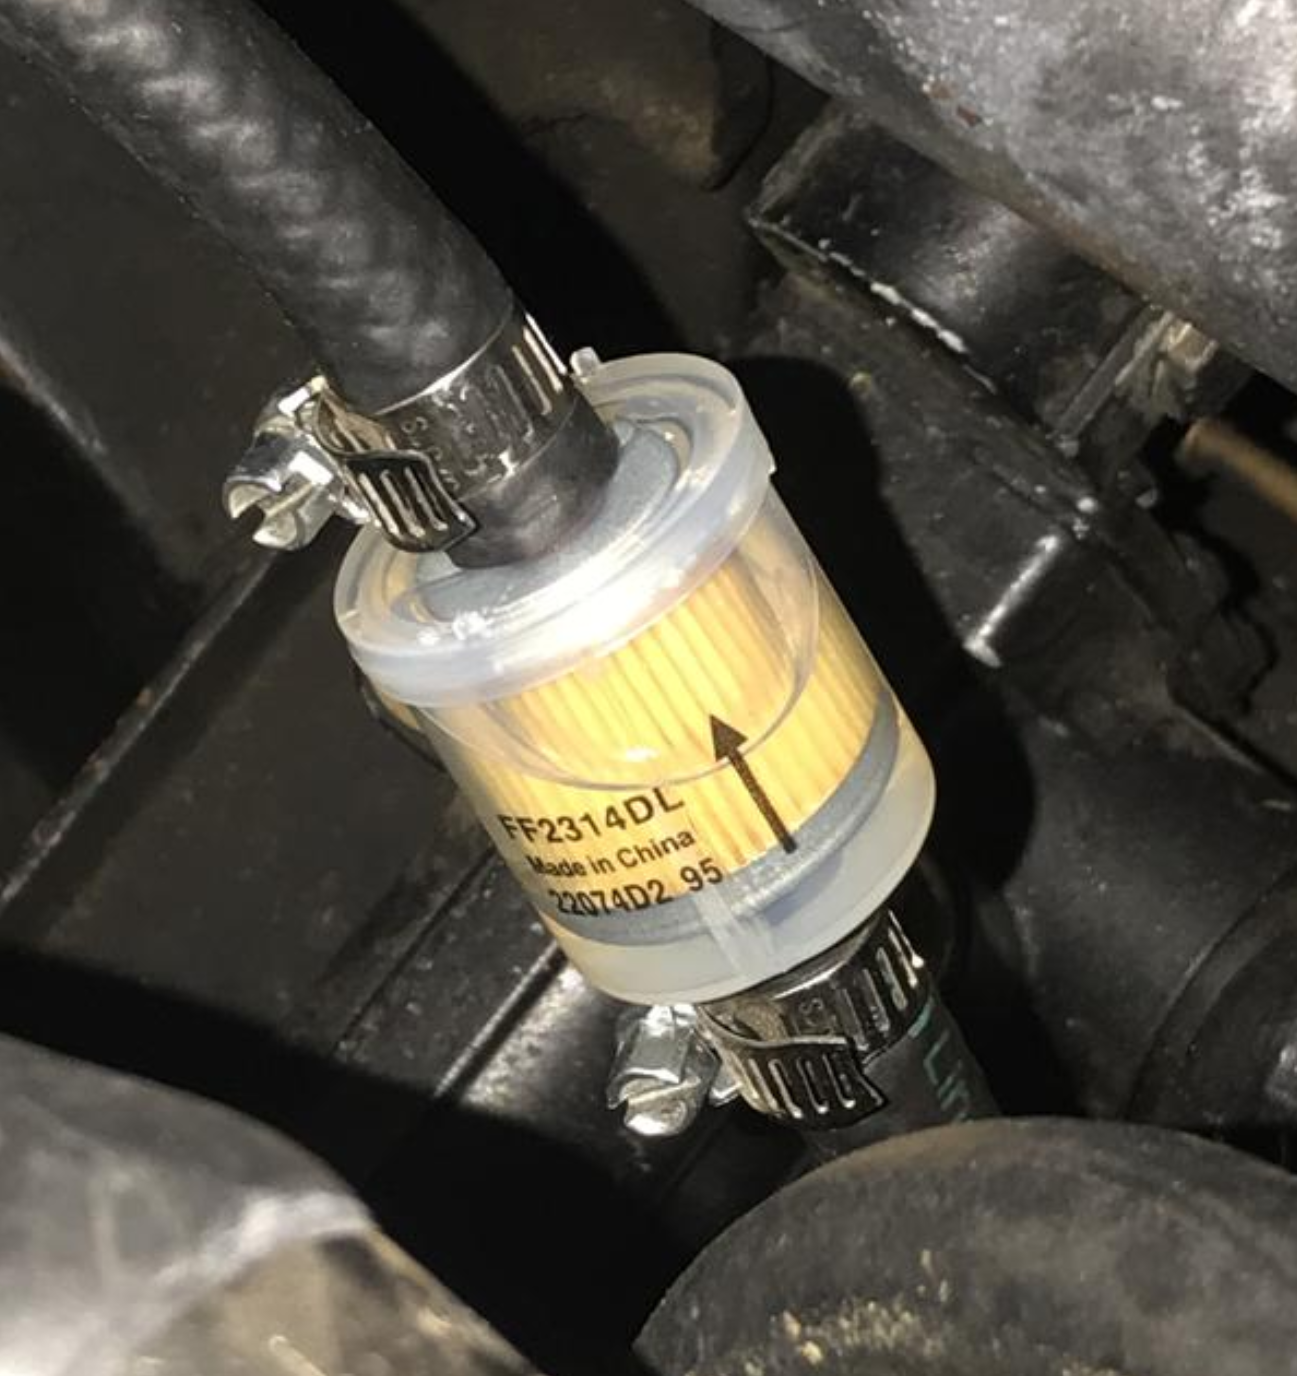
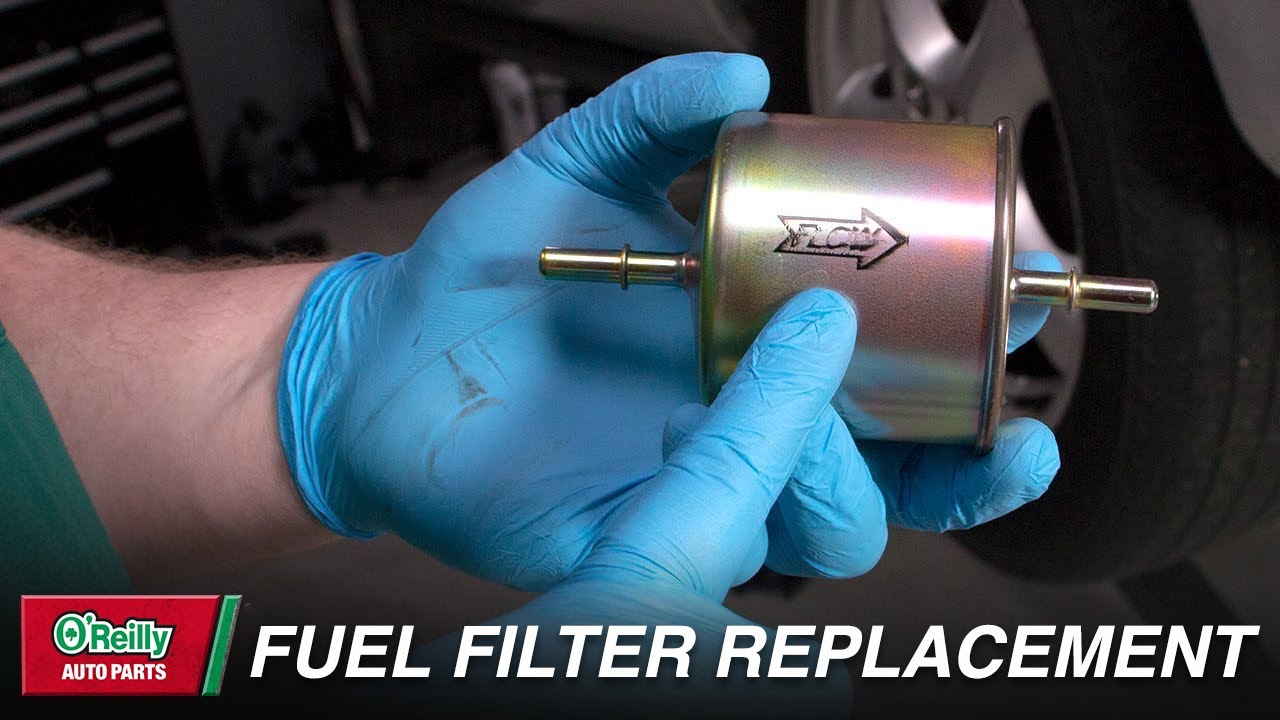
4. Install the new filter in the correct direction, following the flow arrow. 5. Reconnect the fuel lines and ensure they are tight.
Can I Replace My Fuel Filter Myself?
Yes, you can replace your fuel filter yourself. Just follow the vehicle manual instructions carefully for a successful replacement.
What Happens If You Put A Fuel Filter On Wrong?
Putting a fuel filter on wrong can cause fuel flow issues, engine misfires, and damage to the fuel system.
What Are Symptoms Of A Bad Fuel Filter?
Symptoms of a bad fuel filter include poor engine performance, stalling, difficulty starting, and decreased fuel efficiency.
Why Is It Important To Replace A Fuel Filter Regularly?
It is essential to replace the fuel filter regularly to prevent clogs and ensure efficient fuel flow to the engine.
How Often Should I Replace The Fuel Filter In My Vehicle?
For optimal performance, it is recommended to replace the fuel filter every 20,000 to 30,000 miles, or as per manufacturer’s guidelines.
What Are The Signs That Indicate A Clogged Fuel Filter?
Common signs of a clogged fuel filter include engine sputtering, loss of power, difficulty starting, and poor fuel efficiency.
Conclusion
Installing a fuel filter is a crucial step to ensure your vehicle’s optimum performance. By following the step-by-step instructions provided in this guide, you can effortlessly complete the installation process. Remember to prioritize safety precautions during the installation, and regularly maintain and replace your fuel filter to keep your engine running smoothly.
Trusting in your own abilities and being proactive about vehicle maintenance will save you time and money in the long run. Happy driving!