How to Fix Low Coolant
To fix low coolant, locate the reservoir, open when engine is cool, and add coolant as needed. Low coolant levels can lead to engine overheating and potential damage.
Ensure to address the issue promptly to prevent any further complications. Maintaining proper coolant levels in your vehicle is essential for the optimal functioning of the engine. Low coolant not only increases the risk of overheating but can also lead to engine damage if left unattended.
By following a few simple steps, you can quickly and effectively address low coolant levels in your vehicle, ensuring smooth and efficient performance. We will explore the importance of coolant in your vehicle, the signs of low coolant levels, and the steps you can take to fix this issue.
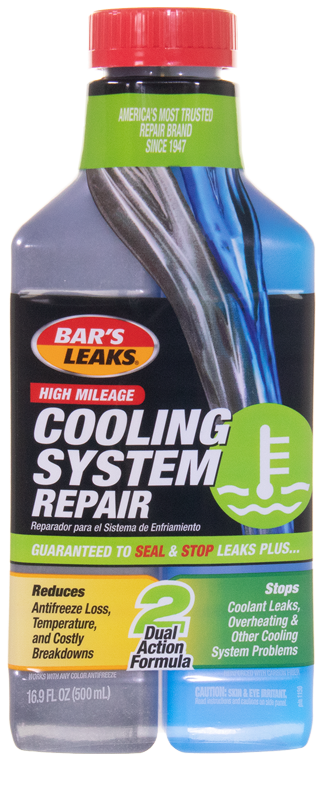
Credit: barsleaks.com
Identifying The Issue
If you are dealing with low coolant in your car, the first step is to identify the issue. Check for leaks, inspect the radiator, hoses, and water pump for any signs of damage or wear. Additionally, ensure the reservoir is at the correct level.
Regularly monitoring and addressing low coolant levels can prevent potential engine damage.
Checking Coolant Level
One of the first things to do when fixing a low coolant issue is to check the coolant level. The coolant level is vital for the proper functioning of your car’s engine, as it helps regulate temperature and prevent overheating. Follow these steps to check the coolant level:
- Pop open the hood of your car and locate the coolant reservoir. It’s usually a translucent plastic container with markings indicating the minimum and maximum levels.
- Ensure that the engine is cool before removing the cap of the coolant reservoir. Hot coolant can cause burns.
- Check the coolant level against the markings on the reservoir. If the level is below the minimum mark, you need to add more coolant.
- Purchase the correct coolant for your vehicle. Refer to the owner’s manual or ask a professional to determine the appropriate coolant type and mixture for your car.
- Pour the coolant slowly into the reservoir to bring the level up to the maximum mark. Take care not to overfill, as this can lead to problems as well.
- After adding coolant, replace the cap tightly and securely.
Looking For Leaks
A low coolant level can be an indication of a coolant leak somewhere in your car’s system. Identifying and fixing these leaks is crucial to prevent further coolant loss. Here’s how you can look for leaks:
- Inspect the coolant reservoir for any visible signs of coolant leakage such as puddles or stains.
- Check the radiator and hoses for cracks, splits, or loose connections.
- Examine the water pump, heater core, and head gasket for any signs of leakage.
- If you can’t locate any visible leaks, you can try performing a pressure test on the cooling system. This test helps identify hidden leaks that may not be immediately apparent.
- If you notice any leaks, it’s essential to address them promptly. Depending on the severity of the leak, you may need to replace damaged components or tighten connections. Seek professional assistance if needed.
Locating The Coolant Reservoir
Finding The Reservoir
The coolant reservoir in your vehicle typically has a translucent plastic tank.
- Open the hood of your car and locate the radiator.
- The coolant reservoir is often adjacent to the radiator, usually on one side.
Checking For Cracks
Inspect the coolant reservoir for any visible cracks or leaks.
- Cracks can lead to coolant loss, causing engine overheating.
- If you notice cracks, it’s essential to replace the reservoir promptly.
Adding Coolant
Adding coolant is crucial for maintaining your vehicle’s cooling system. It helps prevent your engine from overheating and ensures optimal performance.
Choosing The Right Coolant
Selecting the right coolant is essential for your vehicle’s health. Make sure to choose a coolant that is compatible with your car’s make and model.
Pouring Coolant Safely
To add coolant safely, first, make sure your engine is cool. Unscrew the coolant reservoir cap slowly to release any built-up pressure.
Using a funnel, pour the coolant into the reservoir until it reaches the “Full” mark. Be cautious not to spill any coolant on the engine or other components.
Bleeding The Cooling System
Bleeding the cooling system is an important step to ensure proper functioning of your vehicle’s cooling system. Over time, air can become trapped in the system, which can lead to overheating and potential damage to your engine. Bleeding the cooling system involves releasing this trapped air, allowing coolant to flow freely and effectively cool your engine. In this section, we will explain how to locate the bleed screws and release trapped air in the cooling system.
Locating Bleed Screws
In order to bleed the cooling system, it is essential to locate the bleed screws. These screws are typically positioned at the highest points of the system, allowing air to escape. Consult your vehicle’s manual or look online for the specific location of the bleed screws in your make and model. Once you have located the bleed screws, you are ready to begin the bleeding process.
Releasing Trapped Air
Now that you have identified the bleed screws, it’s time to release any trapped air in the cooling system. Make sure your vehicle is turned off and the engine is cool before proceeding. Use a combination of open-end wrenches and pliers to carefully loosen the bleed screws. As you loosen the screws, you may hear a hissing sound as air is released. Pay attention to coolant coming out, as it indicates that the system is being properly bled.
If the coolant does not flow out or the hissing sound persists, it may be necessary to gently squeeze the radiator hoses to help release the trapped air. Continue loosening the bleed screws until a steady flow of coolant is observed. Once coolant is flowing evenly, tighten the screws back to their original position, ensuring they are secure and not over-tightened.
Important: Remember to use caution when working with hot coolant to avoid burns. Allow the engine to cool down before attempting to bleed the cooling system.
In conclusion, bleeding the cooling system is a crucial step in maintaining the functionality of your vehicle’s engine. By locating the bleed screws and releasing trapped air, you can prevent overheating and potential damage. Follow the steps outlined in this section to effectively bleed your cooling system and ensure optimal performance for your vehicle.
Final Checks
Final checks are crucial when dealing with low coolant levels in your vehicle. It’s essential to ensure that everything has been properly addressed before hitting the road. Here are the key final checks to perform to fix low coolant issues:
Rechecking Coolant Level
To verify the coolant level, open the radiator or coolant reservoir and visually inspect the level. If necessary, top up the coolant to the specified level according to your vehicle’s manual, ensuring the engine is cold before doing so.
Testing For Leaks
After topping up the coolant, it’s important to thoroughly inspect for any leaks within the system. Check the hoses, clamps, water pump, radiator, and heater core for any signs of leaking coolant. Performing a pressure test can help identify hidden leaks that may not be immediately visible.
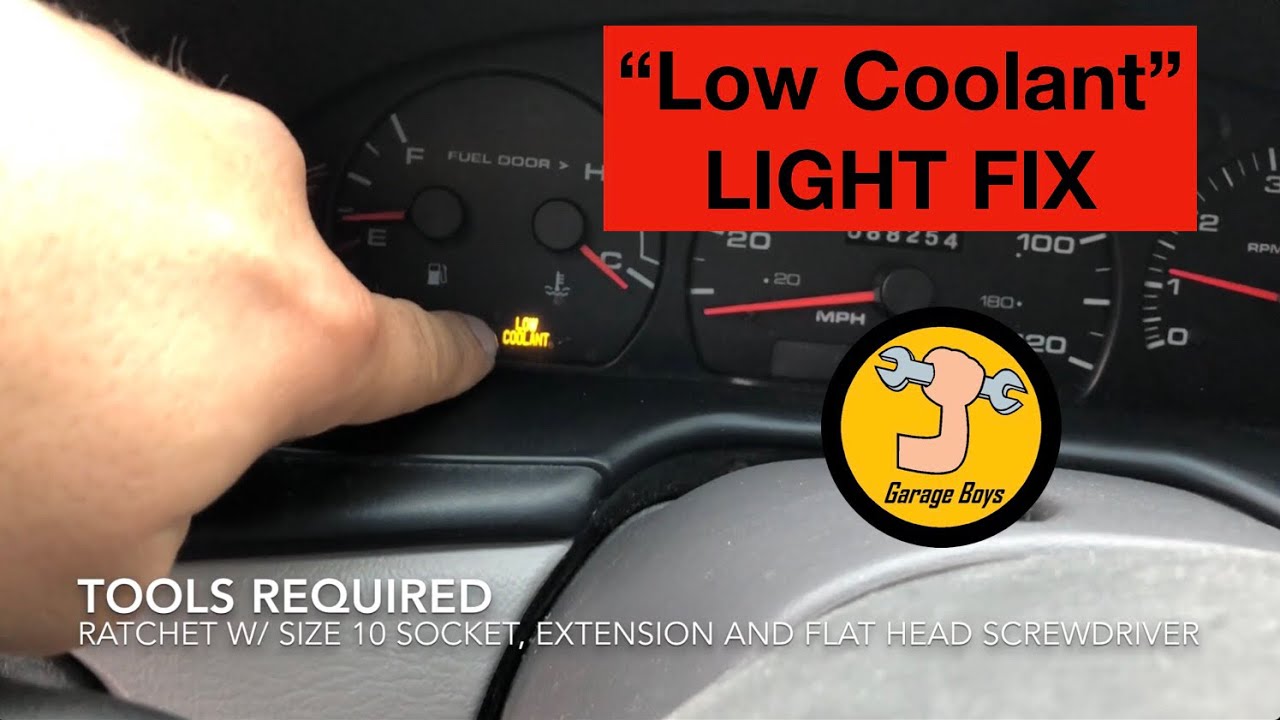
Credit: www.youtube.com
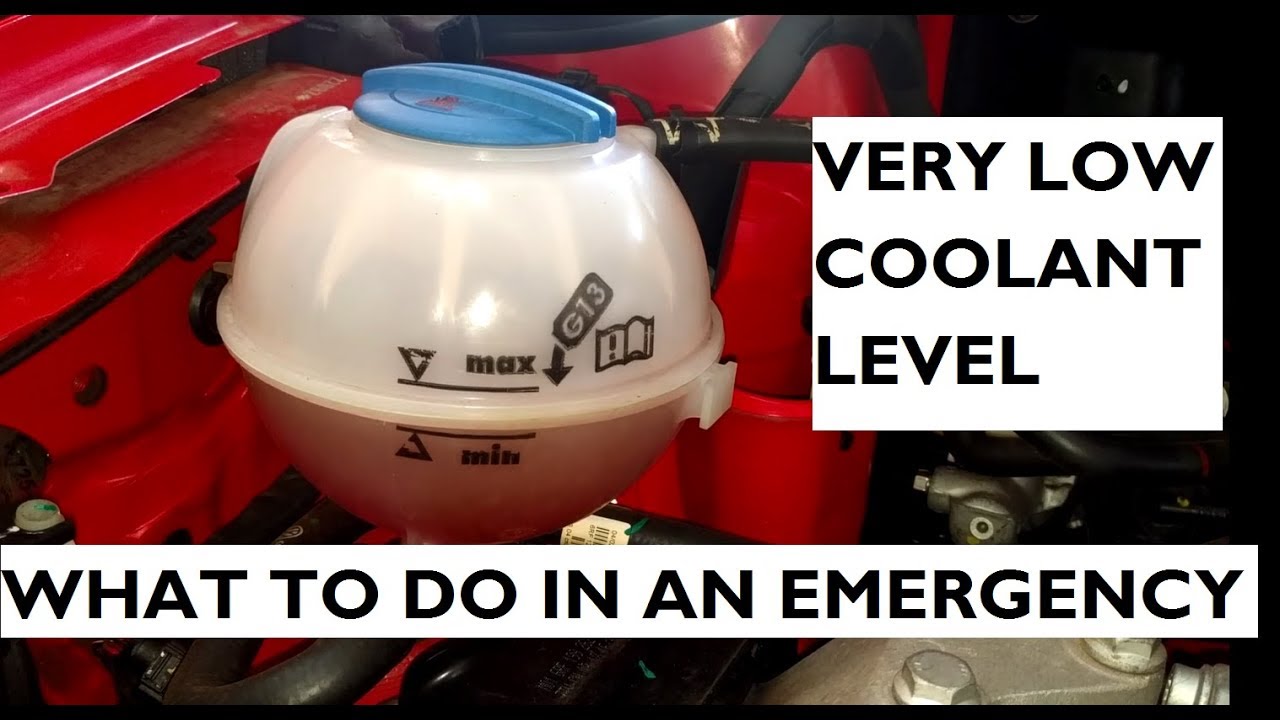
Credit: www.youtube.com
Frequently Asked Questions For How To Fix Low Coolant
What To Do If My Coolant Is Low?
To address low coolant levels, follow these steps: 1. Park your vehicle and let the engine cool down. 2. Locate the coolant reservoir and check the level against the minimum and maximum markings. 3. If it’s low, add a mixture of coolant and water as per the manufacturer’s recommendations.
4. Make sure to tighten the reservoir cap afterward. 5. If the problem persists, consult a professional mechanic for further inspection.
Can I Just Add Coolant To My Car?
Yes, you can add coolant to your car, but ensure the engine is cool before pouring. Top up slowly to the recommended level in the coolant reservoir.
How Do You Fix Losing Coolant?
To fix losing coolant, locate the leak, check hoses and radiator for damage, repair or replace the damaged parts. Always monitor coolant levels for any future issues.
Can I Still Drive My Car If Coolant Is Low?
If your coolant is low, it is not recommended to drive your car. Low coolant can cause your engine to overheat, leading to serious damage and potential breakdowns. It is important to maintain the proper coolant levels for optimal performance and to prevent any potential damage to your car’s engine.
What Are The Signs Of Low Coolant Level?
Coolant warning light, overheating, and low coolant level in the reservoir are common signs.
Why Is It Important To Maintain Proper Coolant Levels?
Proper coolant levels ensure efficient engine cooling, prevent overheating, and maintain engine performance.
How Often Should I Check My Coolant Level?
Regularly check your coolant level every 3,000 to 5,000 miles or during routine maintenance.
Conclusion
To wrap things up, fixing low coolant levels is a crucial maintenance task for any vehicle owner. By following the steps outlined in this guide, you can easily identify the issue, locate the source of the leak, and take the necessary actions to resolve it.
Remember to regularly check your coolant levels and address any concerns promptly to ensure optimal engine performance and prevent damage. Stay proactive and keep your vehicle running smoothly!