10 Best Steps for Intake Manifold Cleaning
When tackling the task of intake manifold cleaning, precision is paramount. Starting with a systematic inspection can set the stage for success.
But what comes next? Stay tuned to discover the pivotal steps that will guarantee your engine runs smoothly and efficiently.
Key Takeaways
- Regularly inspect and clean intake manifold to prevent buildup and maintain efficiency.
- Use proper cleaning agents and techniques to remove carbon deposits and debris effectively.
- Reassemble components securely and test for air leaks to ensure optimal performance.
- Reset ECU and schedule routine maintenance to keep intake system in top condition.
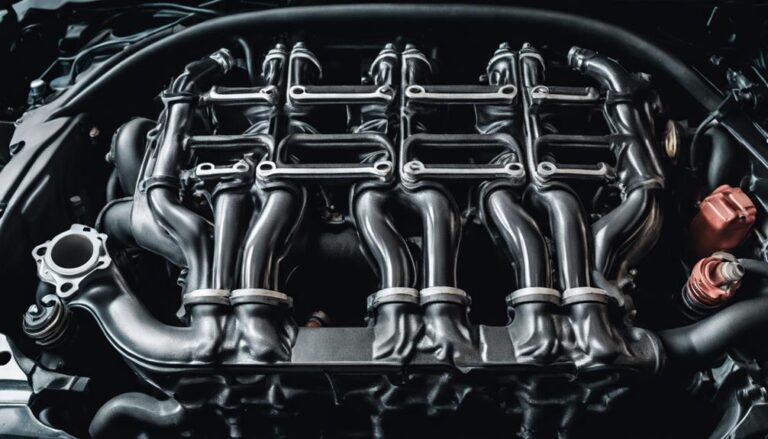
Inspection of Intake Manifold
Inspecting the intake manifold involves visually examining its surfaces for any signs of buildup, cracks, or leaks. Begin by looking for any carbon deposits, oil sludge, or debris accumulation on the manifold. These can obstruct airflow and reduce the engine's performance. Check for any visible cracks or signs of wear that may indicate potential leaks. Utilizing a flashlight can help you inspect the hidden areas of the manifold thoroughly.
To guarantee the cleaning efficiency of the intake manifold, it's important to pay attention to detail. Use a combination of cleaning solutions and brushes to remove stubborn buildup effectively. A common technique is to soak the manifold in a degreaser solution to loosen the grime before scrubbing it off. Be gentle with the cleaning process to avoid causing any damage to the manifold's surfaces. Once cleaned, inspect the manifold again to confirm that all residues have been removed. Effective cleaning techniques will improve airflow, combustion efficiency, and overall engine performance.
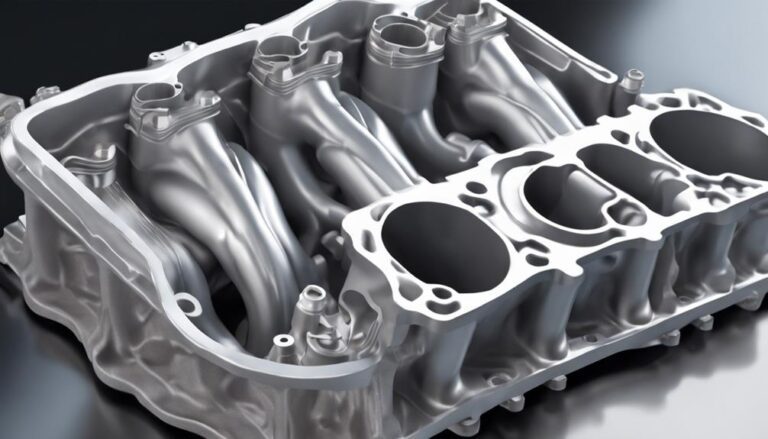
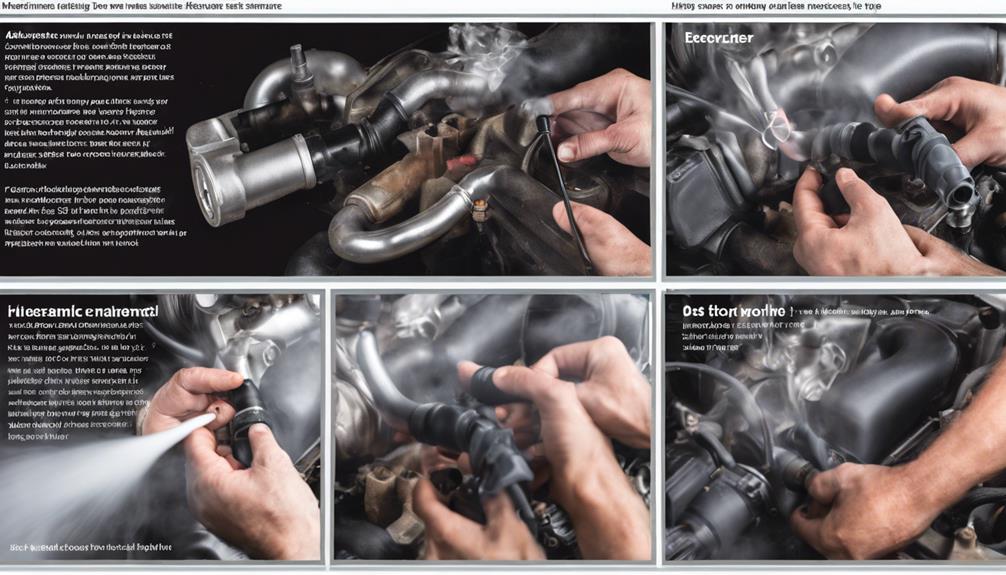
Removing Air Intake Components
To proceed with removing air intake components, begin by carefully disassembling the intake manifold to access the components connected to it. Once you have access to the air intake components, follow these steps to effectively remove them:
- Disconnecting Hoses and Clamps: Start by disconnecting any hoses and clamps attached to the intake manifold. Guarantee you label them or take pictures for easier reassembly later.
- Unbolting the Intake Manifold: Next, use the appropriate tools to unbolt the intake manifold from the engine block. Keep track of the bolts and their placement to avoid confusion during reinstallation.
- Removing Debris and Preventing Buildup: Before removing the components, take the time to inspect for any debris or buildup inside the intake manifold. Use a vacuum or soft brush to clean out any dirt or deposits to prevent future issues with airflow.
Cleaning Throttle Body
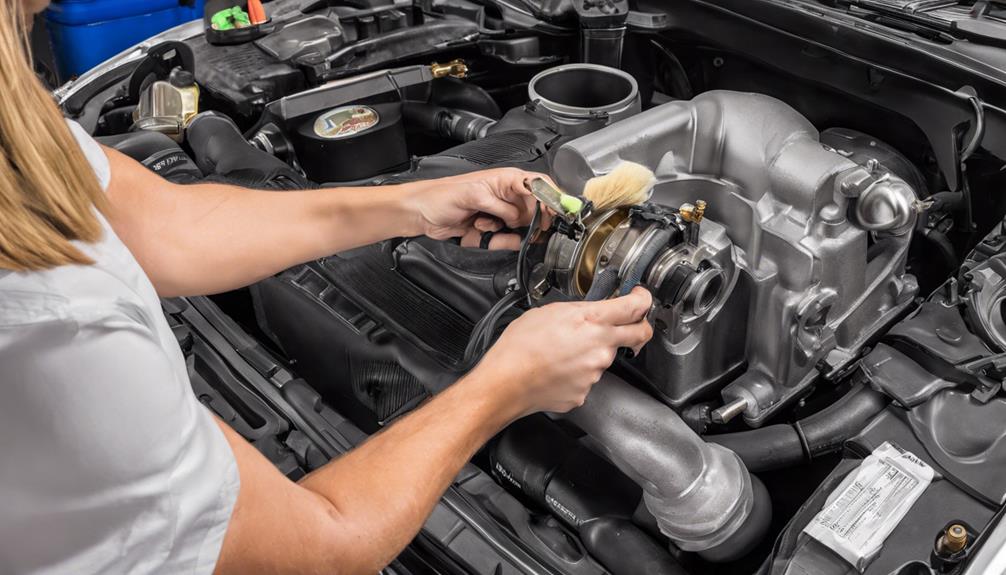
To properly clean the throttle body, begin by disconnecting the electrical connections and air intake duct attached to it. Throttle body maintenance is important for optimizing engine performance. Start by locating the throttle body, typically positioned between the air intake filter and the intake manifold.
Next, use a throttle body cleaner spray and a clean rag to remove any carbon deposits or dirt buildup. Open the throttle plate carefully to access the inner surfaces. Be gentle to avoid damaging any components. Clean the throttle plate and bore thoroughly, making sure all debris is removed.
Regular maintenance of the throttle body can lead to significant performance improvement. A clean throttle body allows for better airflow, which enhances engine efficiency and responsiveness. After cleaning, reattach the electrical connections and air intake duct securely. Make sure everything is properly sealed to prevent any air leaks.
Taking the time to clean your throttle body as part of your maintenance routine can help keep your engine running smoothly and efficiently.
Using Intake Cleaner Spray
When using intake cleaner spray, make sure to apply it in short bursts to prevent oversaturation. Remember to follow the proper cleaning technique by focusing on the entire intake manifold surface.
Prioritize safety by wearing protective gear and working in a well-ventilated area to avoid inhaling fumes.
Spray Application Tips
For best results when applying intake cleaner spray, make sure the surface is thoroughly cleaned and free of debris before spraying. To establish a successful spray application, follow these tips:
- Proper Distance: Maintain a consistent distance of 6-8 inches between the nozzle and the intake surface for even coverage.
- Even Application: Spray in a sweeping motion, moving across the intake manifold uniformly to prevent pooling or uneven distribution.
- Overlap Technique: Apply the cleaner in overlapping passes to guarantee thorough coverage, especially in hard-to-reach areas.
Following these spray application tips will optimize the cleaning effectiveness of the intake cleaner spray while avoiding common mistakes that may hinder the process.
Proper Cleaning Technique
Make sure that the intake manifold surface is clean and free of debris before beginning the application of the intake cleaner spray. To effectively clean your intake manifold using an intake cleaner spray, you will need the following cleaning tools:
| Cleaning Tools | Description |
|---|---|
| Intake Cleaner Spray | Specifically designed for intake systems |
| Soft-bristled Brush | To scrub off stubborn deposits |
| Microfiber Cloth | For wiping and drying off excess cleaner |
| Compressed Air | To blow out any remaining debris |
After applying the intake cleaner spray as per the manufacturer's instructions, make sure the drying process is thorough before reassembling the intake manifold. This meticulous approach will help maintain peak engine performance.
Safety Precautions to Consider
Exercise caution when handling intake cleaner spray to guarantee your safety during the cleaning process. When using intake cleaner spray, follow these safety precautions:
- Safety Gear: Always wear protective gear such as gloves and safety goggles to shield your skin and eyes from any potential contact with the cleaning solution.
- Ventilation: Assure the area where you're cleaning the intake manifold is well-ventilated to prevent inhaling harmful fumes from the spray.
- Cleaning Materials, Tools: Use the intake cleaner spray as directed on the product label and avoid mixing it with other chemicals to prevent dangerous reactions.
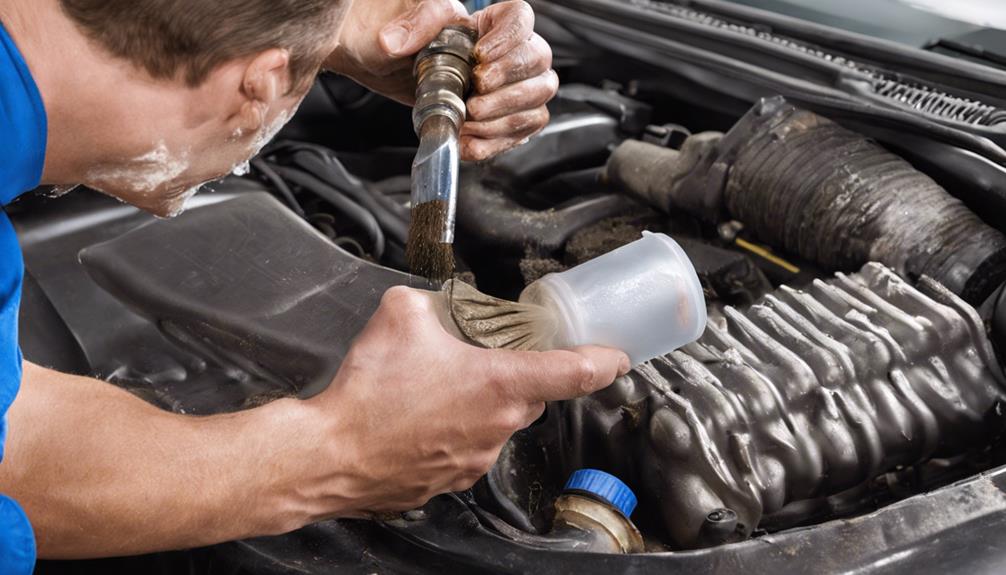
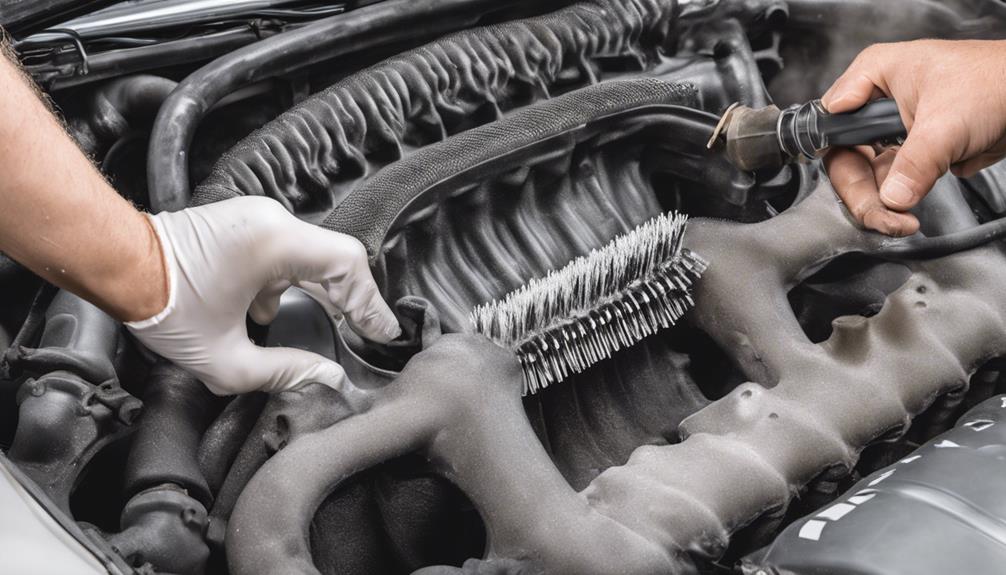
Scrubbing Intake Manifold Surface
Before beginning the scrubbing process on the intake manifold surface, guarantee thorough surface preparation by removing any loose debris or buildup.
Use a suitable cleaning solution and a nylon brush to gently scrub the surface, paying close attention to crevices and hard-to-reach areas.
Employ a back-and-forth motion while scrubbing to effectively remove dirt and grime without causing damage to the manifold surface.
Surface Preparation Tips
To effectively prepare the intake manifold surface for cleaning, begin by inspecting for any visible debris or buildup that may impede the scrubbing process. Once you have assessed the surface, follow these steps:
- Remove Loose Debris: Use a soft brush or compressed air to clear any loose debris from the intake manifold surface.
- Protect Surrounding Areas: Cover nearby components like the engine block or cylinder head with a cloth or plastic sheet to make sure any cleaning agents from damaging them.
- Choose the Right Cleaning Agent: Select a suitable cleaner based on the material of the intake manifold to make sure effective removal of dirt and grime without causing damage.
Cleaning Techniques Overview
When cleaning the intake manifold surface, make sure thorough scrubbing to effectively remove dirt and grime buildup. Begin by applying a suitable cleaning solution to the surface. Make certain the solution is designed to break down grease and grime effectively.
Use a brush with medium to stiff bristles to scrub the surface vigorously. Pay close attention to crevices and hard-to-reach areas. For stubborn buildup, consider utilizing degreasing methods such as a solvent or degreaser spray.
After scrubbing, rinse the intake manifold surface thoroughly with clean water to remove any remaining residue. Inspect the surface to make certain all dirt and grime have been completely removed before proceeding with the next steps in the intake manifold cleaning process.
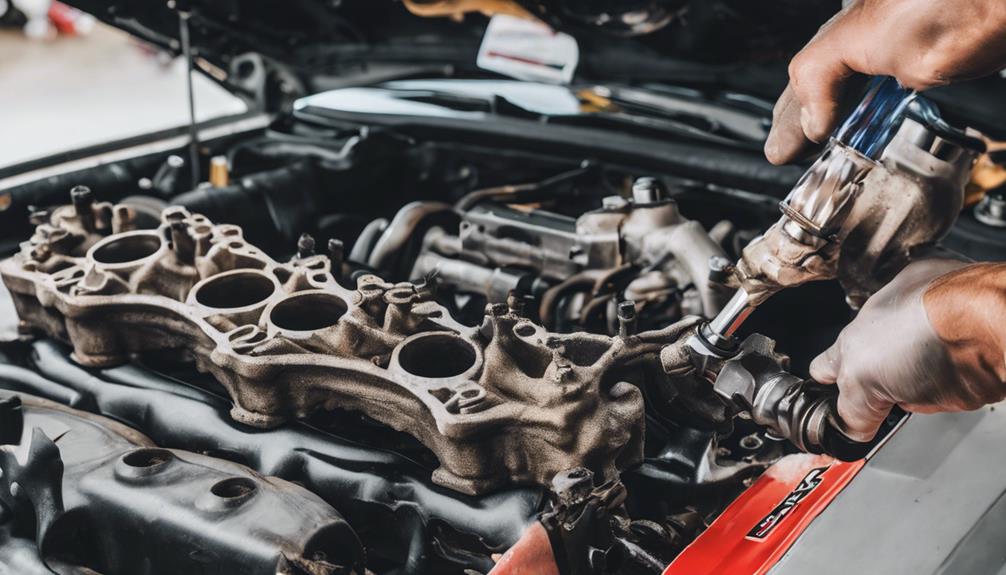
Clearing Debris and Buildup
Once the intake manifold is exposed, carefully inspect it for any debris or buildup that may be present. Keeping the manifold clean is essential for best engine performance. Here's how you can effectively clear debris and prevent buildup:
- Debris Removal:
Begin by using a vacuuming technique to remove loose dirt, dust, and debris from the manifold. Make sure the vacuum is set to a low suction level to prevent damage to any sensitive components within the manifold. Pay close attention to corners and crevices where debris tends to accumulate.
- Buildup Prevention:
To prevent future buildup, consider implementing regular maintenance practices such as using fuel system cleaners or intake valve cleaners. These products can help dissolve and prevent the formation of carbon deposits and other buildup in the intake manifold. Regular maintenance is key to ensuring a clean and efficient intake system.
- Visual Inspection:
After cleaning, perform a visual inspection to make sure all debris and buildup have been effectively removed. Check for any remaining residue or particles that may impede airflow or cause engine issues.
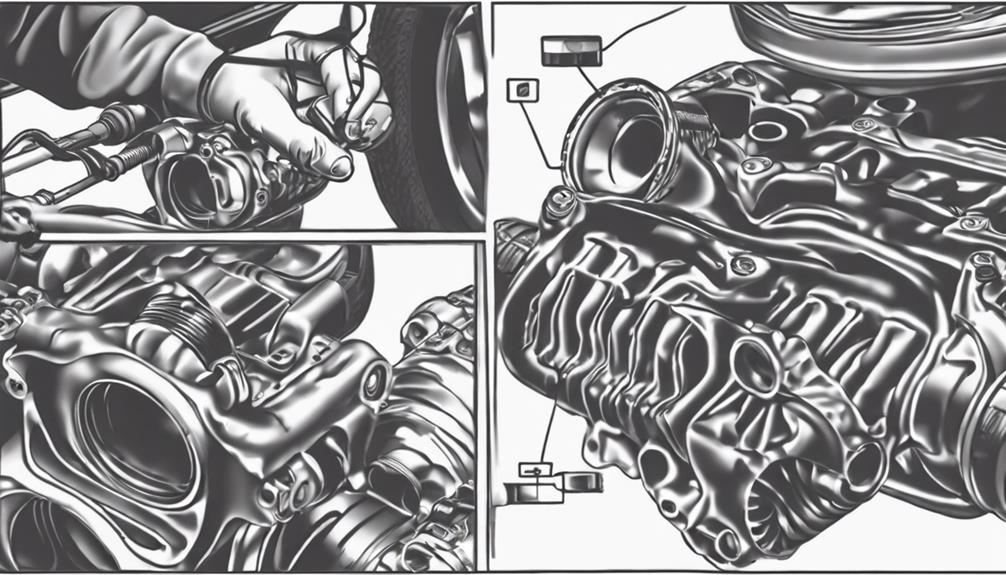
Reinstalling Air Intake Components
Position the air intake components in their correct orientation to prepare for reinstallation. Begin by aligning the air filter housing and intake ducts according to the marks or indicators on each part. Guarantee a snug fit without any gaps or misalignments. Secure the components using the appropriate fasteners, such as screws or clips, following the reverse order of disassembly. Double-check that all connections are tight and properly seated to prevent air leaks.
When reinstalling the air intake components, refer to any notes or photos taken during the disassembly process. These can serve as helpful guides for reassembly. Make sure all hoses, clamps, and electrical connectors are reattached correctly. Test the components by gently wiggling them to guarantee they're secure. If any part seems loose, revisit the installation steps and troubleshoot for any missed connections or misalignments. Following these reassembly tips and troubleshooting steps will help guarantee a successful reinstallation of the air intake components.
Testing for Air Leaks
To guarantee peak performance and prevent potential issues, thoroughly inspect the air intake components for any signs of air leaks. Air leaks in the intake manifold can lead to a variety of engine performance problems, such as decreased power, rough idling, and poor fuel efficiency. Follow these steps to test for air leaks effectively:
- Visual Inspection: Check for any visible cracks, holes, or loose connections in the intake components. Pay close attention to gaskets, hoses, and fittings.
- Smoke Test: Perform a smoke test by introducing smoke into the intake system. If there are any leaks, the smoke will escape from the faulty areas, making them easier to identify.
- Pressure Test: Utilize a pressure tester to pressurize the intake system. Monitor the pressure levels for any sudden drops, indicating the presence of leaks.
Detecting and troubleshooting air leaks promptly is important to maintaining peak engine performance and efficiency. Addressing these issues early can prevent more severe problems down the line, ensuring your vehicle runs smoothly.
Resetting ECU (Engine Control Unit)
Resetting the ECU, or Engine Control Unit, is a procedure that clears the stored memory data and settings in the engine management system. It can be a beneficial step in performance tuning, especially after making modifications to your vehicle.
To reset the ECU, start by disconnecting the negative terminal of the car battery. This action will drain any remaining power in the system. Next, locate the ECU fuse in the fuse box and remove it for about 15-30 minutes. This will allow the ECU to reset completely. After the time has passed, reinsert the fuse and reconnect the battery.
Maintenance Tips for Future
For peak maintenance, regularly inspect and clean the intake manifold to guarantee peak performance of your vehicle. To make sure the longevity of your intake manifold and the overall efficiency of your engine, it's important to implement preventative measures and future maintenance. Here are some long-term care and preservation techniques to keep your intake manifold in top condition:
- Regular Inspections: Make it a habit to visually inspect your intake manifold for any signs of buildup, leaks, or damage. Catching issues early can prevent costly repairs down the line.
- Scheduled Cleanings: Establish a routine cleaning schedule for your intake manifold based on your driving conditions and manufacturer recommendations. This will help prevent carbon deposits and other contaminants from affecting performance.
- Proper Storage: If you're storing your vehicle for an extended period, consider using a fuel stabilizer and sealing off the intake manifold to prevent corrosion and buildup. Proper storage techniques can have a significant impact on the longevity of your intake manifold.
Frequently Asked Questions
Is It Necessary to Clean the Intake Manifold Regularly, or Can It Be Done Only When Issues Arise?
You should aim to clean the intake manifold regularly for peak performance and longevity. Neglecting this maintenance may lead to reduced efficiency and potential issues. Benefits include improved airflow, fuel efficiency, and overall engine health.
Can Using Intake Cleaner Spray Damage the Intake Manifold or Other Components?
Using intake cleaner spray incorrectly can pose potential risks to the intake manifold and other components. Assure proper techniques, such as following manufacturer guidelines, avoiding excess spray, and protecting sensitive areas, to prevent damage.
How Often Should I Clean My Intake Manifold to Maintain Optimal Performance?
To maintain best performance, cleaning your intake manifold is important. Regular maintenance, like cleaning every 30,000 miles, can boost efficiency. Think of it as giving your engine a rejuvenating shower to keep it running smoothly.
Are There Any Specific Tools or Products That Are Recommended for Cleaning an Intake Manifold?
When cleaning an intake manifold, use a combination of recommended tools and cleaning agents to maximize efficiency. Regular maintenance with appropriate products guarantees peak performance. Neglecting this upkeep can lead to decreased engine efficiency and potential damage.
What Are the Signs That Indicate a Dirty or Clogged Intake Manifold, and How Can I Prevent Buildup in the Future?
To prevent future buildup in your intake manifold, regularly check for warning signs like decreased engine performance or rough idling. Neglecting these indicators can lead to costly repairs. Benefits of prevention include improved fuel efficiency and engine longevity.
Conclusion
To conclude, following these 10 steps for intake manifold cleaning will guarantee peak engine performance and efficiency.
By inspecting, removing, cleaning, and reinstalling components properly, you can prevent issues like air leaks and improve overall engine function.
Remember to reset the ECU and maintain your intake manifold regularly for continued success.
Keep your engine running smoothly with these simple yet effective maintenance tips.
Don't let a dirty intake manifold hold you back from peak performance.