Step-by-Step Oil Change and Filter Replacement Guide
Did you know that over 20 million oil changes are performed in the United States each month? Ensuring your vehicle's engine runs smoothly and efficiently requires regular maintenance, such as changing the oil and filter.
By following a step-by-step guide, you can save money on mechanic fees and learn a valuable skill that will benefit your car's longevity.
Let's explore the essential steps necessary for a successful oil change and filter replacement to keep your engine in optimal condition.
Key Takeaways
- Use essential tools like an oil filter wrench and drain pan for a safe and effective oil change.
- Jack up the car safely using proper equipment like jack stands and wheel chocks.
- Drain old oil completely, replace the filter, and securely tighten the drain plug.
- Fill with the correct amount of fresh oil, check levels, and monitor regularly for engine health.
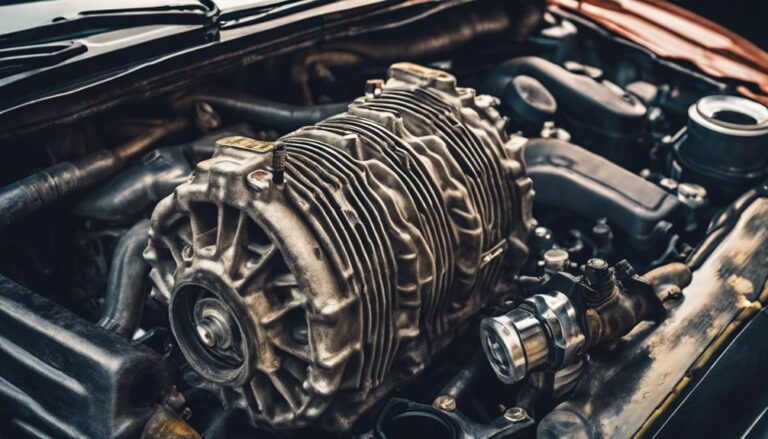
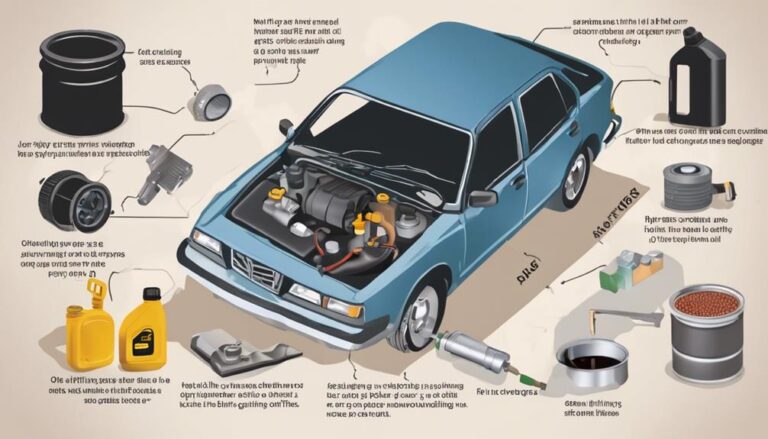
Essential Tools for Oil Change
To efficiently perform an oil change, you'll need essential tools such as an oil filter wrench, an oil drain pan, a socket set, a new oil filter, and the correct amount of new engine oil. The oil filter wrench is crucial for safely and securely removing the old oil filter without causing any damage. This tool provides the necessary grip and leverage to twist off the filter effortlessly.
The oil drain pan plays a vital role in collecting the drained oil during the oil change process, ensuring a clean workspace and proper disposal of the old oil.
A socket set is indispensable for loosening and tightening the oil drain plug and filter. The various socket sizes allow you to tackle different components of the car with ease. Additionally, having the correct amount of new engine oil is essential to ensure that your engine is adequately lubricated after the oil change. This step guarantees optimal engine performance and longevity, preventing potential issues due to insufficient lubrication.
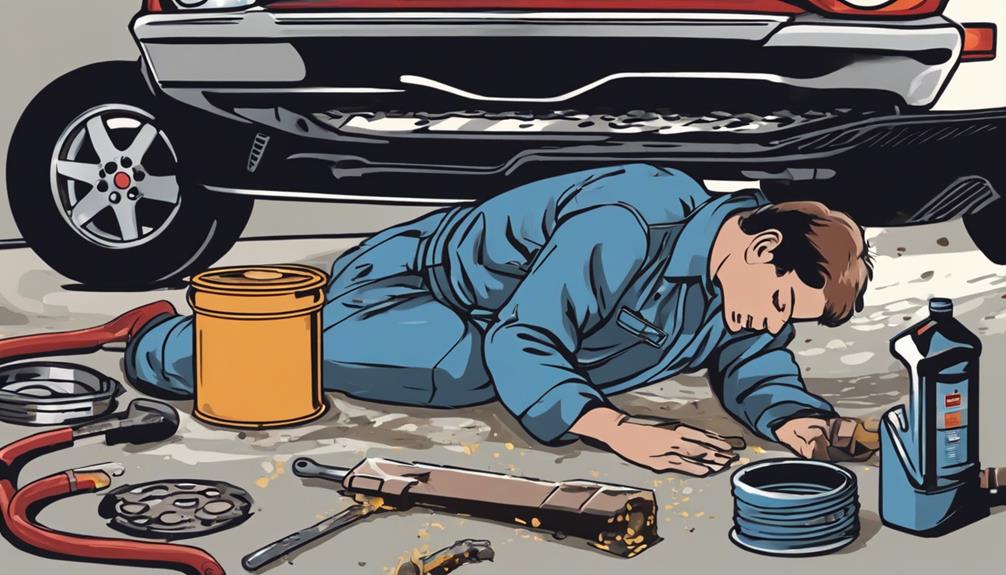
Jacking Up the Car Safely
When preparing to jack up your vehicle safely, ensure you have jack stands rated for the car's weight capacity and refer to the manual for the recommended jacking points.
Before starting, confirm that the car is parked on a level surface to prevent any instability. Position the jack securely under the designated jacking point, ensuring it makes proper contact with the vehicle's frame. Remember to distribute the weight evenly on the jack to prevent any imbalance.
Utilize wheel chocks on the opposite end of the car to prevent it from rolling while elevated. Prioritize safety precautions throughout the jacking technique to avoid any accidents or damage to the vehicle. Always double-check the positioning of the jack and stands before getting under the car to continue with the oil change process.
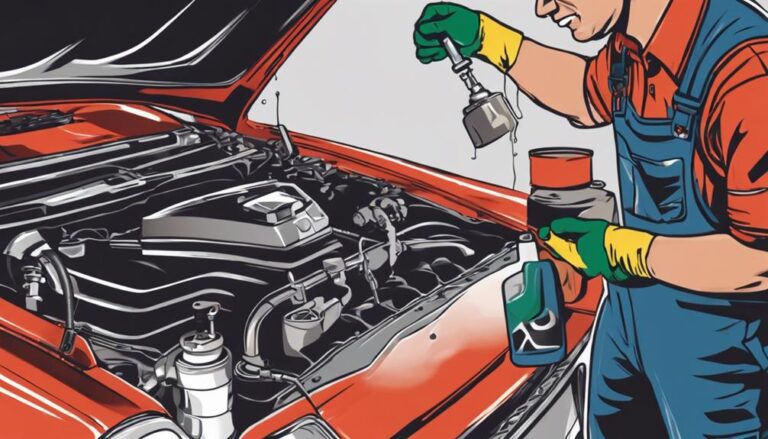
Draining Old Oil and Filter
Position the oil drain pan directly underneath the oil drain plug located on the oil pan underneath the engine. Ensure the engine is cool before starting and use the correct size socket wrench to loosen the drain plug effectively. Once positioned correctly, allow the old oil to drain completely to ensure a successful oil change. Oil filters can vary in location but are typically near the bottom of the engine; remove the filter after draining the oil. Remember to dispose of the old oil properly using appropriate oil disposal methods to protect the environment. When dealing with the oil drain plug, common issues include over-tightening, stripping, or leaks. To troubleshoot, check for any leaks, use a torque wrench for proper tightening, and replace the drain plug gasket if necessary. Following these proper disposal practices and troubleshooting tips will help you complete this step efficiently and safely.
| Oil Disposal Methods | Proper Disposal Practices | Common Oil Drain Plug Issues | Troubleshooting Tips |
|---|---|---|---|
| Recycling centers | Seal oil containers | Over-tightening | Check for leaks |
| Authorized mechanics | Avoid draining on soil | Stripping | Use a torque wrench |
| Local auto shops | Prevent spills | Leaks | Replace gasket |
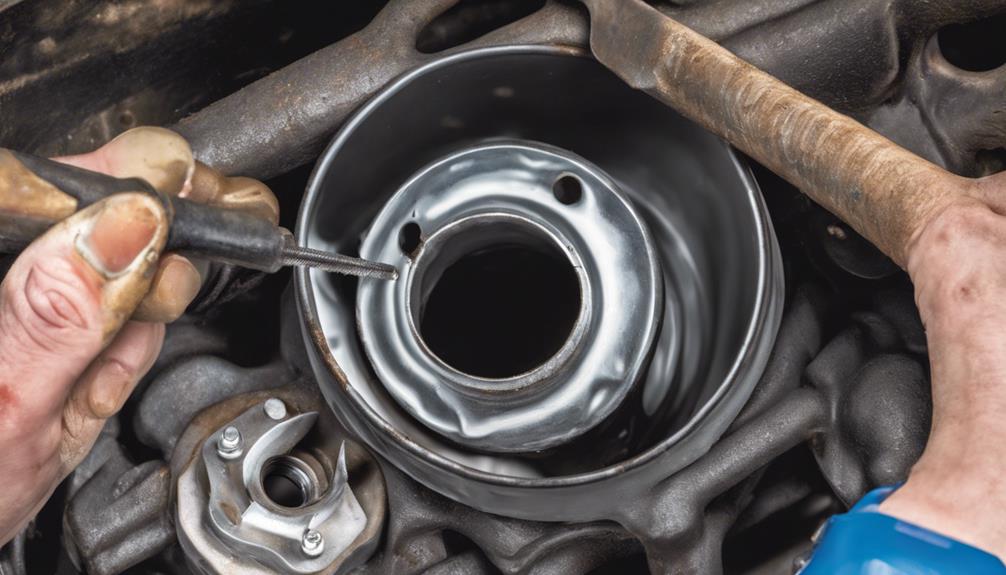
Installing New Filter and Plug
Start by lubricating the gasket of the new oil filter before hand-screwing it onto the engine block until snug, then giving it an additional quarter turn for a secure fit. Ensuring a proper seal is crucial for leak prevention and engine protection. Remember, a secure fit not only prevents leaks but also ensures the filter stays in place during engine operation. To achieve this, follow the manufacturer's torque specifications to tighten the filter correctly. Proper torque prevents both over-tightening, which can damage the filter or engine, and under-tightening, which may lead to oil leaks.
After installing the new filter, replace the drain plug and tighten it securely following the manufacturer's guidelines. Double-check for any signs of leaks before proceeding with filling the engine with fresh oil. Taking the time to perform these steps meticulously guarantees a successful oil change and filter replacement experience.
- Secure fit for peace of mind
- Proper torque for reliability
- Leak prevention for a cleaner environment
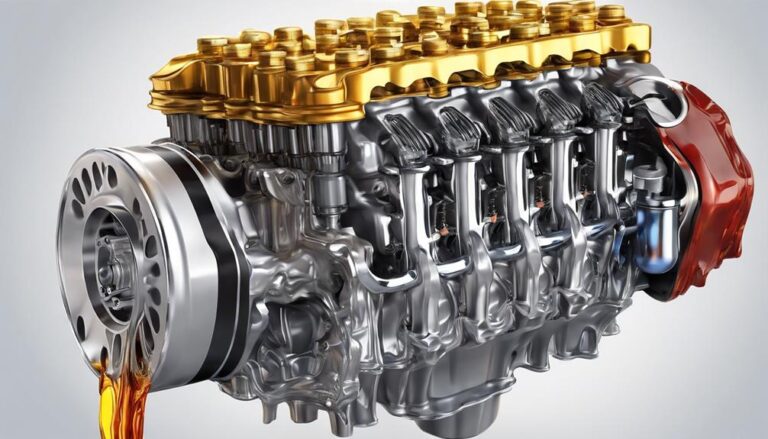
Filling up With Fresh Oil and Inspection
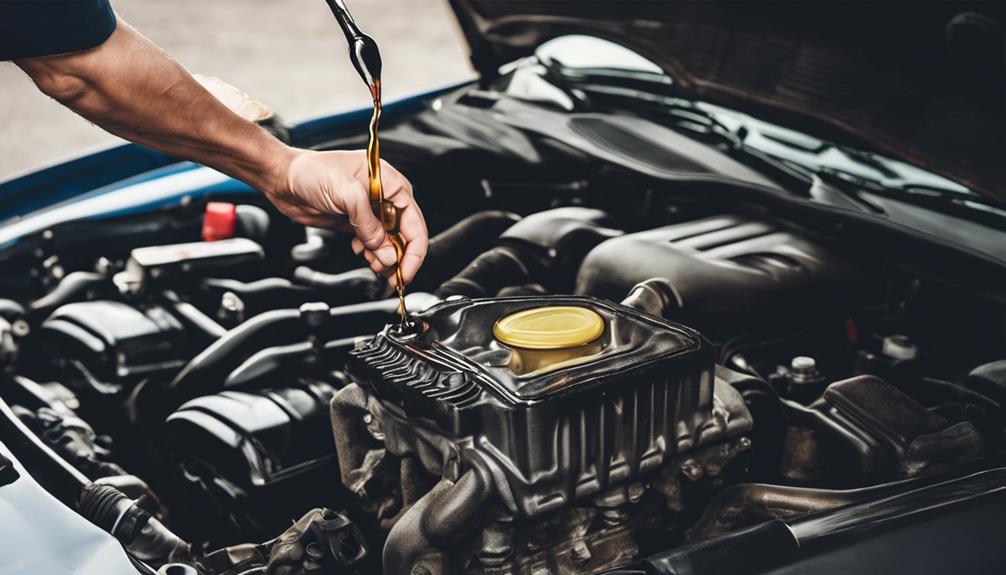
To complete the oil change process, ensure the undertray is reinstalled on the vehicle after replacing the oil filter and securing the drain plug. Lower the car and proceed to fill the engine with the recommended volume of fresh oil.
Use a funnel for accuracy and to prevent spills when pouring the new oil. After filling, securely close the oil cap. Check the oil level using the dipstick to ensure it falls within the recommended range. Insert the dipstick fully, then remove it to observe the oil level.
If the level is below the minimum mark, add more oil gradually, rechecking with the dipstick until the level is correct. Don't overfill. Once the oil level is satisfactory, start the engine and let it run for a few minutes.
Turn off the engine and recheck the oil level to ensure it remains within the recommended range. Regularly monitor oil levels to maintain engine health.
Frequently Asked Questions
Do You Change the Oil Filter First or Drain the Oil?
You should always drain the oil first before changing the oil filter to follow the proper sequence. By removing the oil filter after draining the oil, you prevent spills and ensure a cleaner oil change process.
How Do I Change the Oil and Filter in My Car?
When changing your car's oil and filter, start by gathering the necessary tools and supplies. Remember to dispose of the old oil properly. Opt for recommended oil brands for optimal engine performance. Enjoy the satisfaction of maintaining your vehicle.
What Parts Do I Need for an Oil and Filter Change?
You'll need engine oil meeting specs for oil viscosity, oil capacity, an oil filter tailored to your car's make, a new drain plug, and potentially a drain plug washer. Consider using optional tools like an oil filter wrench.
What Filter Do You Change With Oil Change?
When changing your oil, always swap out the engine oil filter too. Using the right filter type is crucial for engine health. Regular maintenance, like changing the filter with each oil change, ensures optimal performance and longevity.
Conclusion
Now that you've completed the oil change and filter replacement process, your vehicle is ready to purr like a well-fed kitten.
With fresh oil coursing through its veins and a new filter to keep it clean, your engine is primed and ready for action.
Take pride in your handiwork, knowing that you've taken the necessary steps to ensure your vehicle's longevity and performance.
Drive on with confidence, knowing you've done right by your trusty steed.