7 Best Steps for Catalytic Converter Replacement Process
Just as a skilled artisan meticulously crafts a delicate sculpture, replacing a catalytic converter demands precision and attention to detail. Each step in this intricate process holds the key to ensuring your vehicle's peak performance.
From diagnosing trouble codes to selecting the right replacement part, every move you make influences the final outcome. Let's uncover the essential 7 steps that will guide you through this critical procedure, setting you on the path to a smoothly running vehicle and cleaner emissions.
Key Takeaways
- Detect and repair exhaust system leaks promptly for optimal performance.
- Utilize various methods like visual inspections and pressure tests for leak detection.
- Secure exhaust pipe connections with quality gaskets and clamps for efficiency.
- Weld damaged sections carefully, ensuring proper fusion to prevent future leaks.
Diagnostic Trouble Codes and Technical Service Bulletins
When diagnosing issues related to catalytic converters, begin by retrieving and repairing Diagnostic Trouble Codes (DTC) to pinpoint potential problems. These codes provide essential information about the health of the converter and the overall exhaust system. By addressing the specific DTCs, you can efficiently identify the root cause of any catalytic converter issues.
In addition to DTCs, always check for technical service bulletins (TSBs) or PCM re-flash updates related to catalytic converter problems. Manufacturers often release TSBs to address known issues and provide solutions for converter malfunctions. Ensuring your vehicle's PCM is up-to-date with the latest program is essential for the best converter performance.
Correcting all codes affecting sensor readings is imperative in accurately diagnosing and repairing catalytic converter problems. Many OBDII trouble codes can directly impact converter efficiency, underscoring the importance of thorough diagnostics. By following these steps and staying informed about TSBs and PCM updates, you can streamline the process of identifying and resolving catalytic converter issues effectively.
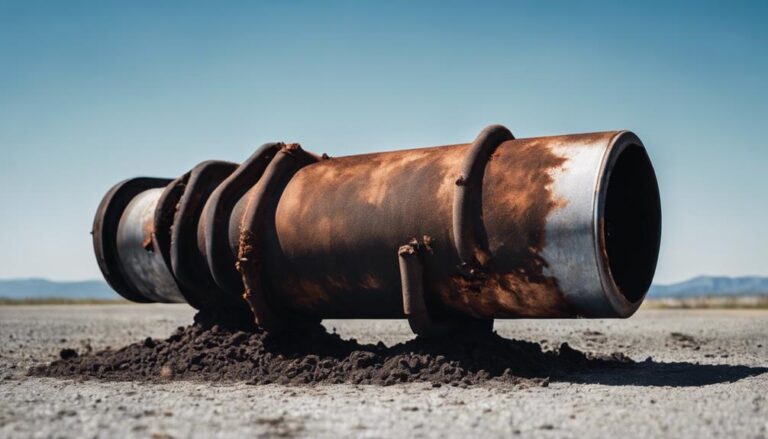
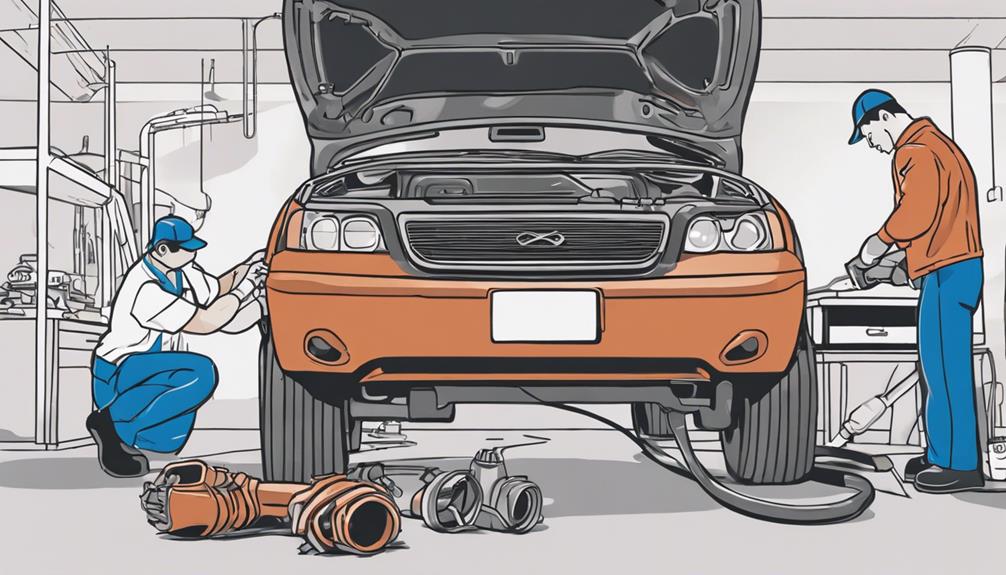
Repairing Exhaust System Leaks
Inspect the exhaust system thoroughly to identify leaks at critical points such as weld areas, O2 sensor ports, and pipe connections. Look for signs of damage like cracks, misalignments, or gasket issues that may be causing leaks.
Focus on methods like sealing exhaust pipes and welding damaged sections to effectively repair exhaust system leaks.
Leak Detection Methods
Utilize various methods such as visual inspections, smoke machines, soapy water, infrared thermometers, and pressure tests to effectively detect and repair leaks in the exhaust system. A combination of these techniques can help pinpoint exhaust leaks that may trigger the check engine light, affect the oxygen sensor's performance, or necessitate the replacement of the catalytic converter. By conducting a thorough inspection using these methods, you can identify leak locations and address them promptly to guarantee the proper functioning of the exhaust system.
| Leak Detection Methods | |||
|---|---|---|---|
| Visual Inspections | Smoke Machines | Soapy Water | Infrared Thermometers |
| Detailed check to visually spot leaks. | Utilize smoke for leak identification. | Bubbles indicate leaks. | Locate hot spots, indicating leaks. |
Sealing Exhaust Pipe
To guarantee peak performance and prevent harmful emissions, it's imperative to promptly address any exhaust system leaks by properly sealing the exhaust pipe connections.
When dealing with leaks in the exhaust system, consider the following:
- High-Quality Gaskets: Using quality gaskets ensures a tight seal, preventing gas leakage.
- Secure Clamps: Properly securing clamps keeps the exhaust components tightly connected.
- Efficiency Maintenance: Addressing leaks promptly helps maintain the efficiency of catalytic converters.
- Noise and Vibration Prevention: Sealing exhaust pipe connections not only prevents gas leaks but also eliminates loud noises and vibrations in the vehicle.
For optimal performance and to avoid emissions issues, thorough sealing of the exhaust system is essential.
Welding Damaged Sections
Repairing exhaust system leaks through welding damaged sections requires precise preparation and skilled welding techniques to make a lasting and secure repair.
To weld the converter or exhaust pipes effectively, start by inspecting the exhaust system thoroughly to check for leaks or cracks. Clean the damaged area and remove any rust, debris, or old welding material.
Use a welding machine suitable for the type of exhaust pipes being repaired. Weld the damaged sections carefully, ensuring proper penetration and fusion to create a strong bond. After welding, inspect the welded area again to confirm there are no leaks.
Properly repairing exhaust system leaks through welding damaged sections can help maintain the integrity of the exhaust system and prevent harmful emissions from escaping.
Ensuring Proper Fuel Control
Ensuring proper fuel control is vital for the efficient operation and longevity of your catalytic converter. To maintain optimal fuel control and converter efficiency, consider the following:
- Monitor Oxygen Sensor Readings: Regularly check that the front oxygen sensors are fluctuating around 450mV and the rear sensors maintain a voltage above or equal to 450mV for correct fuel control.
- Replace Faulty Sensors: If oxygen sensor readings are incorrect, replace the oxygen sensor with the correct part to ensure accurate fuel monitoring.
- Maintain Air-Fuel Ratio: A precise air-fuel ratio is necessary for the converter to function efficiently; any deviations should be promptly addressed.
- Utilize Diagnostic Tools: Monitoring and correcting fuel control issues using diagnostic tools are vital for maintaining optimal converter performance. Invest in quality diagnostic tools to ensure accurate readings and timely adjustments for better fuel control.
Testing for Contamination
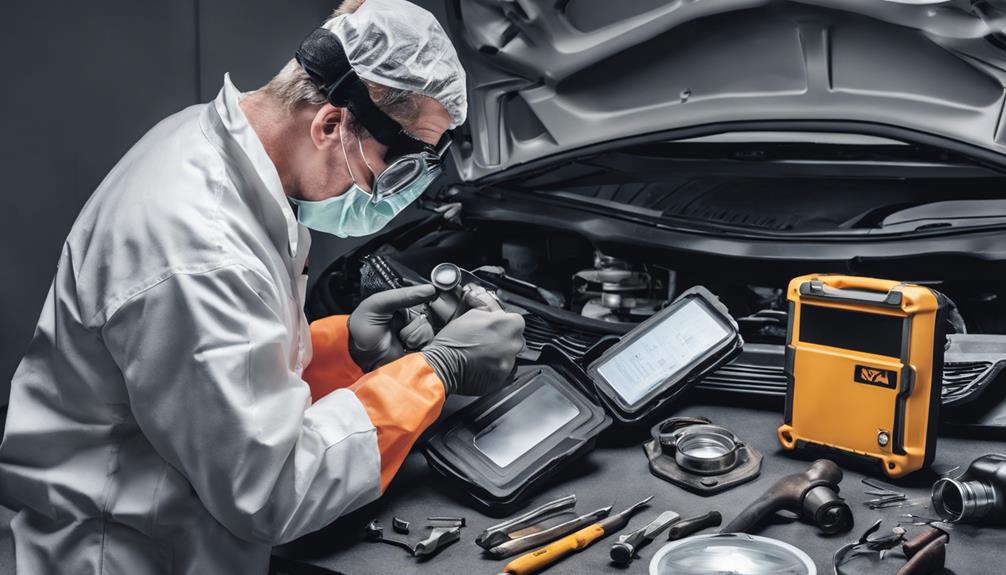
To effectively assess contamination in the catalytic converter, begin by detecting signs of contamination. Utilize diagnostic tools for accurate analysis and confirm catalyst failure.
By following these steps, you can pinpoint the source of contamination and determine the necessary course of action to address the issue efficiently.
It's essential to conduct thorough testing to guarantee ideal performance and longevity of the catalytic converter.
Contamination Signs Detection
Inspect the exhaust system for signs of contamination by conducting a leak-down test to guarantee the catalytic converter's best performance. Look for any indications of antifreeze, contaminated fuel, or other substances that could impact the converter's efficiency. To detect potential contamination, check for excessive oil consumption and carry out a compression check.
Additionally, confirm the EGR valve and passages are operating correctly, as contamination in this area can affect the converter's operation. Watch out for any substances coating the surfaces of the converter, as this can lead to converter poisoning, compromising its function.
- Conduct a leak-down test to check for contamination such as antifreeze in the exhaust system.
- Test for contaminated fuel or additives that may affect the catalytic converter's performance.
- Check for excessive oil consumption and conduct a compression check to detect potential contamination.
- Inspect the EGR valve and passages for proper operation, as contamination can impact converter efficiency.
Diagnostic Tools Usage
Regularly utilize diagnostic tools to test for contamination in the catalytic converter, ensuring peak performance and longevity. Various diagnostic procedures can help pinpoint issues affecting your converter. Conduct a leak-down test to identify any cooling system pressure leaks that may impact the converter. Check for contaminated fuel or additives that could hinder converter performance. Monitor oil consumption levels as excessive oil use can lead to converter contamination. Inspect the EGR valve and passages for proper functioning to prevent converter poisoning. Additionally, look out for contaminants coating the converter's surfaces, as these can greatly reduce efficiency and lifespan. By employing these diagnostic tools effectively, you can maintain your catalytic converter in best condition.
| Diagnostic Tools | Purpose | Procedures |
|---|---|---|
| Leak-down test | Check for leaks | Apply pressure to the system and monitor for pressure loss indicating a leak affecting the catalytic converter |
| Contaminated fuel | Identify pollutants | Analyze fuel samples for impurities that may be detrimental to the converter's operation |
| Oil consumption | Measure oil usage | Monitor oil levels and usage to prevent converter contamination due to excessive oil consumption |
| EGR valve | Ensure proper operation | Inspect the EGR valve and passages to guarantee they are functioning correctly to prevent converter poisoning |
Confirming Catalyst Failure
How can you determine if contamination is causing catalyst failure in your catalytic converter?
To confirm catalyst failure, perform a leak-down test to check for contamination affecting the converter's performance.
Test for substances coating the converter's surfaces that may hinder proper function.
Check for contaminated fuel, excessive oil consumption, or EGR valve issues contributing to catalyst failure.
Conduct a compression check to assess potential contamination sources affecting the converter.
Inspect the internal honeycomb structure for poisoning that could lead to catalytic converter failure.
Selecting the Correct Replacement Part
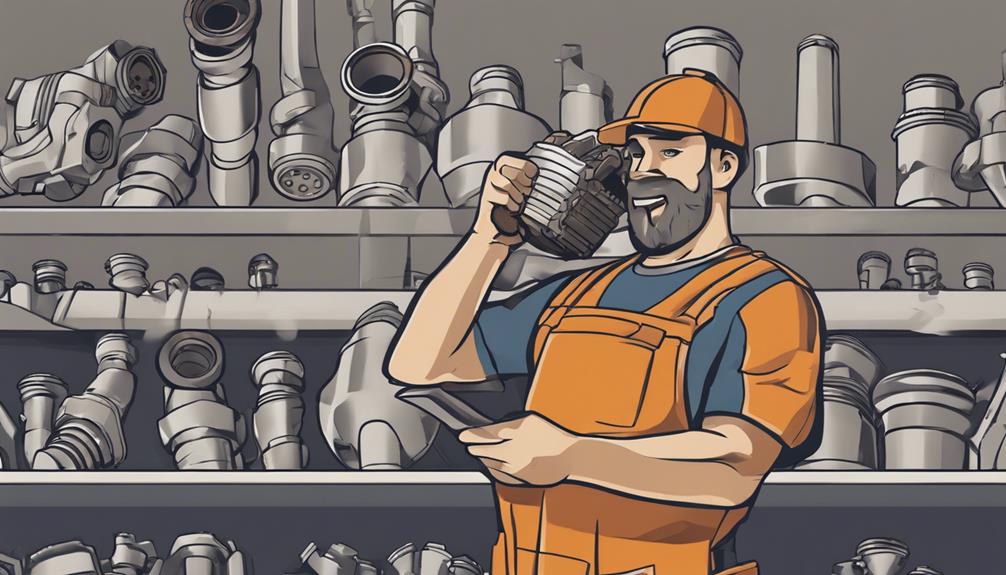
When selecting the correct replacement part for your catalytic converter, make sure it meets the specific make, model, and year requirements of your vehicle. Check for CARB compliance, especially if you reside in California, to guarantee the replacement meets emission standards.
It's important to verify the correct converter type—either two-way or three-way—based on your vehicle's emission system. Consider opting for premium aftermarket converters as they offer enhanced durability and performance compared to standard replacements.
Utilize resources like the Walker Find My Part tool to easily find the exact match for your vehicle, simplifying the replacement process.
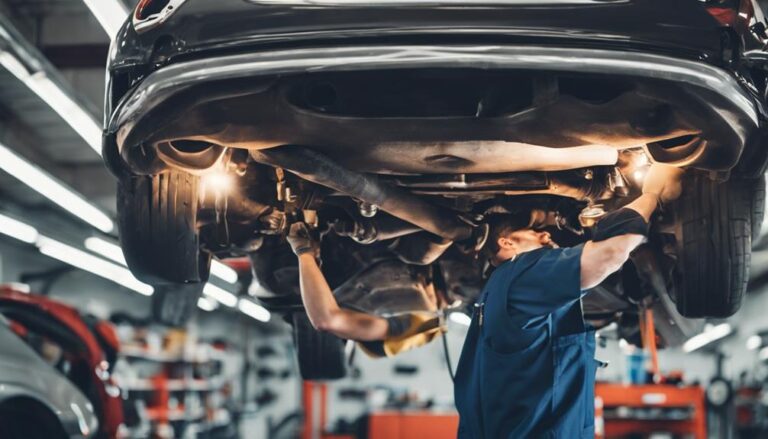
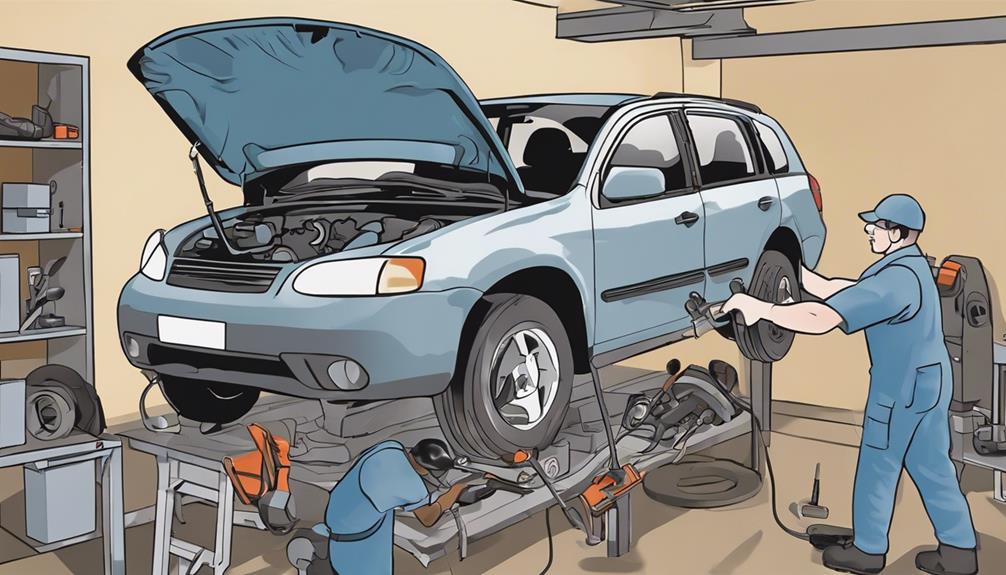
Vehicle Elevation and Access
To facilitate proper access for catalytic converter replacement, elevate your vehicle on jack stands to guarantee a stable working platform underneath. Jack stands provide a secure system for you to work under the vehicle without any safety concerns. Proper elevation is vital to ensure easy access to the catalytic converter, making the replacement process smoother.
Here are some key points to take into account:
- Check Stability: Before getting under the vehicle, make sure that the jack stands are securely in place and the vehicle is stable.
- New System: Elevating the vehicle on jack stands creates a new system that allows you to easily reach and work on the catalytic converter.
- Need to Take Precautions: It's important to take all necessary precautions when working under a lifted vehicle to prevent accidents.
- Replace the Converter Safely: With the vehicle properly elevated, you can now safely remove and replace the catalytic converter without any hindrances.
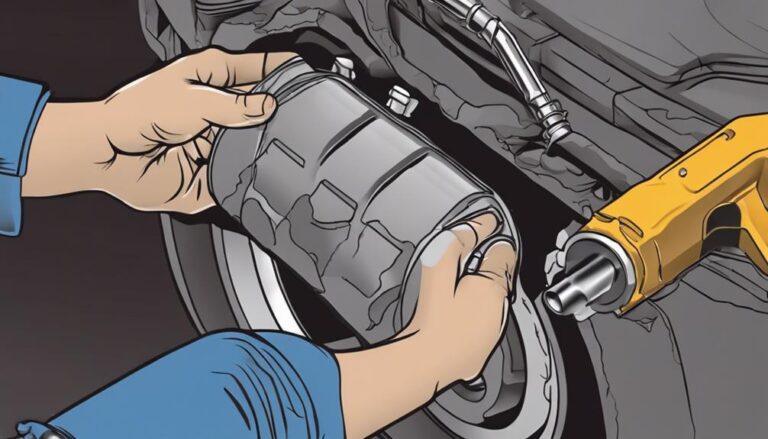
Installation and Vehicle Restart
Once the new catalytic converter is securely installed, proceed to tighten all nuts and bolts to prevent exhaust leaks. Make sure the correct orientation of the converter by following the arrows or markings provided by the manufacturer.
Reposition and reconnect the oxygen sensors properly to maintain accurate readings and best performance. After completing the installation, it's important to conduct post-installation emissions testing to confirm that the converter is functioning correctly.
If you encounter any uncertainties or difficulties during the process, don't hesitate to seek professional assistance to avoid potential issues. By following these steps diligently, you can guarantee a successful replacement of your catalytic converter and contribute to the efficient operation of your vehicle.
Frequently Asked Questions
What to Do Before Replacing Catalytic Converter?
Before replacing the catalytic converter, make sure you complete preparation steps like a diagnostic scan to address check engine codes. Check the exhaust system, O2 sensors, and any welding requirements. These steps are important for a successful replacement process.
What to Do After Installing New Catalytic Converters?
After installing a new catalytic converter, confirm maintenance tips like post-installation emissions testing, accurate oxygen sensor repositioning, and nut tightening. Enhanced performance, decreased emissions, improved fuel efficiency, and legal compliance are key benefits. Verify warranty coverage and follow specific instructions for longevity.
Is Replacing Catalytic Converter Easy?
Thus, replacing a catalytic converter can be challenging but not impossible. With proper tools and guidance, DIY enthusiasts can tackle this task successfully. Consider cost, environmental impact, and legal requirements before deciding on a professional or DIY approach.
How Many Hours Does It Take to Replace a Catalytic Converter?
To replace a catalytic converter, it typically takes about an hour. Costs vary based on the labor involved. Options include DIY or professional installation. Proper replacement benefits performance and reduces environmental impact. Consider factors like rusted bolts for efficient replacement.
Conclusion
Congratulations on successfully completing the 7 best steps for catalytic converter replacement! You've now mastered the art of diagnosing, repairing, and replacing this essential component.
Remember, your vehicle's performance relies on a properly functioning converter. So, next time you hit the road, enjoy the irony of knowing that a small part like a catalytic converter can make a big difference in your driving experience.
Drive on, and may your emissions stay low!