Ultimate Fuel Pressure Sensor Replacement Guide
Looking to replace your fuel pressure sensor? This ultimate guide provides a step-by-step walkthrough for a seamless replacement process.
Whether you’re a DIY enthusiast or a professional mechanic, this guide will help you tackle the task with confidence. Let’s dive into the details of the fuel pressure sensor replacement, including the tools you’ll need, the diagnostic steps, and the actual replacement process.
By the end of this guide, you’ll have the knowledge and know-how to successfully replace your fuel pressure sensor and ensure optimal engine performance. So, let’s get started!
Credit: www.thedrive.com
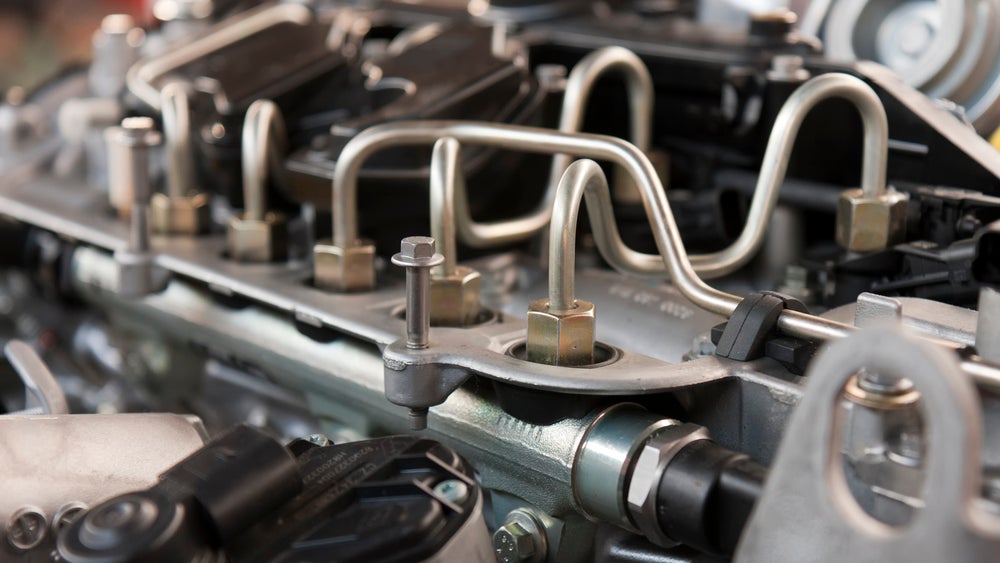
Importance Of Fuel Pressure Sensor
The fuel pressure sensor is a crucial component of the fuel injection system in modern vehicles, responsible for measuring and regulating the fuel pressure within the engine. As an integral part of the engine management system, the fuel pressure sensor plays a vital role in ensuring optimal engine performance, fuel efficiency, and emission control.
Function Of The Fuel Pressure Sensor
The function of the fuel pressure sensor is to monitor the fuel pressure within the fuel rail and provide real-time data to the engine control unit (ECU). This data helps the ECU adjust the fuel delivery, ensuring the fuel pressure is consistent and within the desired range for smooth engine operation. By accurately measuring the fuel pressure, the sensor assists in maintaining fuel system reliability and performance.
Signs Of A Faulty Fuel Pressure Sensor
A faulty fuel pressure sensor can lead to various issues that can affect the overall performance of your vehicle. Identifying these signs can save you from potential troubles and costly repairs. Here are a few common indicators of a faulty fuel pressure sensor:
- Stalling or difficulty starting the engine
- Loss of power and acceleration
- Inconsistent fuel economy
- Fluctuating fuel pressure readings
- Check engine light illuminated
If you notice any of these signs, it is important to address the issue promptly to prevent further damage to your vehicle’s fuel system. Replacing a faulty fuel pressure sensor with a new one can restore the proper functioning of the fuel injection system and ensure optimal engine performance.
Credit: www.smallenginesprodealer.com
Diagnosing Fuel Pressure Sensor Issues
Using Obd-ii Scanner
Using an OBD-II scanner is an efficient method to diagnose fuel pressure sensor issues. Connect the scanner to the OBD-II port, and scan for trouble codes related to the fuel pressure sensor. Check the live sensor data to ensure the sensor is functioning within the specified parameters. Pay attention to fuel pressure readings and voltage output to identify any irregularities.
Manual Testing Methods
Manual testing methods offer a hands-on approach in diagnosing fuel pressure sensor issues. Perform a visual inspection of the sensor and its wiring harness for any signs of damage or corrosion. Utilize a multimeter to measure the sensor’s resistance and voltage output. By conducting a manual test, you can verify the sensor’s functionality and determine if it requires replacement.
Preparing For Replacement
Before replacing the fuel pressure sensor, it’s essential to make sure you’re fully prepared. Proper preparation will help ensure a smooth and efficient replacement process, reducing the risk of any mishaps. In this section, we’ll cover the necessary steps to gather the required tools and locate the fuel pressure sensor.
Gathering Necessary Tools
First and foremost, gather the tools needed for the replacement process. This includes:
- Socket Wrench Set: Required to remove the sensor from its mounting location.
- New Fuel Pressure Sensor: Ensure you have the replacement part ready.
- Rags: To clean any spillage or excess fuel before and during the replacement.
- Gloves and Eye Protection: Essential for safety during the process.
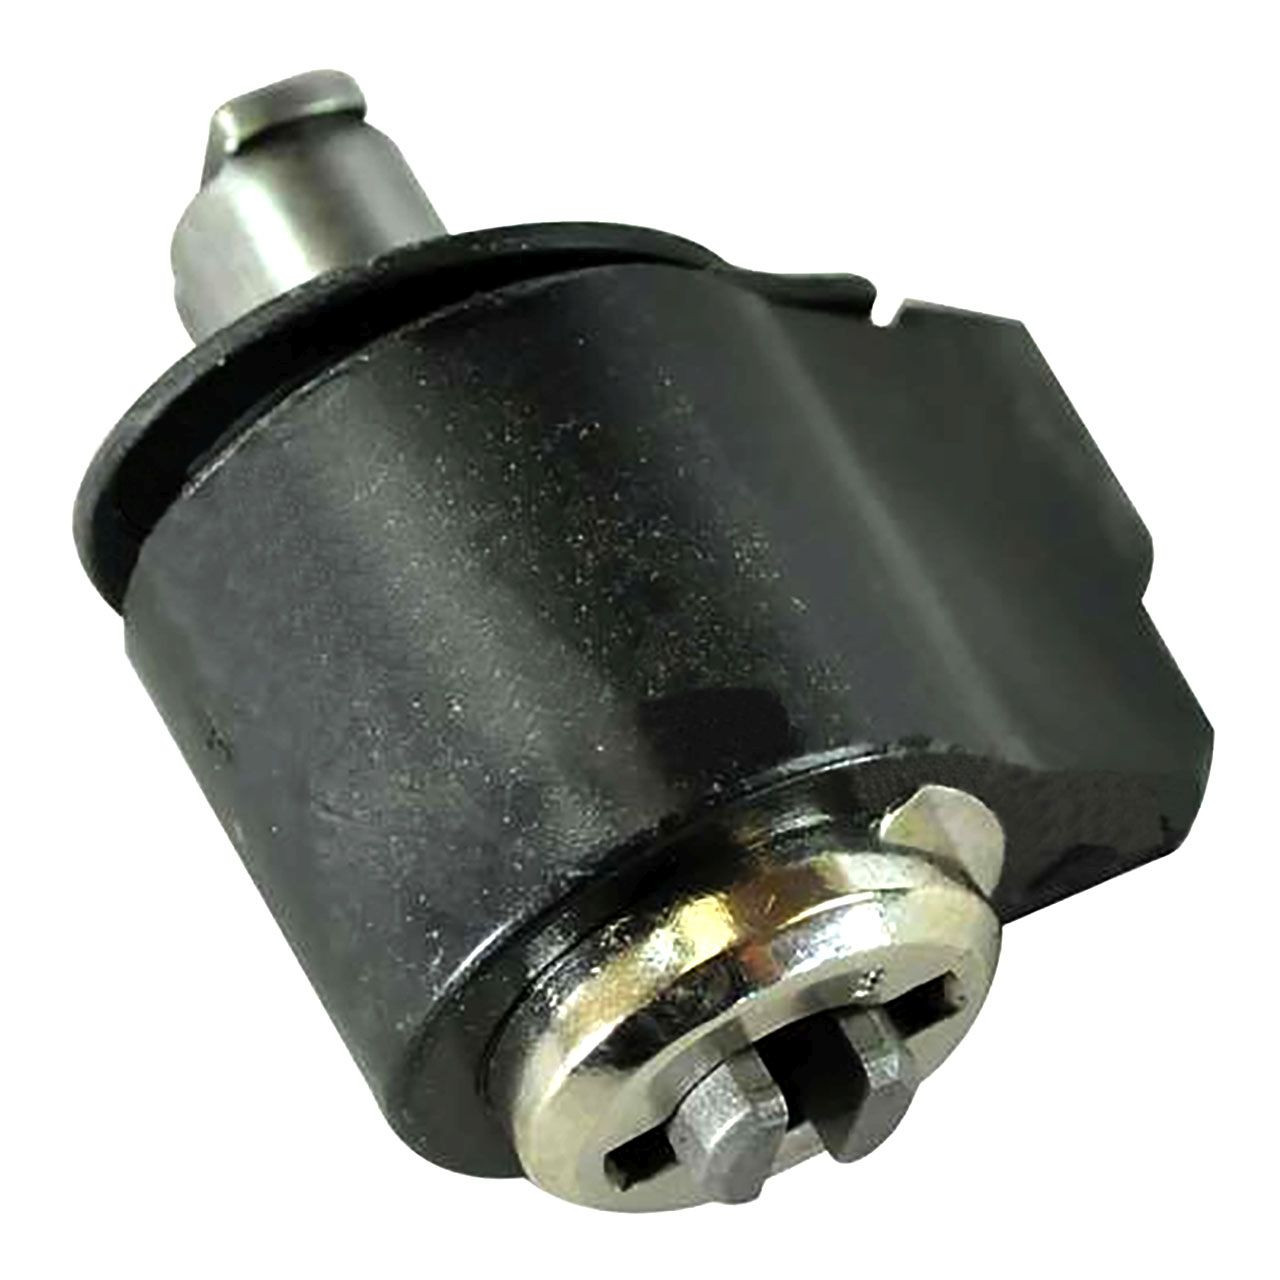
Locating The Fuel Pressure Sensor
Before starting the replacement, locate the fuel pressure sensor in your vehicle. Commonly, the sensor is located near the fuel rail or on the fuel line itself. Ensure to consult your vehicle’s manual or seek online resources to pinpoint the exact location of the sensor based on your vehicle’s make and model. This will enable you to proceed with the replacement with confidence and accuracy.
Step-by-step Replacement Process
Replacing the fuel pressure sensor is a crucial task that ensures your vehicle’s performance remains optimal. By following this step-by-step guide, you can easily replace the sensor without any hassle. From disconnecting the battery to installing the new sensor and reconnecting the battery, we have outlined each step in a clear and concise manner.
Disconnecting The Battery
Before you begin the replacement process, it is essential to disconnect the battery to avoid any electrical mishaps. Follow these simple steps:
- Locate the vehicle’s battery, usually found in the engine bay or trunk.
- Use the appropriate tools, such as an adjustable wrench or socket wrench, to loosen and remove the negative (-) terminal cable from the battery.
- Set the disconnected cable aside, ensuring it does not come into contact with any metal surfaces.
Removing The Old Sensor
Now that the battery is disconnected, you can proceed to remove the old fuel pressure sensor. Here’s how:
- Locate the position of the fuel pressure sensor in your vehicle. Refer to the owner’s manual or consult professional advice if needed.
- Carefully detach any electrical connectors or wiring harnesses connected to the sensor, ensuring you don’t damage them in the process. You may need to use a small pry tool or gently press the release tabs.
- Next, use the appropriate size socket or wrench to loosen and remove the sensor from its mount.
Installing The New Sensor
With the old sensor removed, it’s time to install the new fuel pressure sensor. Follow these steps:
- Take the new sensor and position it in the mount, aligning it with the threaded hole.
- Start threading the sensor by hand to ensure it is properly aligned. Then, use the socket or wrench to tighten it securely. Be careful not to over-tighten, as it may damage the sensor or the mount.
- Reconnect any electrical connectors or wiring harnesses that were detached earlier. Ensure they are properly secured and fastened.
Reconnecting The Battery
Now that the new fuel pressure sensor is installed, it’s time to reconnect the battery. Follow these steps:
- Retrieve the negative (-) terminal cable that was previously disconnected.
- Position the cable over the negative terminal of the battery and use the wrench to tighten it securely.
- Ensure the connection is tight and free from any gaps or wobbling.
Congratulations! You have successfully replaced the fuel pressure sensor in your vehicle. Restart your engine and perform a thorough check to ensure everything is functioning as expected. If you encounter any issues, it is advisable to seek professional assistance.
Testing And Verification
Testing and Verification is crucial in ensuring the proper functioning of the fuel pressure sensor. It involves checking for leaks and testing the sensor functionality to guarantee accurate readings.
Checking For Leaks
Begin by inspecting the sensor and its surrounding area for any signs of leaks. Use a flashlight to examine closely and look for any visible leaks or drips.
Testing The Sensor Functionality
Verify the sensor functionality by connecting a multimeter to the sensor’s terminals and checking the resistance values. Refer to the manufacturer’s specifications for the correct resistance range.

Credit: www.ebay.com
Frequently Asked Questions For Ultimate Fuel Pressure Sensor Replacement Guide
Will A Bad Fuel Pressure Sensor Throw A Code?
Yes, a bad fuel pressure sensor can trigger a diagnostic trouble code (DTC) in the vehicle’s computer system.
What Is The Symptoms Of A Bad Fuel Pressure Sensor?
Symptoms of a bad fuel pressure sensor include engine misfire, decrease in fuel efficiency, stalling, hard starting, and poor acceleration. It may also lead to the check engine light coming on and difficulty in regulating fuel pressure.
Will A Fuel Tank Pressure Sensor Throw A Code?
Yes, a fuel tank pressure sensor can throw a code if it detects a problem with the pressure in the fuel tank. This code will trigger the check engine light and indicate a potential issue with the fuel system. Regular maintenance and inspections can help prevent sensor issues.
Can I Drive With A Faulty Fuel Tank Pressure Sensor?
Driving with a faulty fuel tank pressure sensor is not advisable. It can lead to poor fuel economy and potential engine damage. It’s best to have it checked and repaired as soon as possible for safety and performance reasons.
Conclusion
To sum up, replacing your fuel pressure sensor is crucial for ensuring the optimal performance of your vehicle. By following this ultimate guide, you can confidently tackle this task, saving time and money in the process. Remember, regular maintenance and timely replacement of faulty parts will keep your engine running smoothly and prevent further damage.
So, without delay, take the necessary steps to keep your vehicle in top shape.