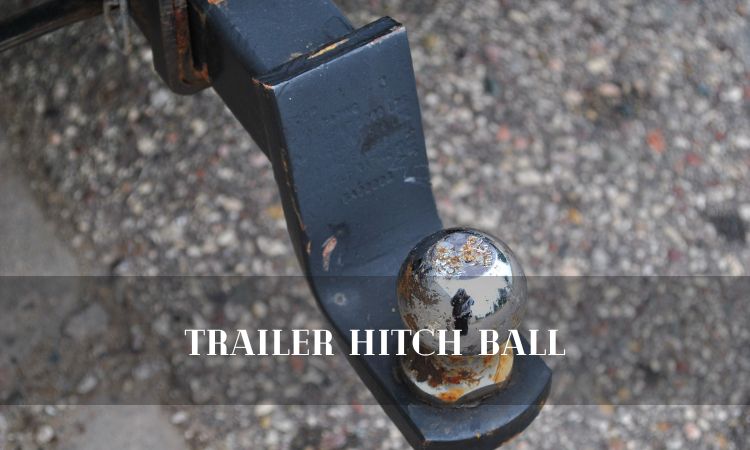
How to Install Trailer Hitch Ball – Best 6 Tips
Installing a trailer hitch ball is a relatively easy process that can be completed in a short amount of time. The first step is to determine the size of the trailer hitch ball that is needed for the particular application. The next step is to identify the location of the trailer hitch receiver on the vehicle.
Once the location of the receiver is identified, it is important to ensure that it is clean and free from any debris or obstruction. Then, measure and mark the center of the hole in order to drill a pilot hole. After drilling the pilot hole, insert the trailer hitch ball into the receiver and tighten with a wrench until secure.
- Park your car on a level surface and set the emergency brake
- Locate the trailer hitch ball mount on the back of your vehicle
- Use a wrench to loosen the bolts that secure the ball mount to the hitch receiver
- Remove the old trailer hitch ball from the mount and discard it
- Screw the new trailer hitch ball onto the mount, using your hand to start it before tightening it with a wrench
- Tighten the bolts that secure the ball mount to the hitch receiver, using a wrench
Trailer Hitch Installation
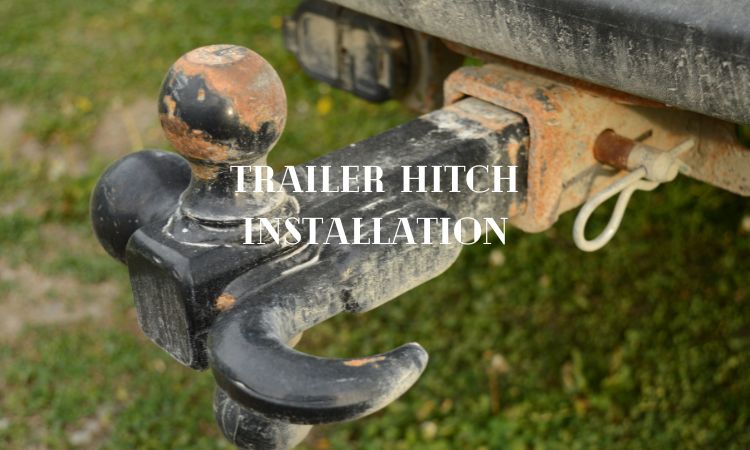
If you’re looking to install a trailer hitch on your own vehicle, there are a few things you need to know first. Installation can be done in a couple of hours with some basic tools, but it’s always best to consult your local mechanic or trailer hitch professional to get the job done right. There are three main types of trailer hitches – Class I, II, and III – which are distinguished by their weight capacity and tongue weight rating.
Class I hitches have the lowest capacities and are typically used for smaller trailers like pop-up campers or utility trailers. Class II and III hitches have progressively higher capacities and are generally used for larger trailers such as travel trailers or fifth wheels. Once you’ve selected the appropriate hitch for your application, it’s time to start the installation.
The first step is to mount the hitch receiver onto the frame of your vehicle using bolts or U-bolts (depending on the model). Once the receiver is mounted, you can then attach the ball mount and secure it with a pin or clip. Finally, insert your trailer’s wiring connector into the back of the receiver and secure it with a retaining clip.
That’s all there is to it! With your hitch installed, you’re now ready to safely tow your trailer wherever your adventures take you.
Read: Trailer Hitch
Trailer Hitch Installation near Me
Trailer hitches come in all shapes and sizes. The size of the hitch will be determined by the weight of the trailer being towed and the type of vehicle doing the towing. There are three main types of trailer hitches: bumper-mounted, frame-mounted and gooseneck/fifth wheel.
Bumper-mounted hitches attach to the rear bumper of the towing vehicle and are generally used for lightweight trailers such as pop-up campers or small utility trailers. Frame-mounted hitches attach directly to the frame of the towing vehicle and can be used for medium to heavy duty trailers such as travel trailers or boat trailers. Gooseneck/fifth wheel hitches mount in the bed of a pickup truck and are used for very heavy duty trailers such as RVs or horse trailers.
No matter what type of hitch you need, installation is easy with a little help from your local U-Haul center. Our experts will help you choose the right hitch for your needs and then walk you through each step of installation. We’ll even test it out with you before you leave so you can be confident that everything is hooked up correctly and safely!
How to Tighten a Hitch Ball Without a Torque Wrench
Assuming you don’t have a torque wrench and need to tighten a hitch ball: Tightening a hitch ball without a torque wrench takes a little bit of guesswork. Here are some tips:
-Use gloves to protect your hands. -Start by hand-tightening the nut as much as possible. -Use an adjustable wrench to finish tightening the nut.
Do not over tighten! If you don’t have an adjustable wrench, use a pair of pliers.
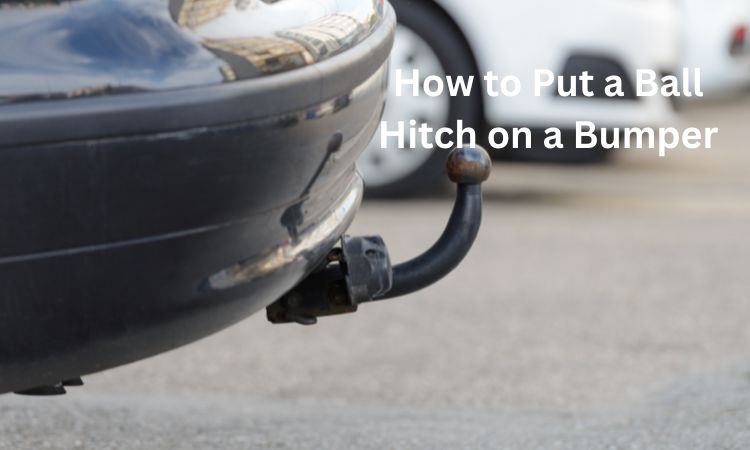
How to Put a Ball Hitch on a Bumper
If you’re looking to add a ball hitch to your bumper, there are a few things you’ll need to do. First, measure the distance between the center of the ball mount and the back of the bumper. This will ensure that you have enough space to install the hitch.
Next, use a drill to create holes in the bumper for the bolts. Once the holes are drilled, insert the bolts and tighten them down. Finally, attach the ball mount to the hitch and secure it with a pin or clip.
That’s all there is to it! With a little bit of time and effort, you can easily add a ball hitch to your bumper.
Ball Hitch Installation near Me
If you’re looking for ball hitch installation near you, there are a few things to keep in mind. First, you’ll want to find a reputable company that has experience installing hitches. Second, you’ll want to make sure the company uses high-quality materials and equipment.
Finally, you’ll want to ask about the company’s warranty policy. With these factors in mind, you should be able to find a company that can install your hitch quickly and efficiently.
How Do You Install a Ball on a Ball Mount?
Assuming you are referring to a trailer hitch ball mount:
Tools needed: drill, 1/2″ drill bit, socket wrench, 3/4″ wrench, hammer, torque wrench
1. Park your vehicle on level ground and chock the wheels.
2. Place the ball mount in the receiver hitch so that the hole for the pin is facing up.
3. Insert a pin through the receiver hitch and into the hole in the ball mount (this will keep it from moving around while you’re working).
4. Drill a pilot hole through the center of the ball mount using a 1/2″ drill bit.
5. Place the trailer ball onto the shank of the ball mount and secure it with nuts and washers (be sure to use thread locker on these bolts).
6. Tighten each nut alternately until they are both snug (do not overtighten).
7. Remove the pin from the receiver hitch and reinsert it through both holes in order to lock everything in place.
Can You Install a Hitch Yourself?
If you have some basic mechanical skills and tools, you can install a hitch yourself. The first step is to determine what type of hitch you need for your vehicle and trailer. There are three main types of hitches: Class I, II, and III.
Each has different weight capacities, so be sure to choose the right one for your needs.
Next, consult your vehicle’s owner’s manual to find the correct location on the frame to mount the hitch. Once you’ve found the spot, use a tape measure to mark where the holes will need to be drilled.
Drill pilot holes at these marks, then bolt the hitch into place using the supplied hardware.
Finally, attach any wiring that may be required for trailer lights or brakes. Most hitches come with detailed instructions on how to do this, so simply follow those and you’ll be all set!
How High Should My Hitch Ball Be off the Ground?
There’s no definitive answer to this question since it can vary depending on the vehicle and trailer being used. However, as a general rule of thumb, the hitch ball should be about 16-18 inches off the ground. This will ensure that there’s enough clearance for the trailer tongue when making turns or going over bumps.
How To Install A Trailer Hitch And Ball On Your Truck Harbor Freight
Conclusion
If you’re looking to tow a trailer with your vehicle, you’ll need to install a trailer hitch ball. This guide will show you how to do just that. First, make sure your vehicle is properly equipped with a trailer hitch receiver.
Next, determine the size of trailer hitch ball you’ll need based on the weight of your trailer. Once you have the right size ball, simply thread it onto the receiver and secure it with a pin or clip. That’s all there is to it!
With a properly installed hitch ball, you’ll be ready to hit the open road with your trailer in tow.