Starter Motor Repair: Expert Step-By-Step Guide
For a detailed guide on repairing a starter motor, follow expert steps carefully for successful repairs. A malfunctioning starter motor can be fixed by following specific procedures to ensure proper functioning.
When dealing with starter motor repair, there are key steps that need to be executed accurately to ensure the success of the repair process. This comprehensive guide will take you through the necessary steps, tools required, and precautions to be taken when repairing a starter motor.
By following these expert instructions, you can confidently repair your starter motor and have your vehicle up and running smoothly in no time.
Understanding The Starter Motor
The starter motor serves as a crucial component in a vehicle’s engine system. This expert guide provides a comprehensive step-by-step approach to repairing starter motors, ensuring proper functionality and efficiency for an optimized driving experience. Understanding the intricacies of the starter motor is essential for effectively addressing any repair needs.
Understanding the Starter Motor The starter motor is an essential component in every vehicle’s engine. It plays a crucial role in starting the engine, providing the initial power needed to get the combustion process going. If your car’s starter motor is malfunctioning, it can cause frustrating delays and even prevent your vehicle from starting altogether. In this expert step-by-step guide, we will walk you through the process of starter motor repair, helping you understand how it works and how to troubleshoot common problems.How The Starter Motor Works
The starter motor operates through a simple yet ingenious mechanism. When you turn the ignition key, an electrical current is sent from the battery to the starter solenoid. This solenoid then activates the starter motor, which turns the engine’s flywheel. This rotation allows the engine’s pistons to compress air and fuel, creating the necessary spark to ignite the engine. Once the engine starts running, the starter motor disengages, allowing the engine to continue running independently.Common Starter Motor Problems
Starter motor problems can arise due to various reasons. A faulty or worn-out starter motor can fail to provide enough power to crank the engine, causing slow or no engine start. Additionally, a malfunctioning solenoid can prevent the starter motor from engaging, leading to a silent response when you turn the ignition key. Other common issues include worn-out brushes, corroded connections, and worn-out gears. To diagnose starter motor problems, you can perform a few simple checks. Start by inspecting the battery and checking if it has enough charge. Next, examine the electrical connections to ensure they are clean and secure. If these checks don’t resolve the issue, it may be necessary to remove the starter motor for closer inspection. Remember, safety is paramount when working with the starter motor. Always disconnect the battery before attempting any repairs, and ensure you are well-versed in the process or consult a professional if you’re unsure. In conclusion, understanding how the starter motor works and common problems associated with it can help you troubleshoot issues and potentially save on costly repairs. By following this expert step-by-step guide, you can confidently navigate starter motor repair and get your vehicle back on the road in no time.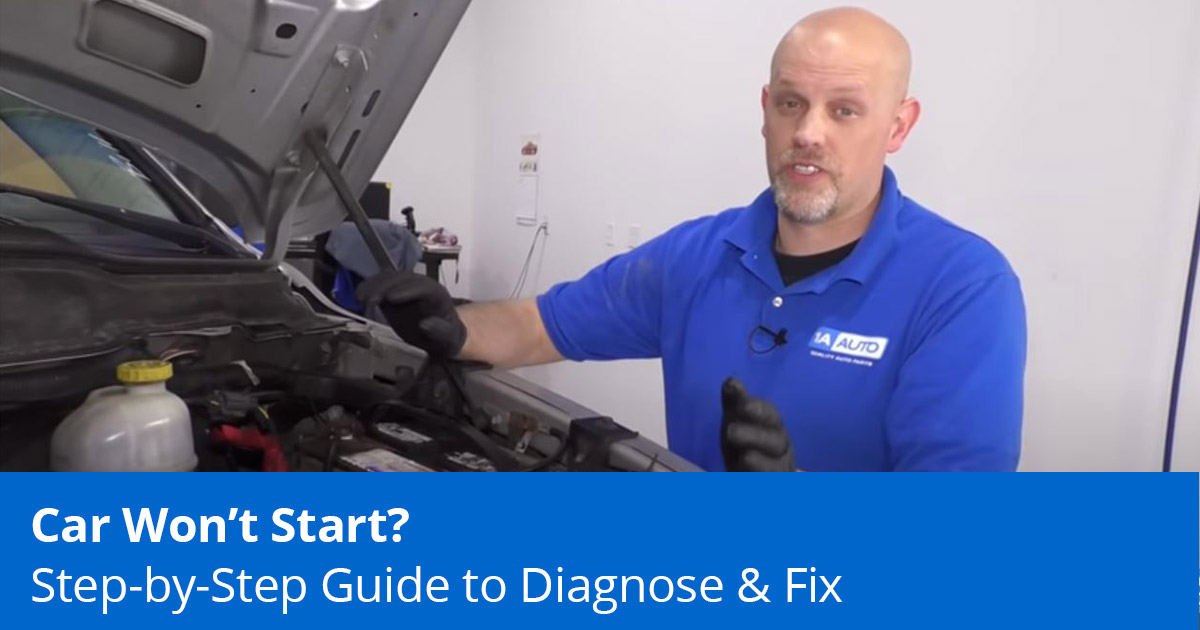
Credit: blog.1aauto.com
Diagnosing Starter Motor Issues
In order to successfully repair a starter motor, it is crucial to accurately diagnose the issues it may be facing. Diagnosing starter motor problems requires a systematic approach to identify and address the root cause of the malfunction.
Identifying Electrical Problems
Electrical issues are common causes of starter motor problems. Check for loose connections or corroded cables that may interfere with the electrical flow.
Checking The Solenoid
The solenoid plays a vital role in the starter motor’s operation. Inspect the solenoid for any signs of wear or damage that may impact its functionality.
Tools And Materials Needed For Repair
When repairing a starter motor, having the right tools and materials is crucial to ensure a smooth and successful repair process. In this guide, we will cover the essential tools you need and the importance of choosing the right replacement parts for your starter motor. Let’s dive in!
Essential Tools For Starter Motor Repair
- Screwdriver set: To remove screws and bolts efficiently.
- Socket wrench set: For easy removal and installation of components.
- Multimeter: To test electrical connections and diagnose issues.
- Battery terminal cleaner: For maintaining a clean connection.
Choosing The Right Replacement Parts
When replacing parts for your starter motor, opt for high-quality components that are compatible with your vehicle’s make and model. Ensure the replacement parts meet the manufacturer’s specifications to guarantee optimal performance and longevity.

Credit: www.roadandtrack.com
Step-by-step Repair Process
In this guide, we will walk you through the step-by-step process of repairing your starter motor. By following these expert instructions, you can save both time and money by fixing the issue yourself. So, let’s dive into the details of each step to get your vehicle running smoothly again.
Disconnecting The Battery
Before starting any repair work on your starter motor, the first and most crucial step is to disconnect the battery. This ensures your safety and prevents the risk of electrical shock.
To disconnect the battery, follow these simple steps:
- Locate the battery in your vehicle’s engine compartment.
- Identify the negative (-) terminal, usually marked in black.
- Using a wrench, loosen the nut on the negative terminal.
- Once the nut is loose, carefully lift the negative cable off the terminal.
- Secure the loose end of the cable away from the battery to ensure it does not accidentally make contact.
By carefully following these steps, you disconnect the battery and eliminate any risk of electrical accidents during the repair process.
Removing And Replacing The Starter Motor
Now that you’ve taken the necessary safety precautions, it’s time to remove and replace the faulty starter motor. Here’s a step-by-step guide:
To remove and replace the starter motor, follow these steps:
- Locate the starter motor in your vehicle’s engine compartment.
- Disconnect any electrical connections connected to the starter motor, such as wires or cables.
- Using a socket wrench, loosen and remove the bolts securing the starter motor to the engine block.
- Gently pull the starter motor away from the engine and set it aside.
- Take your new starter motor and align it with the mounting holes on the engine block.
- Secure the new starter motor by tightening the bolts with a socket wrench.
- Reconnect any electrical connections that were previously disconnected.
By carefully following these steps, you can successfully remove and replace the starter motor, restoring proper functioning to your vehicle.
Testing The Repaired Starter Motor
In successfully repairing a starter motor, the next crucial step is to thoroughly test the repair to ensure that the motor functions as it should. This phase involves bench testing the starter motor as well as reconnecting and testing it within the vehicle, enabling you to validate the effectiveness of the repair work.
Bench Testing The Starter Motor
Once the repair process is complete, the first step in testing the starter motor is to bench test it. This involves connecting the starter motor to a battery and applying power to determine if it functions as expected. By doing this, you can ascertain if the repair has rectified the initial issues and the starter motor is ready for reinstallation in the vehicle.
Reconnecting And Testing In The Vehicle
Following a successful bench test, the next step is to reconnect the starter motor in the vehicle and conduct further testing. This process involves reattaching the electrical connections and ensuring everything is securely in place. Once reconnected, you can proceed to test the starter motor in the vehicle to confirm that it effectively engages the engine, thereby verifying the quality of the repair and ensuring that the starter motor is ready for full operation.
Credit: www.discountmags.com
Frequently Asked Questions For Starter Motor Repair: Expert Step-by-step Guide
How Do You Replace A Starter Step By Step?
To replace a starter step by step: 1. Disconnect the battery. 2. Locate the starter under the car. 3. Remove the wires connected to the starter. 4. Remove the bolts securing the starter. 5. Replace the old starter with the new one.
6. Reattach the bolts and wires to the new starter. 7. Reconnect the battery and test the starter.
How Does A Starter Motor Work Step By Step?
A starter motor turns the engine by drawing power from the battery and engaging the flywheel. First, the ignition key is turned, sending an electric current to the motor. The motor then spins, causing the engine to crank and start.
Can You Fix A Starter Motor Yourself?
Yes, you can fix a starter motor yourself with proper tools and knowledge. Be cautious and follow a guide to avoid complications.
What Are The Procedures For Disassembling A Starter Motor?
To disassemble a starter motor, follow these steps: Disconnect the battery, remove the mounting bolts, detach the electrical connections, unfasten the casing and the brushes, and carefully take apart the armature and the coil.
Conclusion
Repairing a starter motor can be a challenging task, but with this step-by-step guide, you’ll have the knowledge and confidence to tackle the job. Remember to gather the necessary tools, follow the proper safety precautions, and take your time to ensure each step is done correctly.
By repairing your starter motor, you’ll not only save money but also gain a sense of accomplishment in fixing your own vehicle. So, don’t hesitate to give it a try and get your car back up and running smoothly.
