Starter Motor Repair: Expert Step-By-Step Guide
Repairing a starter motor requires careful step-by-step approach to ensure successful completion. This detailed guide will walk you through the expert process of repairing a starter motor, providing you with the necessary knowledge and skills to effectively address any issues encountered.
Whether you are a professional mechanic or a DIY enthusiast, understanding the components and steps involved in repairing a starter motor is essential. By following this comprehensive guide, you will be equipped with the expertise needed to tackle starter motor repairs with confidence and precision.
Let’s delve into the intricacies of starter motor repair and empower you with the insights required to undertake this task proficiently.
Credit: www.discountmags.com
2. Signs Of Starter Motor Issues
Identifying signs of starter motor issues early on is crucial in preventing potential breakdowns. Below are the common indicators to watch out for:
Engine Cranks Slowly Or Not At All
A sluggish cranking of the engine or failure to start can point towards starter motor problems.
Clicking Sound When Turning The Ignition
Hearing a repetitive clicking noise when attempting to start the car could indicate a faulty starter motor.
Smoke Or Burning Smell
Observing smoke or detecting a burning odor while starting the vehicle may signify starter motor issues.
Electrical Issues
If you experience sporadic electrical problems like dimming lights or flickering dashboard lights, the starter motor could be to blame.
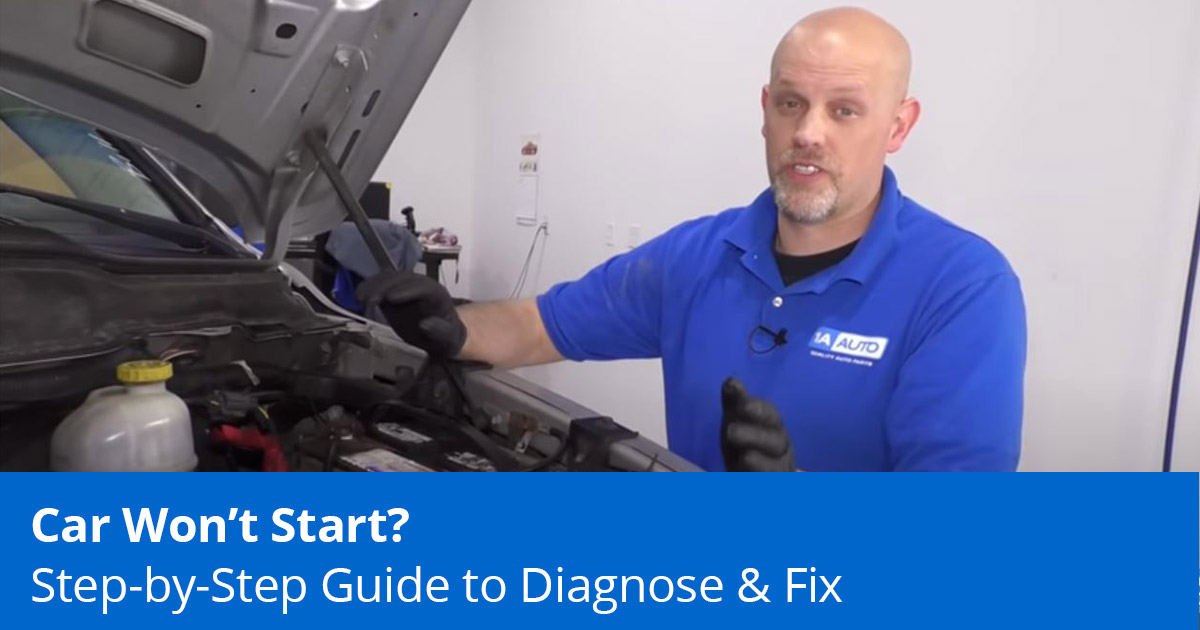
Credit: blog.1aauto.com
3. Tools And Materials Needed
In order to successfully repair a starter motor, you will need a set of essential tools and materials. With the right equipment, you can effectively troubleshoot and repair the starter motor.
Socket Set
A socket set with various sizes of sockets will be necessary to dismantle the starter motor from the vehicle. Ensure that you have the appropriate sockets to fit the bolts and nuts securely.
Torque Wrench
A torque wrench is essential for reassembling the starter motor. This will help you tighten the bolts to the manufacturer’s specifications, preventing over-tightening, which can lead to damage.
Multimeter
A multimeter is crucial for testing the electrical components of the starter motor. It will allow you to measure the voltage, current, and resistance, aiding in diagnosing any electrical issues accurately.
Cleaning Solvent
Cleaning solvent is needed to thoroughly clean and degrease the components of the starter motor. It will help remove dirt, grime, and old lubricants, ensuring smoother operation and performance.
Replacement Starter Motor
If after troubleshooting and repair attempts, your starter motor is still malfunctioning, you may need to have a replacement starter motor at hand to complete the repair process.
4. Step-by-step Repair Guide
When it comes to starter motor repair, having a step-by-step guide can make the process much simpler. This guide will walk you through the process of repairing a starter motor, providing clear instructions for each essential step. Whether you’re a DIY enthusiast or a professional mechanic, this guide will help you take on starter motor repair with confidence.
Disconnect The Battery
Before beginning any repair work on the starter motor, it’s crucial to disconnect the battery. This step is essential to ensure safety during the repair process and prevent any electrical hazards.
Locate The Starter Motor
Firstly, you need to locate the starter motor in your vehicle. Typically, the starter motor is situated near the transmission and is connected to the flywheel. Refer to your vehicle’s manual for specific details on locating the starter motor.
Remove The Electrical Connections
Begin by removing the electrical connections attached to the starter motor. These connections may include wires, cables, or bolts that need to be carefully detached before proceeding further.
Detach The Mounting Bolts
Following the removal of electrical connections, you need to detach the mounting bolts securing the starter motor in place. Use the appropriate tools to loosen and remove these bolts, allowing you to access the starter motor.
Replace The Starter Motor
Now that the old starter motor is removed, it’s time to replace it with a new one. Ensure that the replacement starter motor is compatible with your vehicle’s make and model, and carefully install it in the designated position.
Reconnect The Battery
Finally, after replacing the starter motor, reconnect the battery to restore power to the vehicle. It is essential to ensure that all the electrical connections are securely fastened before reconnecting the battery to avoid any potential issues.
5. Troubleshooting Tips
Discover troubleshooting tips for starter motor repair with this expert step-by-step guide. Master the art of troubleshooting and fix starter motor issues quickly and efficiently.
Testing The Starter Motor With A Multimeter
Checking The Wiring And Connections
Inspecting The Flywheel Or Flexplate
When troubleshooting starter motor issues, you can follow these 5. Troubleshooting Tips to diagnose and fix common problems effectively.
Testing The Starter Motor With A Multimeter
Use a multimeter to check the current flow through the starter motor for accurate diagnosis.
Checking The Wiring And Connections
Ensure all wiring and connections are secure and free from corrosion or damage to maintain optimal performance.
Inspecting The Flywheel Or Flexplate
Inspect the flywheel or flexplate for missing teeth or signs of wear to prevent future starting issues.

Credit: www.aarp.org
Frequently Asked Questions Of Starter Motor Repair: Expert Step-by-step Guide
How Do You Replace A Starter Step By Step?
To replace a starter, follow these steps: 1. Disconnect the negative battery cable. 2. Remove any obstructions, such as wires or bolts, from the starter. 3. Disconnect the wiring harness from the starter. 4. Unbolt the starter from the engine. 5.
Install the new starter by reversing the steps above.
How Does A Starter Motor Work Step By Step?
A starter motor turns on the engine by drawing power from the battery. 1. When the key is turned, the solenoid engages the starter’s gears. 2. The motor spins the engine’s flywheel. 3. Combustion starts, and the engine runs. 4.
The starter disengages once the engine is running.
Can You Fix A Starter Motor Yourself?
Yes, if you have proper knowledge and tools, you can fix a starter motor yourself.
What Are The Procedures For Disassembling A Starter Motor?
To disassemble a starter motor, first disconnect the battery, remove the mounting bolts and separate the solenoid. Then, detach the field frame and carefully extract the armature. After that, disassemble the remaining components as needed for repair or replacement. Always follow the manufacturer’s guidelines for specific procedures.
Conclusion
Repairing your starter motor may seem daunting, but with proper guidance, it’s achievable. Regular maintenance can extend the lifespan of your vehicle. Remember to follow safety precautions and refer back to this guide as needed. Keeping your starter motor in top shape is key to a reliable driving experience.