Simple Steps to Repair a Faulty Starter Motor
To repair a faulty starter motor, start by disconnecting the battery and removing the starter motor. Then, clean and lubricate the components before testing the motor for proper function.
A faulty starter motor can cause frustration, but with the right tools and knowledge, it can be repaired quickly and easily. Is your car’s starter motor giving you trouble? Dealing with a faulty starter motor can be a headache, but with some simple steps, you can fix the issue without spending a fortune at the mechanic.
In this guide, we’ll walk you through the process of repairing a faulty starter motor, from disconnecting the battery to testing the repaired motor. By following these steps, you’ll be back on the road in no time. Let’s dive in and get your car running smoothly again.
Diagnosing The Issue
To identify the issue with a faulty starter motor, start by checking the battery, connections, and ignition switch for any signs of wear or corrosion. Then, test the starter relay and solenoid to pinpoint the root cause of the problem.
Proper diagnosis is key to an effective repair process.
When your car’s starter motor malfunctions, it can be a frustrating experience. Fortunately, diagnosing the issue doesn’t have to be. By identifying common symptoms and using diagnostic tools, you can quickly pinpoint the problem and proceed with the necessary repairs.
Identifying Common Symptoms
Before you can repair a faulty starter motor, you need to determine whether it is indeed the source of the problem. There are a few common symptoms that can help you identify a malfunctioning starter motor:
- Clicking sound: If you turn the key and only hear a clicking sound without the engine cranking, it could indicate a problem with the starter motor.
- No sound: If you hear no sound at all when you turn the key, it may be due to a faulty starter motor or a dead battery.
- Slow cranking: If the engine cranks slowly or takes longer than usual to start, this could also be a sign of a faulty starter motor.
- Intermittent starting: If the car starts sometimes, but not consistently, it could be indicative of a starter motor that is on its way out.
By paying attention to these symptoms, you can narrow down the possible issues to the starter motor. However, it is important not to jump to conclusions just yet. It’s always a good idea to utilize diagnostic tools to confirm your suspicions.
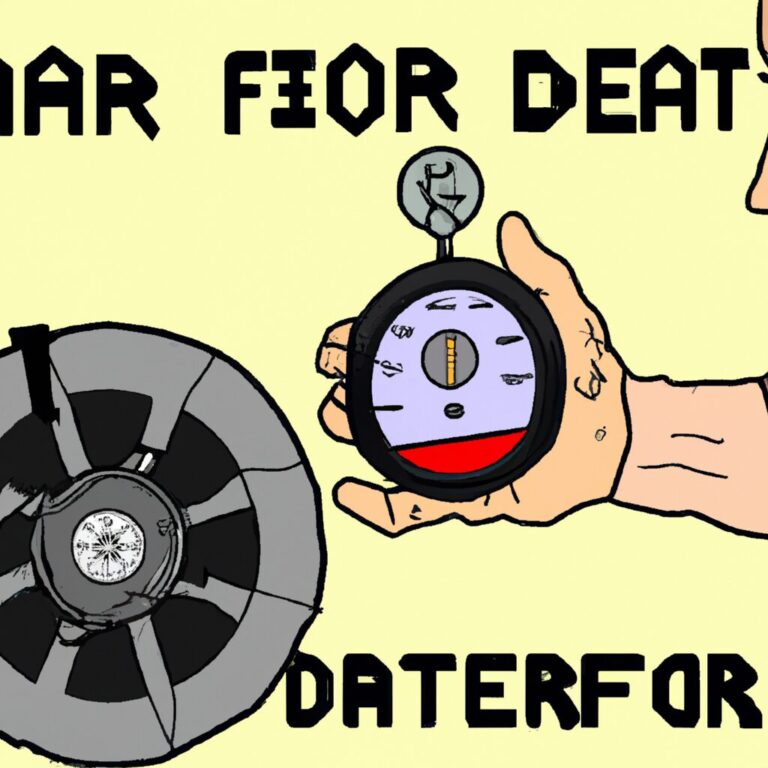
Using Diagnostic Tools
Diagnostic tools can provide valuable insights into the health of your car’s starter motor. These tools help you eliminate any guesswork and ensure that you are targeting the correct component for repair or replacement. Here are some commonly used diagnostic tools:
| Tool | Description |
|---|---|
| Multimeter | A multimeter allows you to measure electrical voltage, resistance, and continuity. By testing the electrical connections to the starter motor, you can verify if it is receiving the proper power supply. |
| Starter Motor Test Bench | A starter motor test bench is a specialized tool used by mechanics to assess the functionality of a starter motor outside of the vehicle. This tool can provide a comprehensive analysis of the motor’s performance. |
| OBD-II Scanner | An OBD-II scanner is a device that allows you to retrieve diagnostic trouble codes from your car’s onboard computer. These codes can provide clues about any underlying issues with the starter motor. |
By utilizing diagnostic tools such as these, you can accurately diagnose the problem with your starter motor and proceed with the necessary repairs or replacements. Remember to consult your vehicle’s manual or seek professional assistance if needed.
Credit: haynes.com
Gathering The Necessary Tools
When it comes to repairing a faulty starter motor, the first step is to gather the necessary tools. Having the right tools at hand will make the repair process smoother and more efficient. In this section, we will look at the basic tools required and optional tools for advanced repair.
Basic Tools Required
Before starting the repair, ensure you have the following basic tools:
- Screwdriver set (flathead and Phillips)
- Socket wrench set
- Wire brush
- Terminal cleaning tool
- Safety goggles and gloves
Optional Tools For Advanced Repair
For more advanced repairs, the following optional tools may be useful:
- Hydraulic jack
- Multimeter
- Starter motor repair kit
- Impact wrench
- Torque wrench
Preparing For Repair
Ensuring Safety Measures
Before beginning any repair work on the starter motor, it is crucial to ensure safety measures are in place. Ensure the vehicle is parked on a level surface and the ignition is turned off to prevent any accidental starts. Additionally, disconnect the vehicle’s battery to avoid any electrical hazards during the repair process.
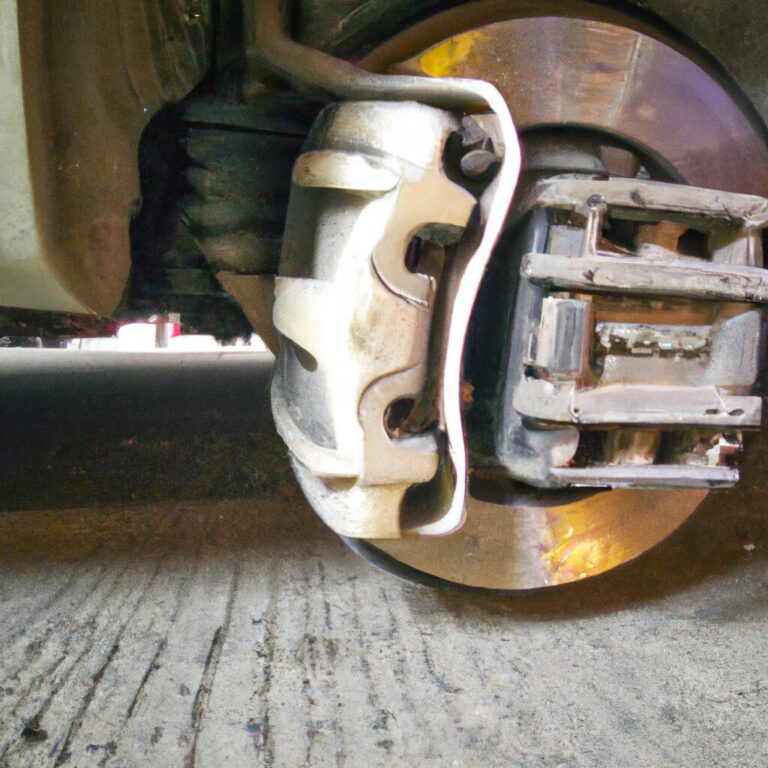
Locating The Starter Motor
To start the repair process, you first need to locate the starter motor in your vehicle. Depending on the make and model of the vehicle, the starter motor can usually be found attached to the engine block or the transmission bell housing. Refer to the vehicle’s manual or seek professional guidance if you’re unsure about the location.
Credit: www.firestonecompleteautocare.com
Repairing The Starter Motor
When it comes to faulty starter motors, it’s important to act quickly and efficiently to get your vehicle up and running again. Repairing the starter motor might seem like a daunting task, but with a few simple steps, it can be done smoothly. In this guide, we’ll walk you through the process of repairing a faulty starter motor, from removing the motor to replacing any faulty components.
Removing The Starter Motor
Before you can begin repairing the starter motor, it’s essential to safely remove it from your vehicle. Follow these steps:
- Disconnect the negative terminal of the battery to ensure your safety throughout the process.
- Locate the starter motor in your vehicle. Consult your vehicle’s manual or do a quick internet search if you’re unsure of its location.
- Using a suitable wrench, remove the bolts that hold the starter motor in place. Keep track of these bolts, as you’ll need them later.
- Carefully detach any wiring or cables connected to the starter motor, making a note of their positions for reinstallation.
- Once all connections are removed, gently slide out the starter motor. Be mindful of any weight or resistance you may encounter.
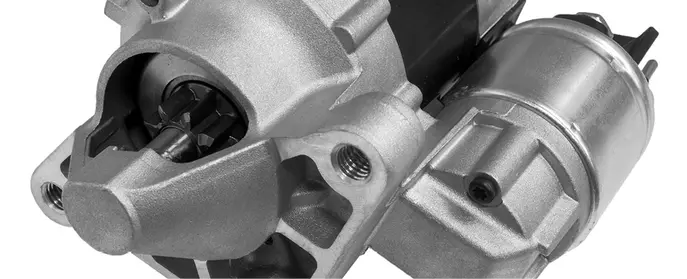
Replacing Faulty Components
With the starter motor removed, it’s time to inspect and replace any faulty components. Follow these steps:
- Thoroughly examine the starter motor for any signs of damage or wear. Look for worn-out brushes, a damaged solenoid, or any other visible issues.
- If you identify any faulty components, refer to your vehicle’s manual or consult a trusted mechanic for guidance on replacing them.
- Once you have obtained the necessary replacement components, carefully install them in the appropriate positions.
- Reconnect any wiring or cables that you previously detached, ensuring they are securely attached.
- Reinstall the starter motor by sliding it back into place and fastening the bolts you removed earlier. Make sure the motor is tightly secured.
- Finally, reconnect the negative terminal of the battery to restore power to the starter motor.
With these simple steps, you can effectively repair a faulty starter motor and get your vehicle back on the road in no time. Remember to exercise caution and consult professionals if needed during the process. Follow these steps, and you’ll save time and money by avoiding costly repairs at the mechanic’s shop.
Testing And Reinstalling
When it comes to testing and reinstalling a faulty starter motor, following simple steps can help you diagnose and fix the issue efficiently.
Bench Testing The Starter Motor
Before reinstalling, bench test the starter to ensure it’s working properly after any repairs.
- Grab a voltmeter and set it to measure DC voltage before proceeding.
- Connect the positive lead of the voltmeter to the starter’s positive terminal.
- Connect the negative lead to the starter’s housing or any grounding point.
- Engage the starter and observe the voltmeter’s reading – it should show a consistent voltage.
Reinstalling The Starter Motor
After successfully bench testing the starter motor, you can proceed with the reinstallation process.
- Carefully position the starter motor back into its place in the engine.
- Ensure all bolts and screws are tightened securely to avoid any potential issues.
- Reconnect the wiring harness and any other components disconnected during the removal process.
- Double-check all connections to make sure everything is properly in place.
With these simple steps, you can confidently test and reinstall a faulty starter motor, ensuring your vehicle starts smoothly.

Credit: digital-motorage.vehicleservicepros.com
Frequently Asked Questions Of Simple Steps To Repair A Faulty Starter Motor
How Do You Fix A Failed Starter?
To fix a failed starter, follow these steps: 1. Check the battery for full charge and make sure the connections are secure. 2. Inspect the starter solenoid for any loose or damaged wires. 3. Test the starter relay by swapping it with another similar relay.
4. If the starter still does not work, it may need to be replaced or professionally repaired. 5. Consult a qualified mechanic for assistance.
Can You Fix A Starter Motor Yourself?
Yes, you can fix a starter motor yourself with the right tools and knowledge. However, it can be a complex job, so make sure you are comfortable with the process. If you’re unsure, it’s best to seek professional help. Regular maintenance can also prevent starter motor issues.
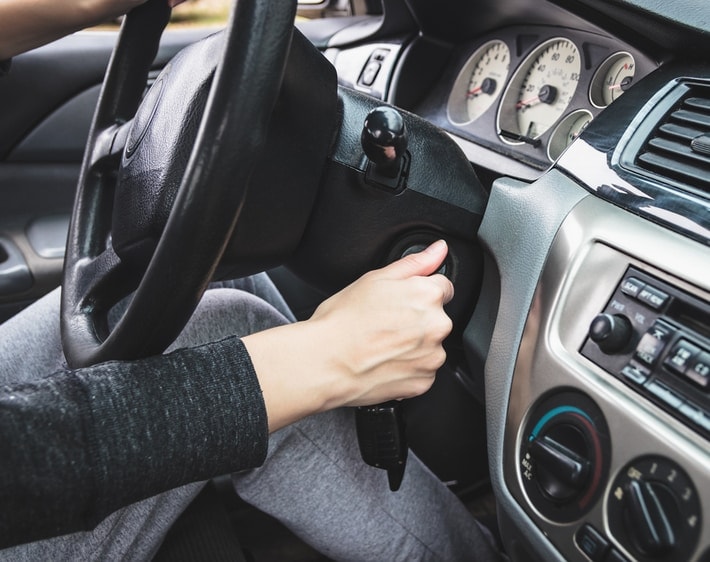
How Do You Start A Car With A Bad Starter Motor?
To start a car with a bad starter motor, try tapping it with a hammer while turning the ignition. If this doesn’t work, push start the car if it’s a manual transmission or use a jump starter for automatic transmissions.
Consider seeking professional help for a long-term fix.
What Are The Steps Necessary To Replace A Starter?
To replace a starter, follow these steps: 1. Disconnect the battery by removing the negative cable. 2. Locate the starter motor, usually found near the engine. 3. Remove the mounting bolts that hold the starter in place. 4. Disconnect the electrical connections to the starter.
5. Install the new starter by reversing these steps.
Conclusion
By following these simple steps, you can easily repair a faulty starter motor. Begin by identifying the issue and assessing the necessary repairs. Then, gather the required tools and materials. Next, carefully disassemble and clean the starter motor. Finally, replace any faulty components and reassemble the motor.
With a little patience and attention to detail, you can successfully fix your starter motor and get your vehicle running smoothly again. Happy repairing!