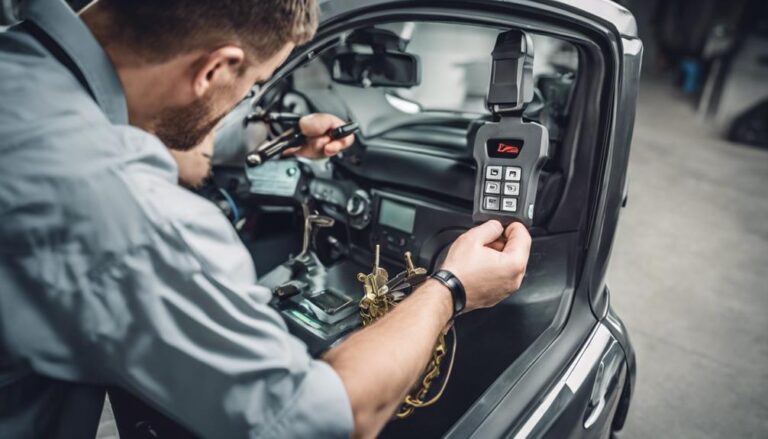
10 Easy Steps to Program Car Keys After Battery Replacement
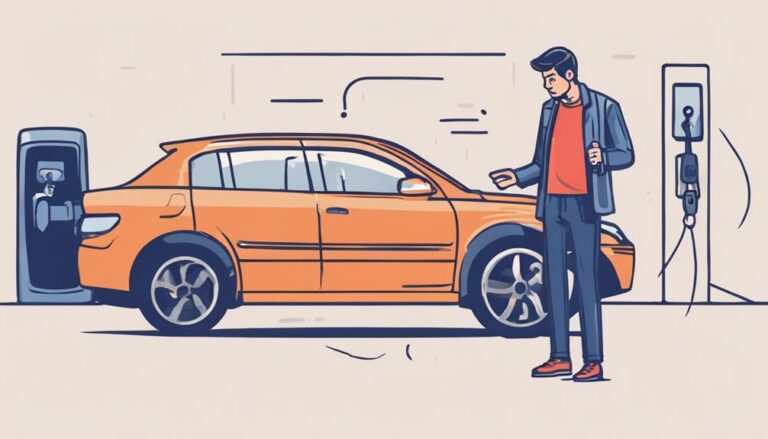
When it comes to programming car keys after a battery replacement, there are ten straightforward steps you need to follow. Ensuring your key functions properly post-battery change is important for seamless vehicle operation.
From checking the car battery voltage to verifying key functionality, each step plays a significant role in the process. So, if you want to guarantee your car key is programmed correctly and avoid any potential issues down the road, these steps are essential for you to follow.
Key Takeaways
- Check car battery voltage before programming for optimal performance.
- Gather necessary tools like key fob programming tool and spare batteries.
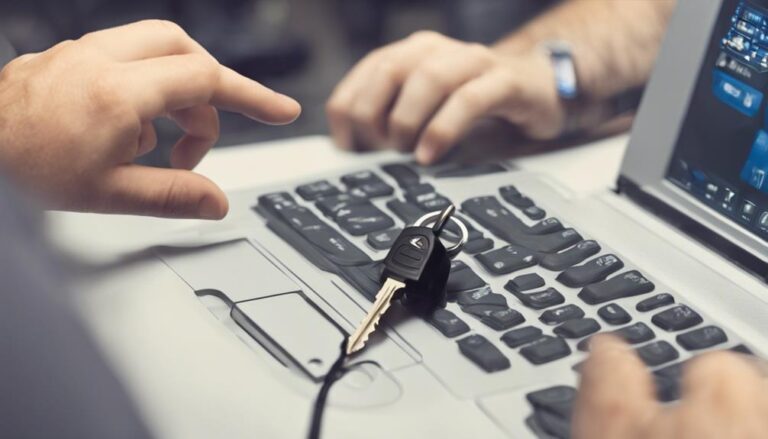
- Connect OBD scanner and follow on-screen prompts for key programming.
- Test newly programmed key and ensure smooth engine start for successful integration.
Check Car Battery Voltage
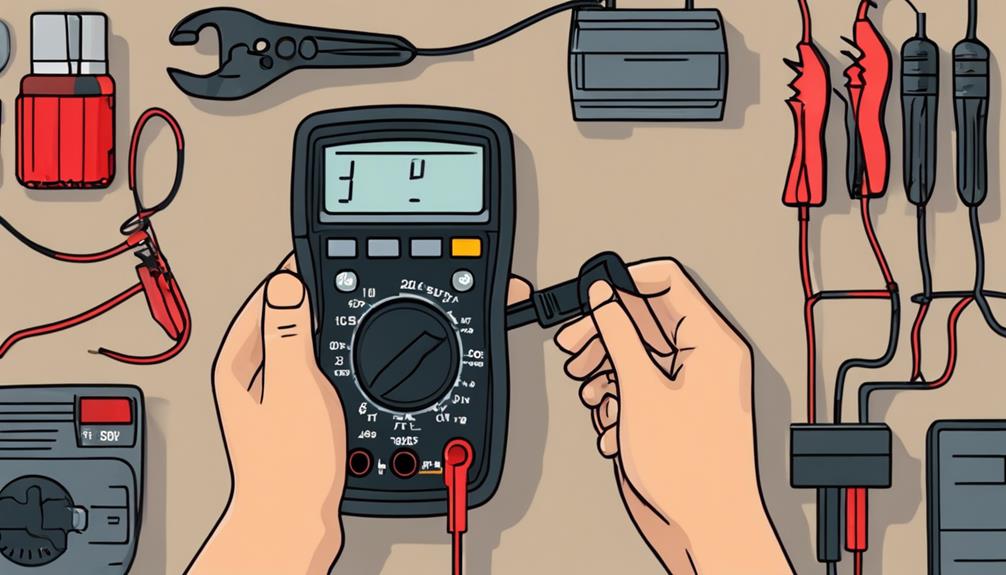
To determine if your car battery has sufficient voltage for key programming, use a multimeter to measure the current voltage. Begin by making sure your vehicle is turned off and the key is removed from the ignition. Locate the battery under the hood and identify the positive and negative terminals. Inspect the terminals for any corrosion or loose connections, as these can affect the voltage readings.
Next, set your multimeter to the DC voltage setting, typically 20 volts. Connect the red probe to the positive terminal of the battery and the black probe to the negative terminal. Take note of the voltage displayed on the multimeter. A healthy car battery should read around 12.6 to 12.8 volts when not under load.
If your battery voltage falls below this range, it may not have enough power to program your car keys effectively. In this case, consider charging the battery or seeking professional assistance to ensure a successful key programming process.
Gather Necessary Tools
Consider preparing the following tools before proceeding with the key programming process. To begin, make sure you have the key fob programming tool specific to your vehicle make and model. This tool is essential for syncing your new key with the car's system.
Next, have a reliable battery maintenance device on hand. This will help you check the battery's voltage level before programming the key, guaranteeing a smooth process. Additionally, keep a fresh set of batteries for your key fob ready in case they need replacement during the programming. A significant power source is vital for successful key programming, so having spare batteries is a proactive approach.
Locate OBD Port
Locate the OBD port in your vehicle for accessing the car's diagnostic system. The OBD port, short for On-Board Diagnostics port, is typically located under the dashboard on the driver's side. It's a standardized connection point where you can plug in an OBD scanner to communicate with the car's computer system. To find the OBD location, first, sit in the driver's seat and look beneath the dashboard near the steering column. The port is usually within arm's reach and can vary in appearance, but it often has a trapezoidal shape with 16 pins inside.
When finding the OBD location, make sure the ignition is off, and if you have trouble locating it, consult your vehicle's manual for specific instructions. If you're still facing difficulties, check for any panels that may be covering the port. Additionally, inspect the area for any damage or loose connections that could impede proper communication between the OBD scanner and the car's system.
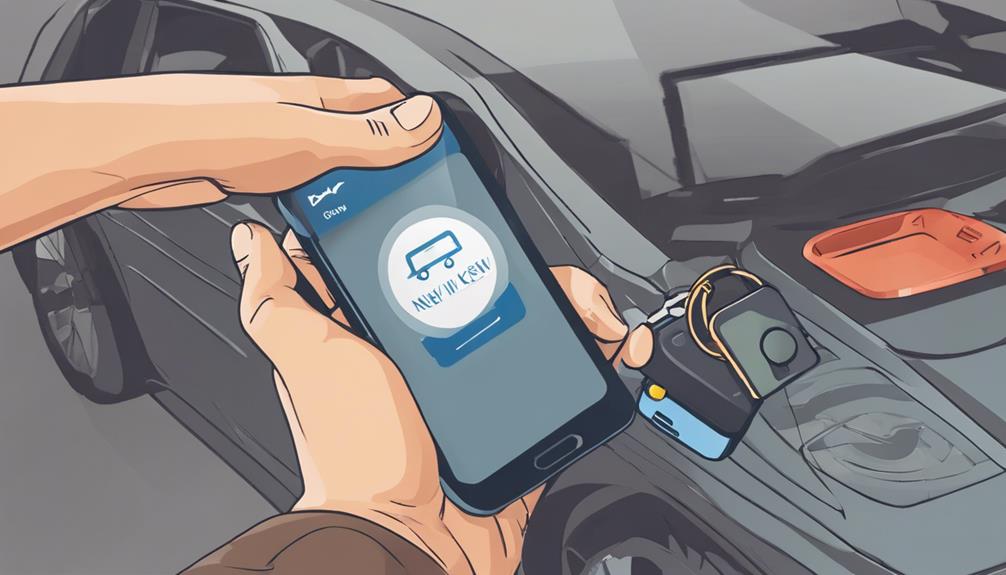
Connect OBD Scanner
To begin, connect the OBD scanner to the OBD port in your vehicle. This step is important for setting up the scanner and initiating the key programming process efficiently.
Following the correct sequence guarantees a smooth and successful key reprogramming procedure.
OBD Scanner Setup
First, make sure the OBD scanner is powered off before connecting it to the vehicle's OBD port.
To set up the OBD scanner properly for key programming, follow these steps.
Connect the OBD scanner to the vehicle's OBD port, usually located under the dashboard near the driver's seat.
Turn on the vehicle's ignition without starting the engine.
Power on the OBD scanner and wait for it to establish a connection with the vehicle's onboard computer system.
If you encounter any issues during this setup process, refer to the OBD scanner troubleshooting section in the user manual for assistance.
Once the connection is established, you're ready to proceed with key fob programming.
Key Programming Process
Make sure the OBD scanner is securely connected to the vehicle's OBD port before proceeding with the key programming process. This step is important to establish proper communication between the scanner and the car's computer system.
Once the connection is established, follow these steps for successful key programming:
- Access the key programming function on the OBD scanner.
- Select the option for key fob programming or remote key programming, depending on your specific key type.
- Follow the on-screen prompts to initiate the programming sequence.
- Wait for the confirmation message indicating that the key programming process was successful.
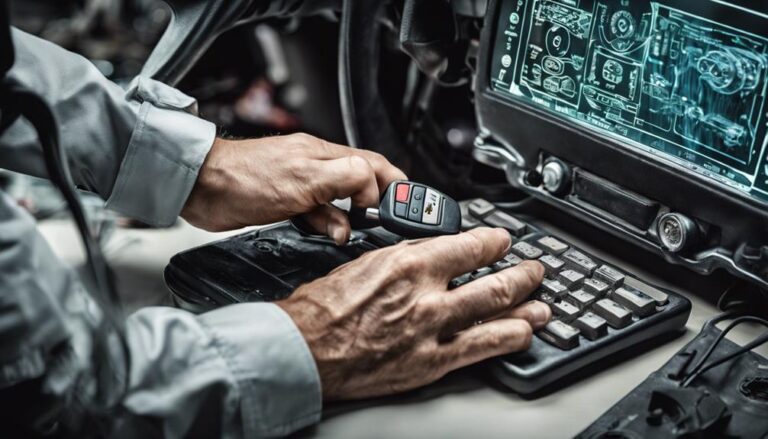
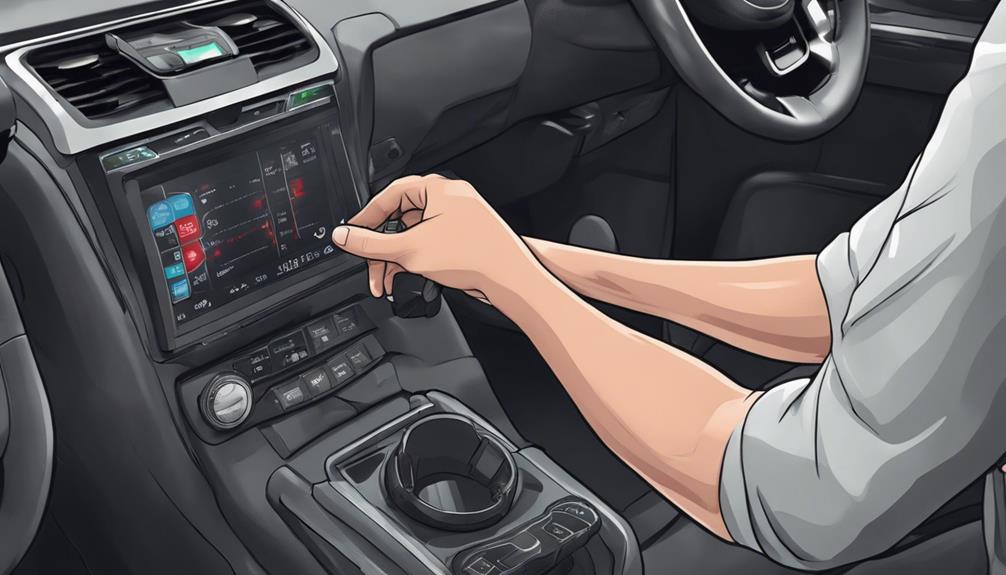
Access Key Programming Mode
To successfully program your car keys after a battery replacement, you need to make sure you have completed the necessary key programming preparations.
Initiating the programming mode is important to allow your vehicle to recognize the new key.
Follow the specific programming instructions provided by your car's manufacturer to complete the process accurately.
Key Programming Preparations
How can you access the key programming mode for preparing to program your car keys after a battery replacement?
Before you begin programming your car keys, it's crucial to make sure that your key fob is compatible with your vehicle's system. Here is a simple guide to help you access the key programming mode smoothly:
- Check Compatibility: Verify that your key fob is compatible with your car model.
- Prepare Remote Start: If your key fob includes remote start functionality, make certain it's programmed correctly.
- Gather Information: Have all necessary information about your vehicle, including the make, model, and year.
- Access Programming Mode: Follow the specific steps outlined in your car's manual to access the key programming mode.
Initiating Programming Mode
Initiate the key programming mode by following the step-by-step instructions provided in your vehicle's manual. This process is important for ensuring proper synchronization between your car keys and the vehicle's security system.
By entering the programming mode correctly, you enable your keys to communicate effectively with the car, enhancing features like remote start and keyless entry. Maintaining your battery is vital to guaranteeing excellent key performance and overall key security.
Accessing the programming mode allows you to reestablish the connection between your keys and the vehicle, ensuring seamless functionality. Pay attention to the specific steps outlined in your manual to initiate this mode successfully and enjoy trouble-free key usage.
Follow Programming Instructions
When accessing key programming mode, make sure you carefully follow the specific instructions provided in your vehicle's manual to synchronize your car keys effectively. To make certain successful key fob programming, follow these steps:
- Access Instructions: Locate the precise steps outlined in your car's manual for entering programming mode.
- Key Entry: Insert the key into the ignition and turn it to the 'On' position without starting the engine.
- Programming Sequence: Press the buttons on your key fob in the sequence indicated in the manual to link it to your vehicle.
- Verification: After completing the programming steps, test each button on the key fob to confirm proper functionality.
For troubleshooting tips or more detailed key fob programming instructions, refer to your vehicle's manual for accurate guidance.
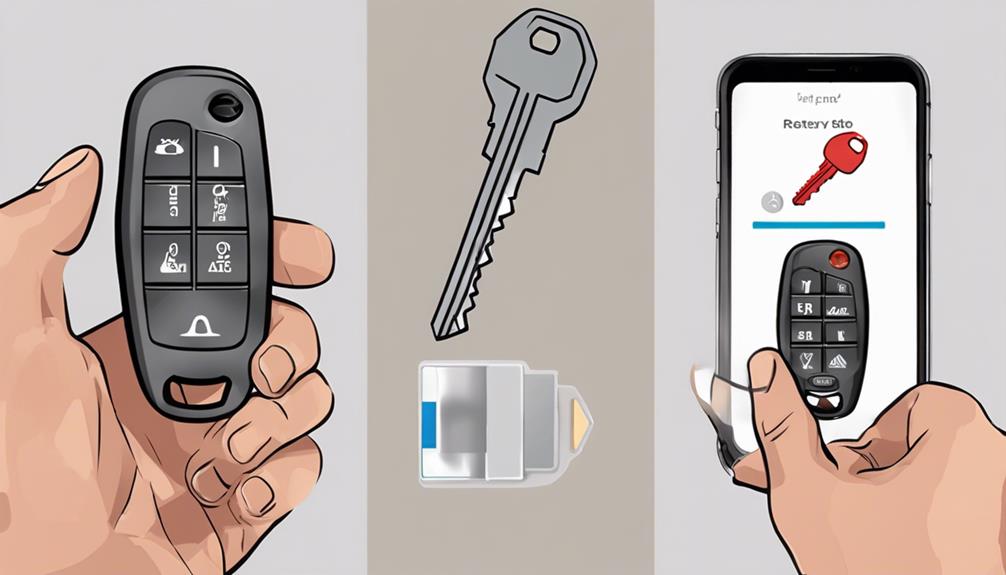
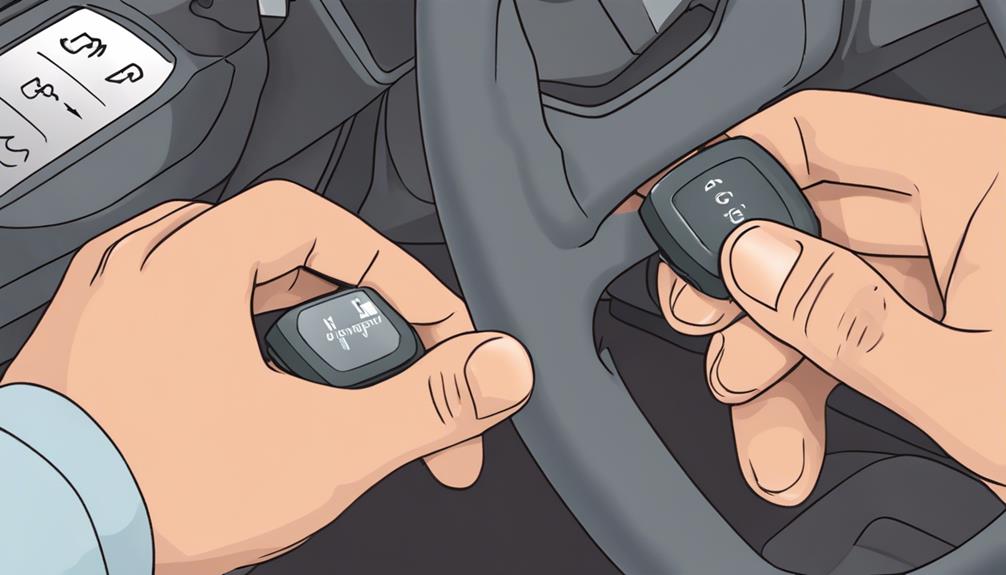
Program Replacement Key
To program a replacement key, follow these step-by-step instructions. When faced with the task of key fob replacement or remote key programming, it's important to make sure a seamless process.
Begin by inserting the original key into the ignition and turning it to the 'On' position without starting the engine. Within five seconds, turn the key back to the 'Off' position. Repeat this step two more times, ending in the 'Off' position.
Now, press any button on the replacement key fob to signal programming mode activation. The locks should cycle to confirm. If you have multiple remotes, repeat this step within 20 seconds of the first key.
Once all remotes are programmed, turn the key to the 'On' position to exit programming mode. Test each remote to verify successful programming. Following these precise steps ensures your replacement key is programmed correctly, allowing for smooth operation of your vehicle.
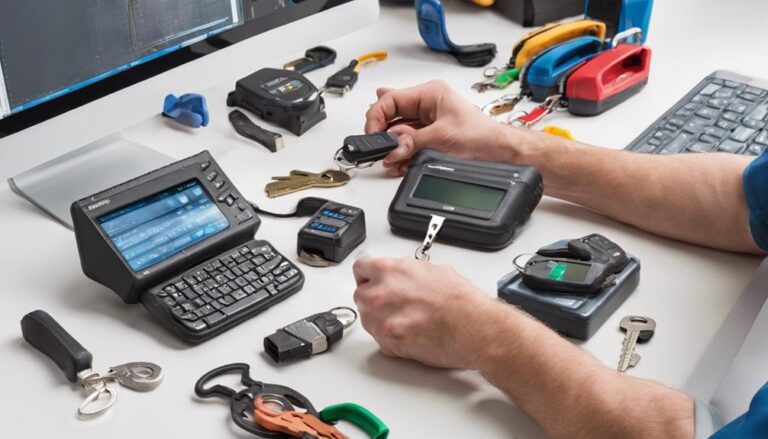
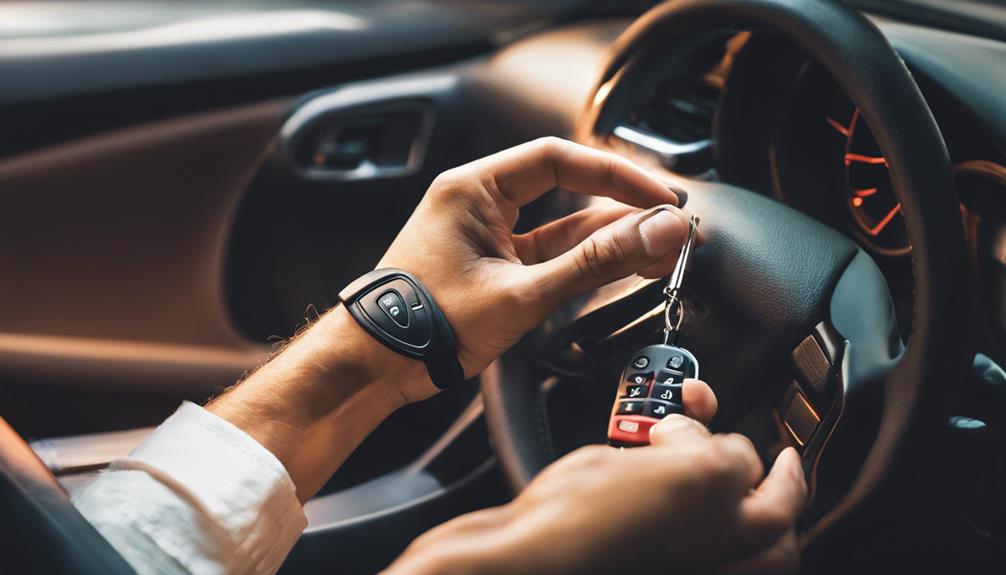
Test Newly Programmed Key
After successfully programming the replacement key following the outlined steps, the next crucial task is to verify its functionality by testing the newly programmed key. To make sure that the key programming was successful and the key is ready for use, follow these steps:
- Key Functionality Testing: Insert the newly programmed key into the ignition and turn it to the 'on' position. The engine should start without any issues, confirming that the key is programmed correctly.
- Remote Key Functionality: Test the remote functions of the key, such as securing and opening the doors, opening the trunk, and activating the panic button. These functions should work seamlessly, indicating that the remote key programming was successful.
- Key Programming Validation: Double-check that the key can start the car and operate the vehicle's functions normally. Any irregularities could indicate a problem with the programming process.
- Key Programming Success: If all the above tests pass without any complications, congratulations! Your key programming was successful, and the newly programmed key is now ready for regular use.
Exit Programming Mode
To exit programming mode, follow these steps carefully. Exiting programming mode is important to guarantee that the newly programmed key is successfully integrated into the car's system.
Once you have completed the key programming process, it's important to verify the key functionality before moving on. To exit programming mode, simply turn off the ignition and remove the newly programmed key from the ignition slot. Make sure there are no other keys in the vehicle's ignition.
Next, test the newly programmed key by using it to start the engine. If the key starts the engine smoothly, this indicates that the programming was successful.
Exiting programming mode is a critical step in the key programming process as it finalizes the integration of the new key into the car's system. Key functionality verification is essential to guarantee that the key is working correctly and can effectively start the vehicle. By following these steps accurately, you can successfully exit programming mode and confirm that the newly programmed key is fully operational.
Reconnect OBD Scanner
Reconnecting the OBD scanner is an important step in the car key programming process to guarantee proper communication with the vehicle's system. Follow these steps to make sure a successful reconnection:
- Locate OBD Port: Find the OBD port in your vehicle, usually located beneath the dashboard near the driver's seat.
- Reconnect Device: Plug the OBD scanner back into the OBD port securely, making sure a firm connection.
- Power On: Turn on the ignition without starting the engine to power up the OBD scanner.
- Access Diagnostic Tools: Use the diagnostic tools on the OBD scanner to communicate with the vehicle's system and proceed with the key programming process.
Verify Key Functionality

To verify key functionality, begin by conducting key testing following specific troubleshooting steps.
First, confirm the key can physically open and start the vehicle without any issues.
Next, check for any error codes or indicators that may signal a problem with the key programming.
Key Testing
Verify the key is functioning properly by conducting a thorough verification test. To test the key programming techniques were successful and the car key compatibility is correct, follow these steps:
- Check Remote Functions: Test all remote functions, such as lock, unlock, trunk release, and panic buttons.
- Ignition Test: Insert the key into the ignition and turn it to make sure it starts the car.
- Keyless Entry: Test the keyless entry feature by walking up to the car and ensuring it unlocks automatically.
- Security System: Activate the security system using the key fob to confirm it arms and disarms properly.
Troubleshooting Steps
Ensuring the key functionality is essential for diagnosing and resolving any issues that may arise after a battery replacement. To begin troubleshooting, verify if the key is transmitting a signal by pressing the buttons and checking for a response.
If there's no signal, try replacing the key's battery before proceeding further. Next, make sure the key is being inserted correctly into the ignition and that the key positions align properly.
If the key still doesn't work, consider using different troubleshooting techniques like checking for any visible physical damage to the key or contacting a professional for assistance. Remember that these steps are critical before starting the key reprogramming process to guarantee a successful outcome.
Frequently Asked Questions
Can I Program My Car Keys After a Battery Replacement Without an OBD Scanner?
You can program car keys after a battery replacement without an OBD scanner. Try alternative methods like manually syncing keyless entry or using a remote start sequence. Troubleshooting tips can help if you encounter challenges.
Will Programming My Car Keys After a Battery Replacement Void My Warranty?
Delving into the intricacies of key programming post-battery switch, pondering the warranty's fate seems natural. Fear not, for self-programming rarely interferes. Dealership dalliance may raise eyebrows, but DIY endeavors typically preserve your warranty's sanctity.
How Long Does It Typically Take to Program a Replacement Key After a Battery Replacement?
Key programming speed varies based on the vehicle model. Generally, it takes 10-30 minutes. Common key programming issues include inaccurate programming instructions or faulty key fobs. Be sure you follow precise steps to avoid complications.
Can I Program Multiple Replacement Keys at Once After a Battery Replacement?
Yes, you can program multiple replacement keys at once after a battery replacement. Key programming compatibility allows for this process. Make sure the new keys are programmed correctly, taking into account battery replacement considerations for best functionality.
Can I Program a New Key Fob for My Car After a Battery Replacement?
Yes, you can program a new key fob for your car after a battery replacement. Make certain key fob compatibility and access to remote start functionality. Follow manufacturer instructions carefully to synchronize the new key fob with your vehicle.
Conclusion
After following these 10 easy steps to program car keys after a battery replacement, you can rest assured that your keys will work seamlessly with your vehicle.
Did you know that approximately 10% of car key programming issues are related to a low car battery voltage? By checking the voltage and following these steps, you can avoid common problems and make sure your keys are programmed correctly.