How to Test Jumper Cables
To test jumper cables, connect the red clamp to the positive terminal and the black clamp to the negative terminal on both vehicles. Ensure the cars are off and not touching before starting the functioning vehicle first.
Testing jumper cables is crucial for vehicle emergencies, ensuring they work efficiently when needed. By following simple steps and precautions, you can confidently use your jumper cables in any unexpected situation. Regular testing helps maintain your safety and peace of mind on the road, especially during emergencies like a dead battery.
Knowing how to test jumper cables properly is a valuable skill for any driver, so make sure you are prepared for any scenario.
Importance Of Testing Jumper Cables
Jumper cables are an essential tool for jump-starting a vehicle with a dead battery. However, using faulty jumper cables can lead to safety hazards and potential damage to the vehicles involved. That’s why it’s crucial to test jumper cables to ensure they are in proper working condition before attempting to use them.
Safety First
Ensuring the safety of yourself and others is paramount when dealing with jumper cables. By testing the cables beforehand, you can identify any potential risks such as exposed wires or damaged clamps that could cause accidents during the jump-starting process.
Preventing Damage To Vehicles
Testing jumper cables helps prevent damage to the vehicles’ electrical systems. Faulty cables can cause power surges or short circuits, leading to expensive repairs for both vehicles. By verifying the integrity of the cables, you can safeguard against these issues and ensure a smooth jump-start process without any damage.
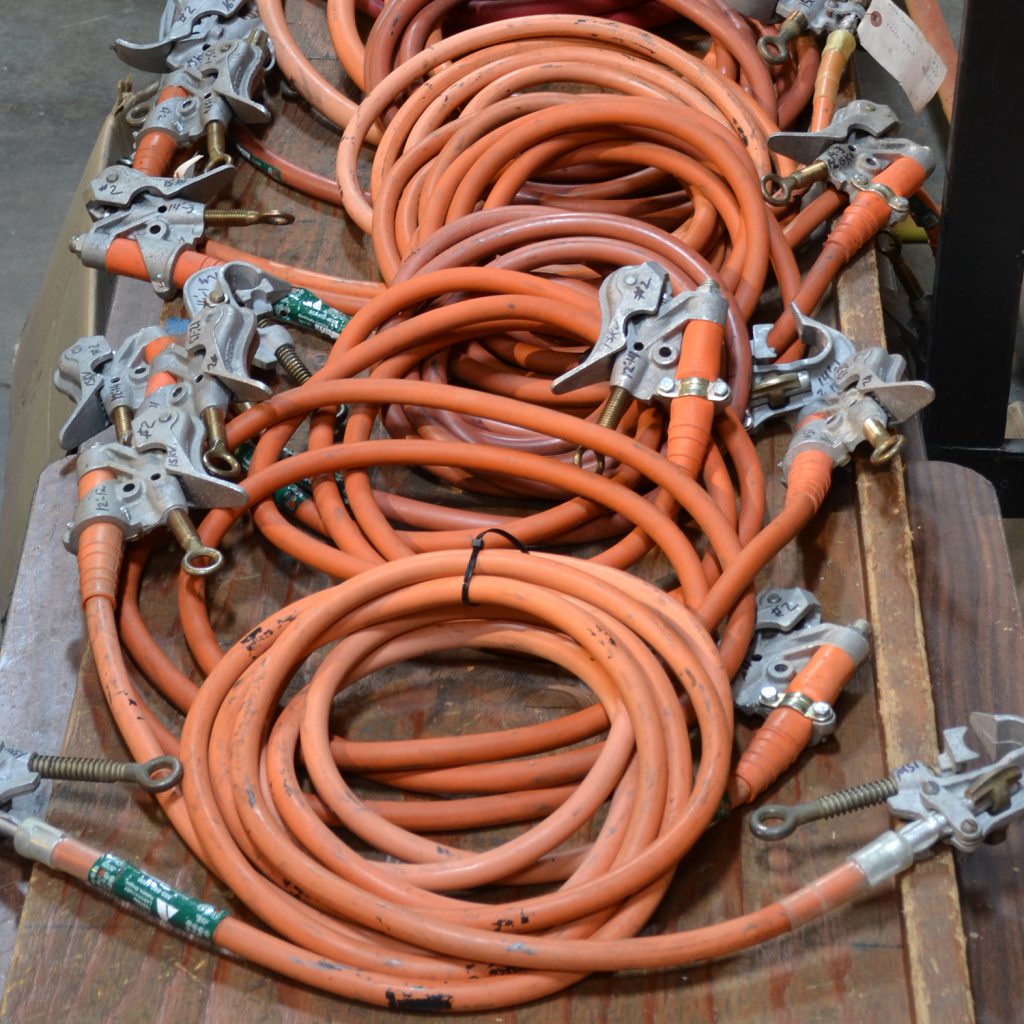
Credit: hjarnett.com
Tools Needed For Testing Jumper Cables
When testing jumper cables, having the right tools is crucial to ensure safety and reliability. Below are the essential tools you will need to effectively test jumper cables:
Multimeter
A multimeter is a versatile tool that can measure various electrical parameters like voltage, current, and resistance.
Battery Safety Gloves
Protective battery safety gloves provide insulation to keep you safe from electrical shocks while handling jumper cables.
Step-by-step Guide To Testing Jumper Cables
Learn how to test jumper cables with this step-by-step guide. Discover the essential techniques to ensure your cables are in proper working condition and ready for any emergency.
Inspecting The Cables
To ensure jumper cables are in good condition, look for any visible signs of wear or damage. Check for fraying or exposed wires, which can prevent the cables from functioning correctly. Inspect both the clamps and the cable itself for any rust or corrosion.
Testing The Clamps
Attach the clamps securely to a car battery, ensuring a tight grip on the terminals. Test the clamps by gently tugging on them to ensure they are firmly attached. Make sure there is no movement or slippage, as this can affect the transfer of power.
Checking The Insulation
Examine the insulation along the length of the cables to ensure there are no cuts or tears. Damaged insulation can lead to electrical hazards and poor performance. Replace any cables with compromised insulation to avoid safety risks.
Measuring The Resistance
Use a multimeter to measure the resistance of the cables to determine their conductivity. A low resistance reading indicates good cable condition, while a high reading suggests issues. Regularly testing the resistance helps maintain the efficiency of your jumper cables.
Common Issues With Jumper Cables
Jumper cables are essential for any vehicle owner, but they can develop issues over time that affect their performance. It’s crucial to understand the common problems associated with jumper cables so that you can identify and address them effectively. This article will outline some of the most prevalent issues to look out for when testing your jumper cables.
Corrosion On Clamps
Corrosion on the clamps of jumper cables can hinder the transfer of power between vehicles, leading to failed jump starts. When checking your jumper cables, pay close attention to the clamps for any signs of corrosion. This can manifest as a greenish or white powdery substance on the metal surface. In case of corrosion, clean the clamps thoroughly with a wire brush to ensure proper contact.
Frayed Or Damaged Cables
Frayed or damaged cables are another common issue that can impact the efficiency of jumper cables. Inspect the length of the cables for any visible signs of wear and tear, such as cuts, exposed wires, or fraying. If any damage is found, it’s vital to replace the cables immediately to avoid safety hazards and ensure reliable performance during jump starts.
Poor Internal Connections
Jumper cables with poor internal connections can result in a weakened power flow, leading to ineffective jump starts. While external corrosion may be visible, internal issues can go undetected without proper testing. It’s important to use a multimeter to check for continuity and proper connectivity throughout the length of the cables to identify any internal connection problems.
Maintenance And Storage Tips
Proper maintenance and storage of your jumper cables are essential to ensure their effectiveness and longevity. By following these tips, you can keep your cables in excellent condition and avoid any potential hazards.
Cleaning And Greasing The Clamps
To maintain a good connection between the jumper cables and the battery terminals, it is crucial to keep the clamps clean and free from corrosion. Regularly clean the clamps using a wire brush or sandpaper, removing any dirt, grease, or corrosion that may accumulate.
After cleaning, apply a thin layer of petroleum jelly or dielectric grease to the clamps’ teeth and jaws. This grease helps to prevent future corrosion and ensures a solid electrical connection.
Avoiding Extreme Temperatures
Do not expose your jumper cables to extreme temperatures, as it can cause damage to the insulation and compromise their performance. Extreme cold can make the cables stiff and less flexible, making them prone to breakage. On the other hand, extreme heat can soften the cable’s insulation, increasing the risk of short circuits or melting.
Whenever possible, store your jumper cables in a climate-controlled environment, away from direct sunlight, heaters, or any other sources of extreme temperature. This will help preserve the integrity of the cables and ensure their effectiveness when you need them most.
Proper Storage
Proper storage of your jumper cables is vital to avoid tangles and prolong their lifespan. Follow these suggestions to ensure your cables stay organized and ready for immediate use:
- Before coiling the cables, make sure they are clean and dry to prevent dirt or moisture from being trapped during storage.
- When coiling the cables, start at one end and work your way to the other end, keeping the coils tight and uniform.
- Secure the coiled cables with cable ties or twist ties to prevent them from unraveling.
- Store the jumper cables in a sturdy bag, toolbox, or dedicated storage box to protect them from damage and keep them easily accessible.
- Avoid storing heavy objects on top of the cables, as this can cause them to get bent or damaged.
By following these maintenance and storage tips, you can ensure that your jumper cables are always ready for use and can provide reliable assistance when you need a jumpstart. Remember, taking proper care of your cables not only extends their lifespan but also enhances their performance.
Credit: www.flukenetworks.com

Credit: www.amazon.com
Frequently Asked Questions Of How To Test Jumper Cables
How Do I Know If My Jumper Cables Work?
To check if your jumper cables work, connect them to a car battery. Look for a spark when connecting the clamps. If there’s no spark, the cables may not be working. Test them with a multimeter for proper voltage flow.
Make sure the metal clamps are clean for a good connection.
Do Jumper Cables Go Bad?
Yes, jumper cables can go bad due to wear and tear, corrosion, and exposure to extreme temperatures. Regular inspection is recommended.
Will Jumper Cables Work If They Are Rusty?
Rusty jumper cables can still work, but clean connections ensure proper power flow. Ensure good contact for effectiveness.
Why Are My Jumper Cables Not Sparking?
Jumper cables may not spark due to poor connections or a drained battery. Ensure proper attachment and consider replacing old cables. Seek professional assistance if sparks persist for safety.
How Can I Test My Jumper Cables At Home?
To test your jumper cables at home, you can use a multimeter to check the conductivity of the cables and ensure they are working properly.
What Are The Signs Of A Faulty Jumper Cable?
Some signs of a faulty jumper cable include frayed or damaged insulation, loose connections, and a lack of conductivity when tested with a multimeter.
Can I Test Jumper Cables Without A Multimeter?
Yes, you can test jumper cables without a multimeter by simply connecting them to a car battery and observing whether they effectively start the vehicle.
Conclusion
To sum up, testing jumper cables is crucial for ensuring functionality during emergencies. By following the step-by-step process, car owners can confidently assess the condition of their cables. Regular testing and maintenance will increase the lifespan of the cables and contribute to safe and efficient jumping.
Stay prepared and stay safe on the road!