How to Repair a Blown Head Gasket
To repair a blown head gasket, you will need to remove the old gasket, clean the surface thoroughly, and then install a new gasket. This process involves removing the cylinder head, inspecting for any damage, and then reassembling the engine with the new gasket.
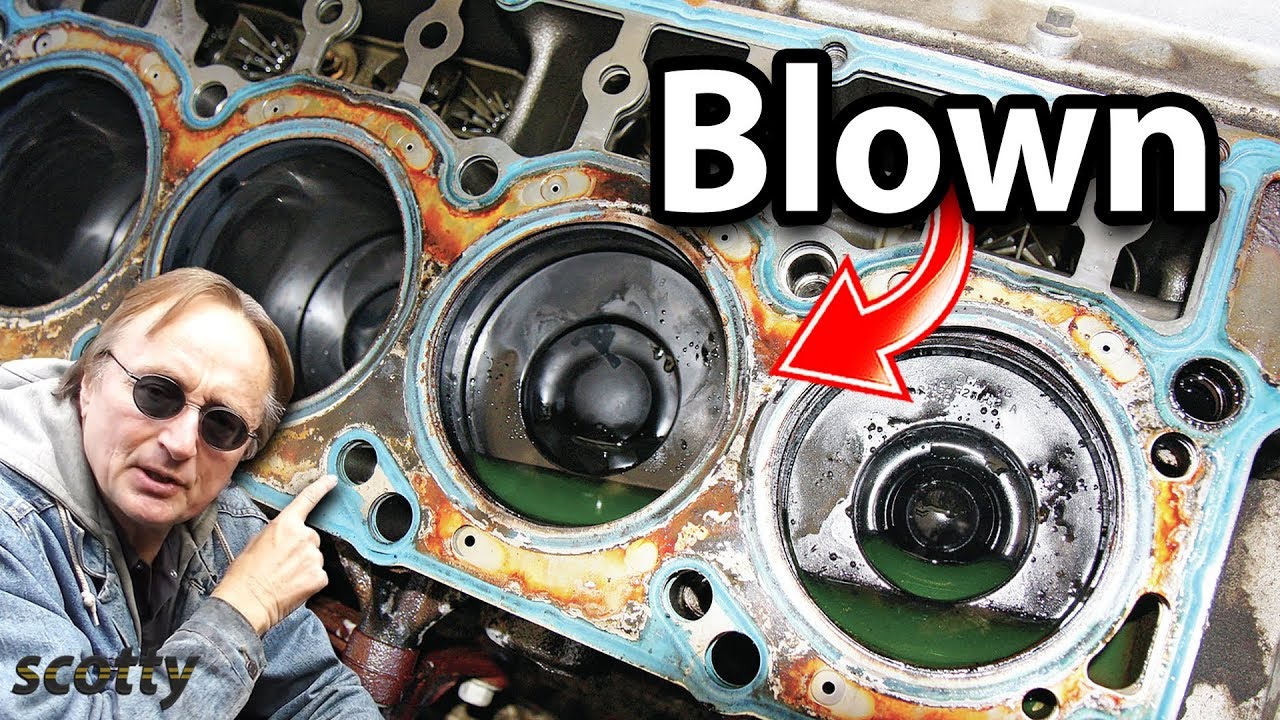
A blown head gasket can cause issues such as coolant leaks, overheating, or white smoke from the exhaust. Addressing a blown head gasket promptly is crucial to prevent further damage to the engine. We will discuss the steps involved in repairing a blown head gasket, the tools and materials needed, as well as some tips to ensure a successful repair.
By following these instructions carefully, you can effectively repair a blown head gasket and restore your engine’s performance.
Identifying The Issue
To start repairing a blown head gasket, first locate the issue by checking for white smoke from the exhaust and coolant leaks. Pay attention to engine overheating and loss of coolant as signs of a blown head gasket. Proper identification is crucial for effective repair.
Recognizing Symptoms
A blown head gasket can lead to serious engine problems if left undiscovered and unrepaired. Therefore, it is crucial to recognize the symptoms as early as possible. By paying attention to the following signs, you can determine whether you have a blown head gasket:
- Continuous overheating of the engine, even after refilling coolant.
- White smoke emitting from the exhaust pipe, indicating coolant mixing with the combustion chamber.
- Suddenly dropping coolant levels without any noticeable leaks.
- Oil becoming contaminated with coolant, creating a milky appearance on the dipstick.
- Engine misfire, with a significant loss of power and acceleration.
- Presence of coolant in the combustion chamber, causing abnormal combustion noises or bubbling sounds from the radiator.
Performing Diagnostic Tests
When you suspect a blown head gasket, it’s important to confirm the diagnosis through a series of diagnostic tests. These tests will help you determine the extent of the damage and decide on the best course of action. Here are some diagnostic tests you can perform:
- Compression test: This test measures the compression levels in each cylinder, helping identify any discrepancies or leaks.
- Cooling system pressure test: By pressurizing the cooling system, you can pinpoint leaks or inconsistencies that indicate a blown head gasket.
- Cylinder leak-down test: This test determines the condition of the head gasket by measuring the amount of compression leak in each cylinder.
- Exhaust gas analyzer: Analysing exhaust gases can reveal the presence of coolant or other substances, indicating a blown head gasket.
By paying attention to the symptoms and performing diagnostic tests, you can quickly identify whether you have a blown head gasket. Once you confirm the issue, you can proceed with the necessary repairs to prevent further damage to your engine.
Gathering The Necessary Tools And Parts
When it comes to repairing a blown head gasket, gathering the necessary tools and parts is the crucial first step. Proper preparation and having the right equipment readily available can make the repair process smoother and more efficient. This section will guide you through preparing your workstation and compiling the tools and replacement parts needed for the repair.
Preparing The Workstation
Before diving into the repair process, it’s essential to set up a clean and organized workstation. Make sure you have ample space to work on the vehicle and that the area is well-lit. Lay down a protective covering to prevent any damage to the floor or surfaces.
Compiling Tools And Replacement Parts
Compiling the necessary tools and replacement parts is crucial for a successful head gasket repair. Take inventory of the tools you currently have and create a list of the items you need to acquire. To ensure you have everything on hand, here’s a comprehensive list of required tools and replacement parts:
Tools
- Socket wrench set
- Torque wrench
- Combination wrench set
- Screwdriver set
- Crowbar or pry bar
- Rubber mallet
- Scraper or gasket remover
- Wire brush
- Flush tool
- Pressure tester
- Compression tester
- Jack and jack stands
Replacement Parts
- New head gasket set
- Timing belt or chain (if necessary)
- Thermostat and gasket
- Engine coolant
- Engine oil
- Oil filter
- Spark plugs
- Intake and exhaust manifold gaskets
- Valve cover gasket
- Camshaft and crankshaft seals
- Engine block sealer (optional)
Preparing The Vehicle
Preparing the vehicle for a blown head gasket repair is a crucial first step to ensure the process goes smoothly. By following the proper procedure for draining fluids and removing components, you can effectively address the issue and restore your vehicle’s performance.
Draining Fluids
Before starting the repair, let’s begin by draining the essential fluids from the vehicle. Here’s a breakdown of the necessary steps:
- Locate the radiator drain plug and position a container underneath to catch the coolant.
- Carefully loosen the drain plug to release the coolant. Once drained, secure the plug back in place.
- Next, locate the oil pan and place a container beneath it to collect the engine oil.
- Carefully remove the oil drain plug to let the engine oil flow into the container.
- Dispose of the old fluids in accordance with local regulations for environmental safety.
Removing Components
Now that the fluids have been properly drained, it’s time to focus on removing the necessary components. Follow these steps to ensure a systematic approach:
- Begin by disconnecting the battery to prevent any electrical mishaps during the repairs.
- Next, remove the intake manifold to gain access to the cylinder heads and gasket.
- Unbolt the exhaust manifold and carefully set it aside for later reinstallation.
- Remove the valve cover to expose the cylinder head and inspect for any damage.
- Take care to label and organize each component to facilitate reassembly after repairs.
Credit: www.kseal.com
Repairing The Blown Head Gasket
If you suspect your head gasket is blown, don’t panic. While it can be a daunting task, repairing a blown head gasket is possible with some patience and the right tools. In this guide, we will walk you through the steps to repair a blown head gasket efficiently and effectively. So, let’s get started!
Cleaning Surfaces
The first step in repairing a blown head gasket is to clean the surfaces where the gasket will be installed. This ensures a proper seal and prevents any leaks in the future. Begin by removing any residual gasket material using a scraper or gasket remover. Be careful not to scratch or damage the mating surfaces.
Next, clean the surfaces with a suitable solvent to remove any oil or debris. Use a lint-free cloth or paper towel to wipe away the solvent and ensure the surfaces are dry and clean. Inspect the surfaces for any signs of warping or damage. If necessary, you may need to have the surfaces machined or repaired before proceeding.
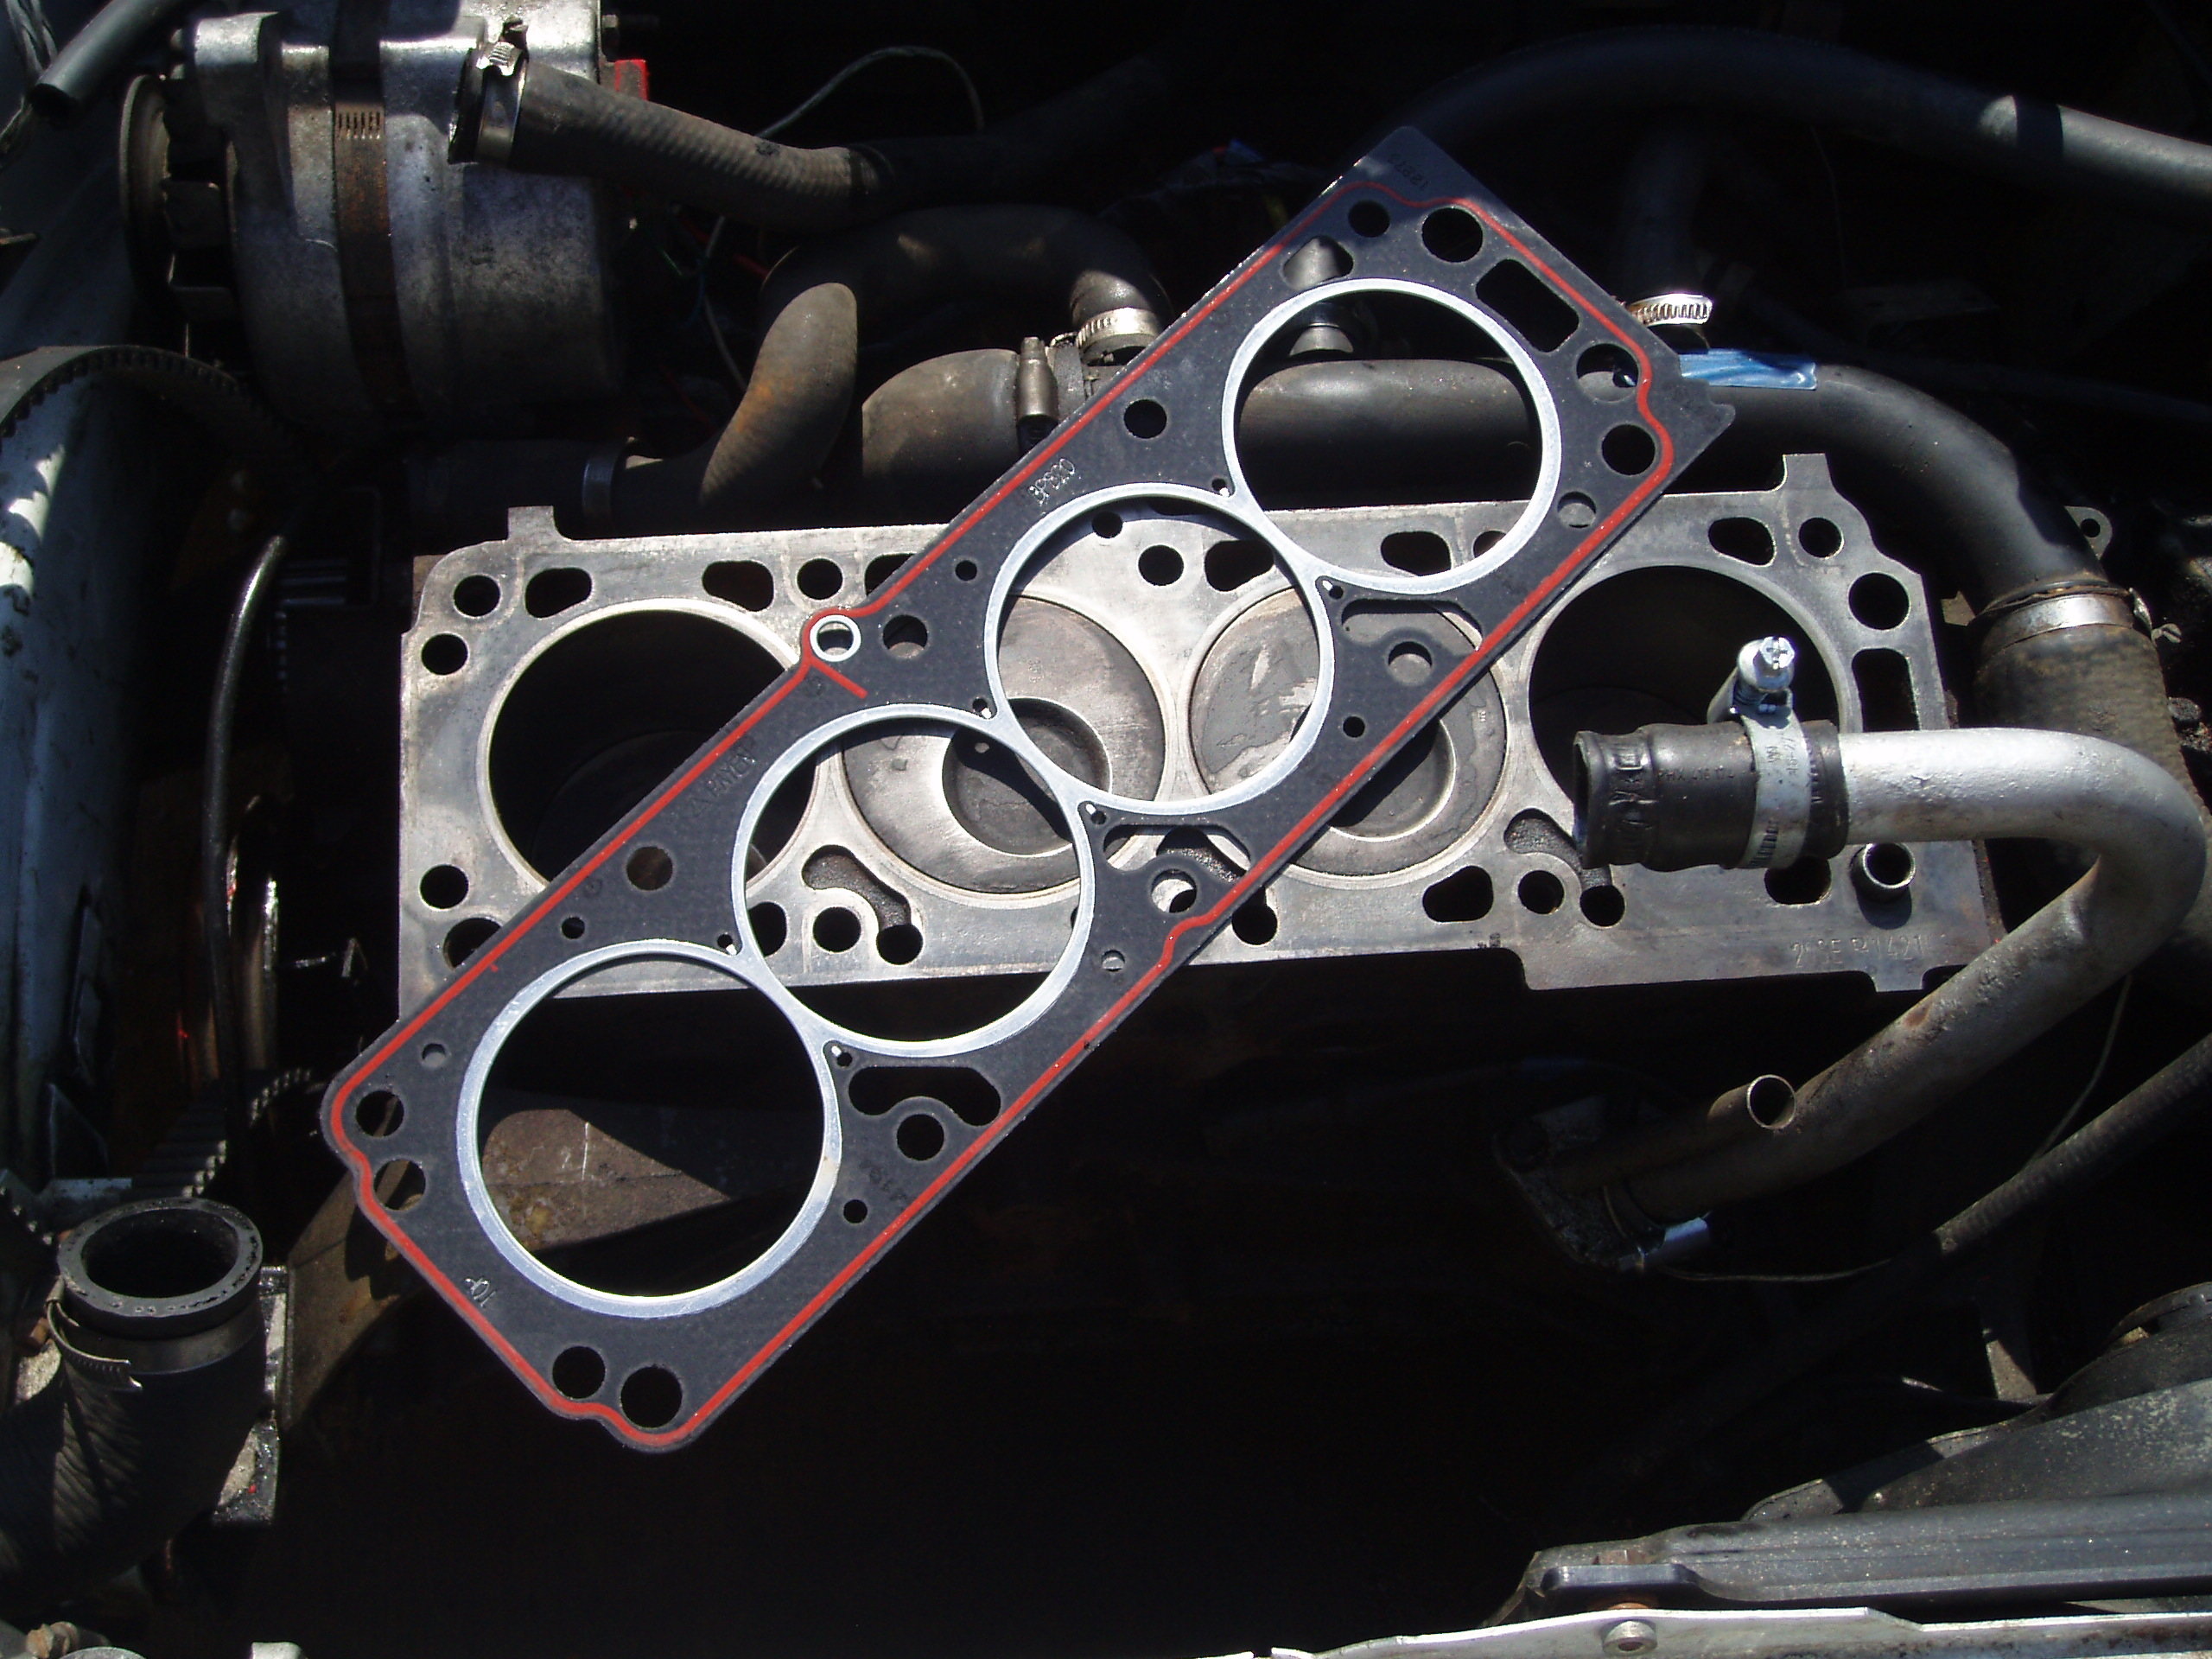
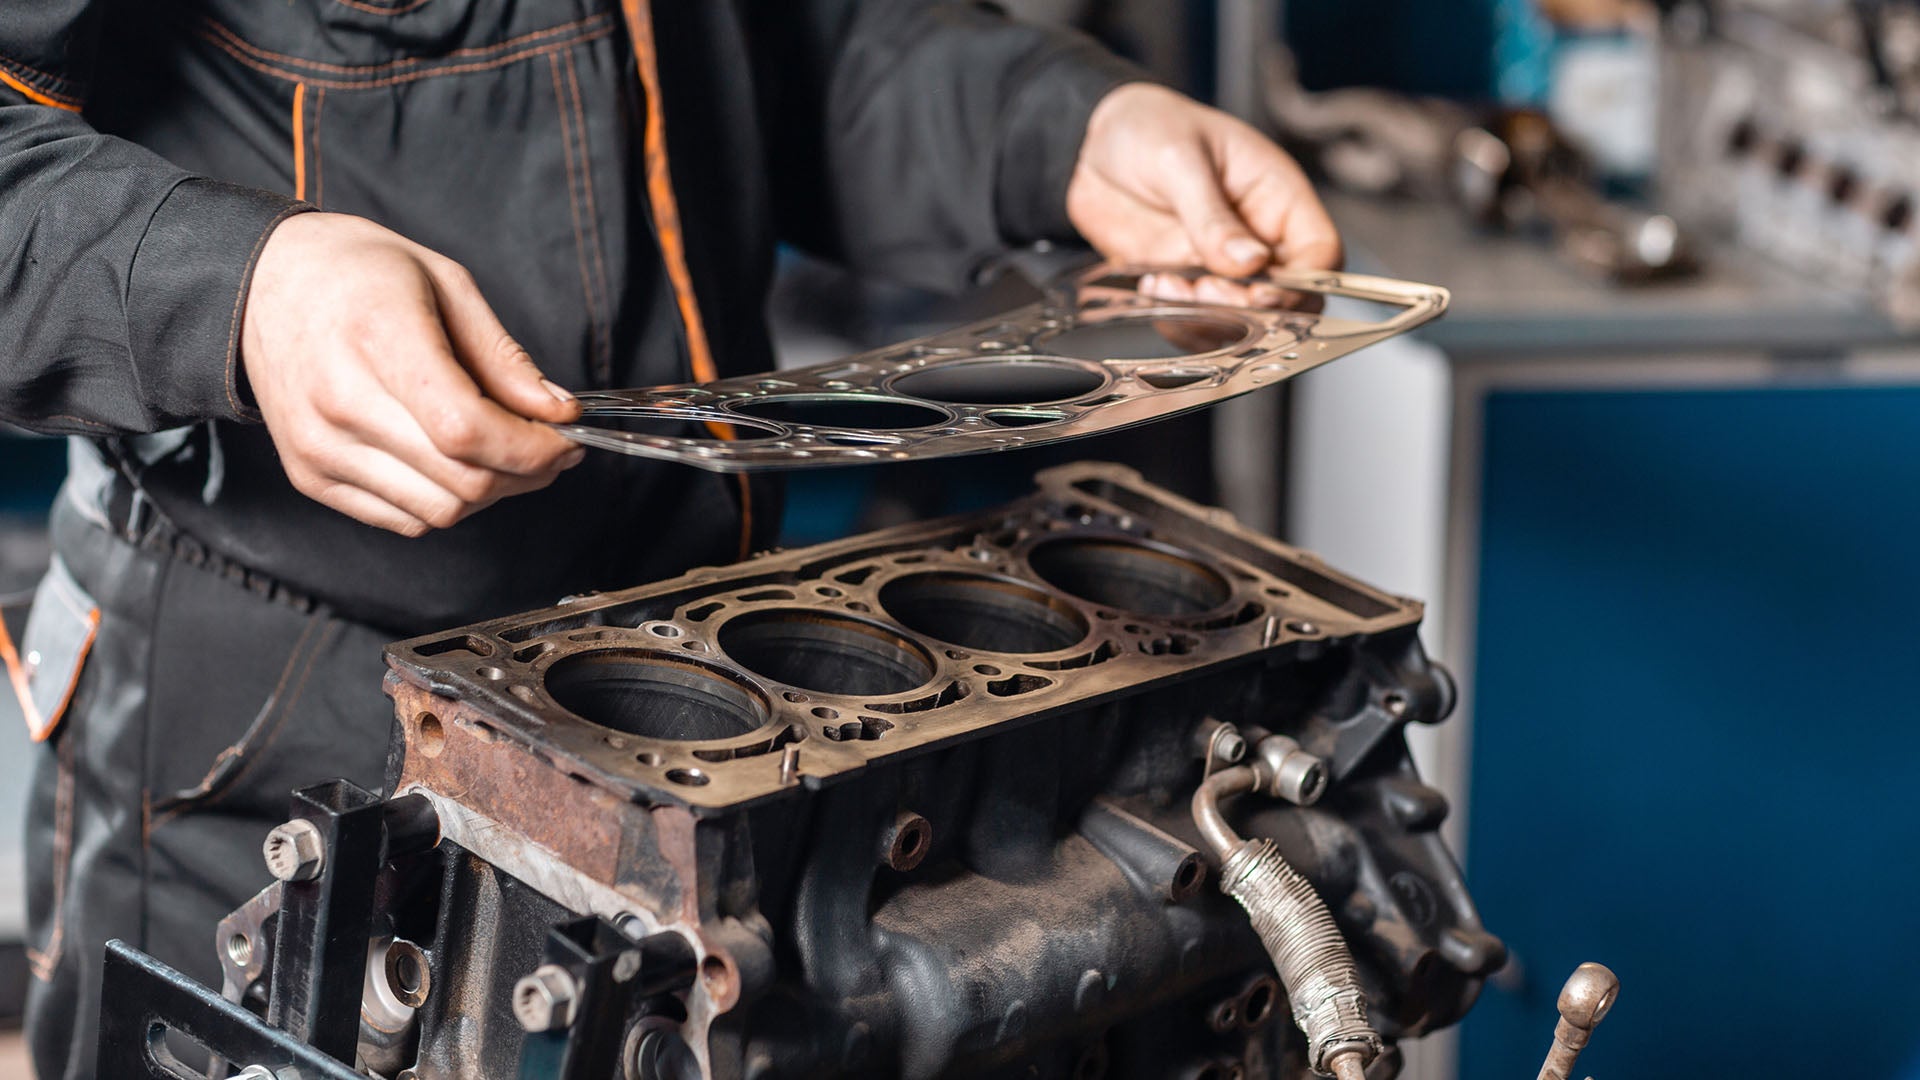
Installing New Gasket
Once the surfaces are clean and in good condition, it’s time to install the new head gasket. Start by positioning the gasket on the engine block, ensuring it aligns with the openings for the cylinders, water jackets, and oil passages. Take extra care to match any markings or notches on the gasket with the corresponding features on the engine block.
Next, place the cylinder head over the gasket and align it with the dowel pins or bolts. Gently lower the cylinder head onto the gasket, ensuring it sits evenly and flush on the engine block. Use a torque wrench to tighten the head bolts in the specified sequence and torque specifications provided by the manufacturer. This will help achieve the correct clamping force and ensure a proper seal.
After tightening the head bolts, double-check the torque settings and sequence. This step is crucial to prevent any uneven pressure on the gasket, which could lead to leaks or failure. Finally, reassemble the remaining components, such as the intake manifold, exhaust manifold, and valve cover, following the manufacturer’s instructions.
Now that you know the necessary steps to repair a blown head gasket, you can confidently tackle this job. Remember to take your time, follow the proper procedures, and use the right tools. If you prefer, you can always seek professional help to ensure the job is done correctly. Good luck with your head gasket repair!
Reassembling And Testing
Reassembling Components
Once the head gasket repair is complete, it’s essential to carefully reassemble all components. Follow these steps:
- Reinstall the cylinder head and torque the bolts to the specified pressure.
- Attach the intake and exhaust manifolds securely.
- Reconnect all hoses, lines, and electrical connections accurately.
- Replace the coolant and engine oil to ensure proper lubrication.
Performing Compression Test
After reassembly, it’s crucial to conduct a compression test to verify the effectiveness of the repair. Here’s how:
- Remove the spark plugs and disable the ignition system.
- Connect a compression gauge to each cylinder and crank the engine.
- Check that the compression values are within the specified range for your vehicle.
- If the compression is consistent across all cylinders, the head gasket repair was successful.
Credit: www.thedrive.com
Credit: m.youtube.com
Frequently Asked Questions For How To Repair A Blown Head Gasket
Can You Fix A Blown Head Gasket By Yourself?
Yes, you can fix a blown head gasket by yourself. However, it requires advanced mechanical skills, proper tools, and extensive knowledge. It’s recommended to consult a professional mechanic to ensure the job is done correctly and prevent further damage to your vehicle.
Can You Fix A Head Gasket Without Replacing It?
Yes, it is possible to fix a head gasket without replacing it by using a sealant. However, this is a temporary solution and may not work for all cases. It’s important to consult a professional mechanic for the best course of action.
Is It Worth Fixing A Blown Head Gasket?
Yes, it’s worth fixing a blown head gasket to prevent further damage to the engine. Ignoring it can lead to overheating and more costly repairs down the line. Getting it fixed promptly will ensure the longevity and performance of your vehicle.
What Is The Cheapest Way To Fix A Blown Head Gasket?
The most cost-effective way to repair a blown head gasket is to use a head gasket sealer. This sealer can temporarily fix the issue without the need for expensive repairs or replacement. It is important to follow the instructions carefully and monitor your vehicle closely for any further issues.
How Can I Tell If My Head Gasket Is Blown?
Inspect for white smoke from the exhaust and overheating engine.
What Are Common Symptoms Of A Blown Head Gasket?
Watch out for coolant leaks, engine misfires, and low compression.
Can I Drive With A Blown Head Gasket Temporarily?
Avoid driving to prevent further damage; seek professional repair immediately.
Conclusion
Fixing a blown head gasket can be a challenging task, but with the right knowledge and tools, it is entirely possible to repair it yourself. Remember to follow the step-by-step guide provided take necessary safety precautions, and seek professional help if needed.
By addressing this issue promptly, you can avoid further damage to your engine and save on costly repairs. With patience and perseverance, you can get your vehicle back on the road in no time.