How to fix code p1133 and Code p1153
Have you ever been driving and suddenly noticed your check engine light turn on? It can be a nerve-wracking experience, especially if you don’t know what the problem is. If your car’s diagnostic system has identified codes P1133 and P1153, then this blog article is for you! We’ll discuss the causes of these codes, how to diagnose them correctly, and provide tips on troubleshooting like a pro. By the end of this article, you’ll have all the information needed to get your vehicle back in top shape.
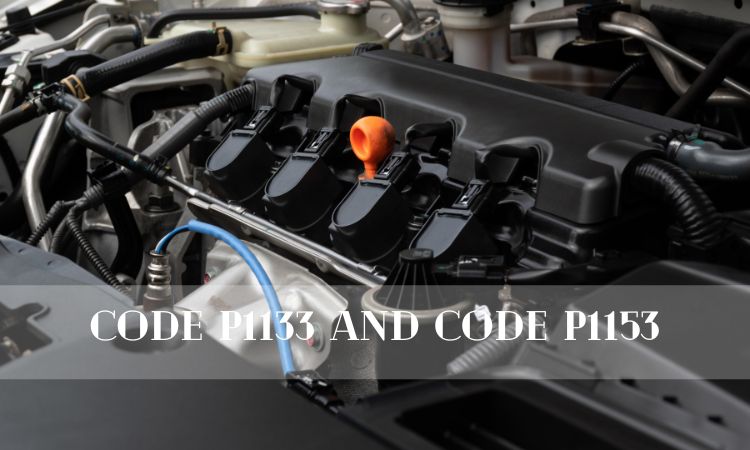
If you’ve been experiencing trouble with your vehicle, it could be due to a code p1133 and/or p1153. These codes indicate an issue with the air-fuel ratio sensor in your car or truck. Fortunately, this is something that can be fixed relatively easily if you know what to look for and how to go about fixing the problem.
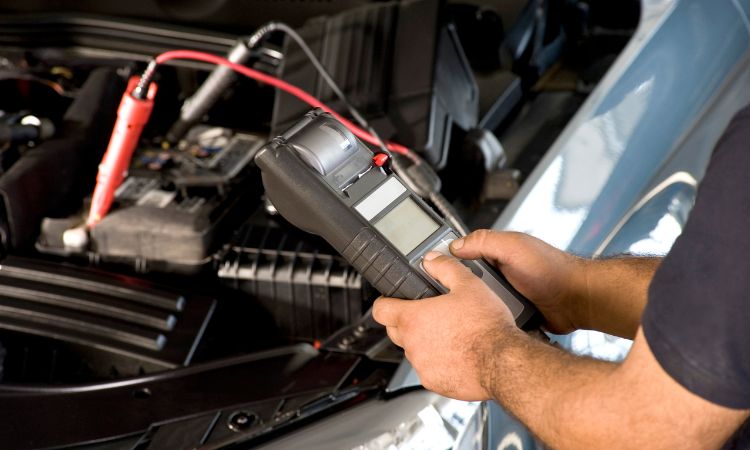
The first step is determining which of these two codes is causing the issue. P1133 indicates a lean condition while P1153 means there’s too much fuel being delivered into the engine by the air-fuel ratio sensor (AFR). To diagnose which one is causing your issues, use an OBD2 scanner or take it to a mechanic who can run diagnostics on it for you.
Once you know which code needs addressing, start by checking all of your vacuum hoses and intake manifold gaskets for any leaks or damage that might cause either code to appear on its own. If everything looks okay here then move on to inspecting all of your spark plugs and wires as well as ensuring they are properly connected so they aren’t misfiring when running at full power levels – this can also trigger either one of these codes depending on how severe things get when running at higher RPMs than usual under load conditions like accelerating quickly up hills etc..
Finally, check out any other sensors related directly or indirectly to AFR such as mass airflow (MAF) sensors – often times these will need replacing if their readings become inaccurate due to wear & tear over time from normal usage patterns; the same goes for oxygen (O2) sensors too! It’s important not only to replace them but also to make sure they’re correctly calibrated afterward so no further problems arise down line from incorrect readings being sent back through ECU systems etc..
Uncovering the Causes of Code P1133 and P1153
Troubleshooting engine codes can be a daunting task for car owners. Two of the most common codes are P1133 and P1153, which indicate an oxygen sensor problem in the vehicle’s exhaust system. While these codes may seem similar, they actually have different causes that must be uncovered before repairs can begin.
The first step to uncovering the cause of either code is to understand what each one means. The code P1133 indicates that there is a malfunction with the air/fuel ratio sensor circuit on Bank 1, while P1153 indicates a malfunction with Bank 2’s air/fuel ratio sensor circuit. This means that both sensors are not working correctly and need to be replaced or repaired in order to get your car running properly again.
Once you know what each code represents, it’s time to start troubleshooting! Start by checking all wiring connections related to both banks’ oxygen sensors; if any wires appear damaged or corroded, they should be replaced immediately as this could lead directly to problems causing either one of these two engine codes to be thrown up on your dashboard display screen when you turn on your ignition key switch.
If everything looks good then move on to inspecting other components such as fuel injectors and spark plugs for signs of wear or damage – replacing them if necessary – before finally testing out whether changing out any faulty parts has resolved the issue at hand (if not then further diagnosis will likely need taking place).
Diagnosing and Resolving Common OBD-II Codes
Diagnosing and resolving common OBD-II codes can be a daunting task, but with the right tools and knowledge, it doesn’t have to be. OBD-II stands for On Board Diagnostics II, which is an advanced system of diagnostics that allows you to detect problems in your vehicle’s engine control system. By connecting a diagnostic scanner to your car’s computer, you can read out any trouble codes stored in the memory of the ECU (Engine Control Unit). These codes provide valuable insight into what might be wrong with your car, allowing you to quickly diagnose and resolve issues before they become more serious or costly.
The most common OBD-II code is P0171 – System Too Lean Bank 1 – which indicates that there may be an issue with the air/fuel mixture ratio on one side of the engine bank. This could mean anything from a vacuum leak or clogged fuel injector on one side of the engine bank causing too much air entering into the combustion chamber, or it could indicate something as simple as low fuel pressure due to a faulty fuel pump. To properly diagnose this code requires some basic understanding of how engines work, so if you’re not comfortable doing this yourself then it would probably best be left up to professionals who specialize in automotive repair services.
Once diagnosed correctly though, resolving these types of issues usually involves replacing worn parts such as spark plugs or oxygen sensors; cleaning dirty components like throttle bodies; repairing broken hoses and other vacuum leaks; adjusting idle speed settings; resetting ECU parameters etc…
Understanding What’s Behind Your Check Engine Light
When your check engine light illuminates, it can be a source of great frustration. You may not know what’s wrong with your car or how to fix it. However, understanding the cause behind this warning is essential for getting back on the road safely and quickly.
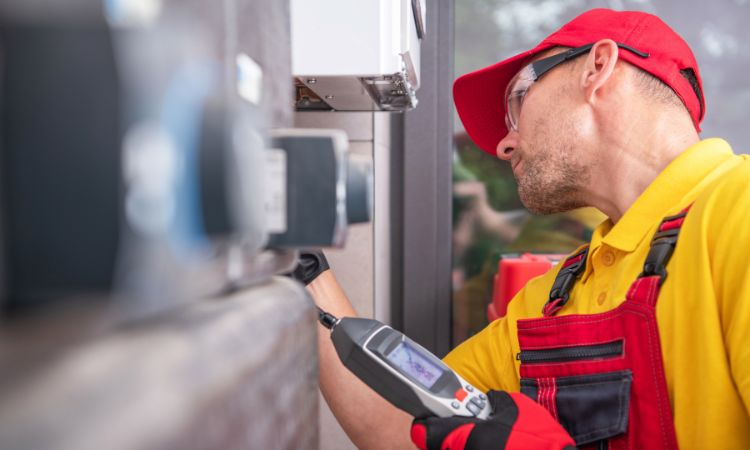
The check engine light is triggered by a variety of issues ranging from minor problems like loose gas caps to more serious issues such as faulty oxygen sensors or catalytic converters. It could also indicate an issue with the ignition system, spark plugs, fuel injectors or other components in your vehicle’s powertrain. The best way to determine what’s causing the problem is through diagnostic testing at a professional auto repair shop that has access to specialized equipment and software needed for accurate diagnosis and repairs.
Is it Time to Take Your Vehicle to a Mechanic?
Is it time to take your vehicle to a mechanic? This is an important question that all car owners should ask themselves on a regular basis. Regular maintenance and check-ups are essential for keeping your car running smoothly, but when do you know if something more serious is wrong with the vehicle?
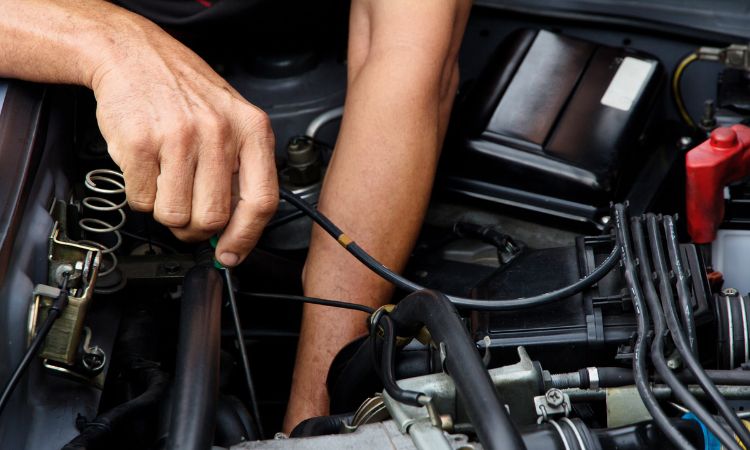
It’s important to pay attention to any warning signs that may indicate it’s time for a trip to the mechanic. If you hear strange noises coming from under the hood or notice unusual smells, these could be signs of trouble. You should also keep an eye out for changes in performance such as decreased fuel efficiency or slower acceleration times. These can all be indicators of potential mechanical issues and should not be ignored!
If you’re still unsure whether it’s time for a visit, consider scheduling regular check-ups with your mechanic every few months or so. They will have access to specialized tools and knowledge which can help diagnose any potential problems before they become too severe – saving you both money and hassle down the line! Additionally, having routine maintenance done regularly can help extend the life of your vehicle by ensuring everything is working properly at all times.
How to Troubleshoot Code P1133 and P1153 Like a Pro
Troubleshooting codes P1133 and P1153 can be a daunting task for even the most experienced mechanics. These codes indicate that there is an issue with the air/fuel ratio in your vehicle, which can lead to poor performance or other issues if not addressed quickly. Fortunately, troubleshooting these codes doesn’t have to be difficult if you know what steps to take. Here’s how you can troubleshoot code P1133 and P1153 like a pro:
First, check all of your vacuum lines for any leaks or blockages that could be causing the problem. If everything looks good here, then move on to checking your fuel injectors and spark plugs for any signs of wear or damage. If either one needs replacing, do so as soon as possible before continuing with further diagnosis.
Next up is testing both the oxygen sensor (O2) and mass airflow (MAF) sensors in order to determine whether they are providing accurate readings or not. This will require specialized equipment such as an OBD-II scanner but it’s worth investing in one since it will save time during future repairs too! Once these tests have been completed successfully then proceed onto inspecting all related wiring harnesses for any loose connections that may need tightening up before finally resetting the trouble codes from memory using an appropriate scan tool once again..
Finally, don’t forget about performing regular maintenance checks on your vehicle too – this includes changing engine oil regularly along with checking tire pressures & alignment every few months at least! Doing this will help keep things running smoothly while also reducing the chances of further problems arising down line due to neglecting basic upkeep tasks over time..