How to Fix a Alternator
To fix an alternator, ensure the battery is disconnected and remove the alternator for replacement. Fixing an alternator involves disconnecting the battery and replacing the faulty alternator with a new one.
An alternator is a crucial component in a vehicle’s charging system that converts mechanical energy into electrical energy. Without a properly functioning alternator, the battery will not be able to recharge, leading to potential issues with starting the vehicle. Understanding how to fix an alternator can save you time and money by avoiding costly repairs at a mechanic.
In this guide, we will discuss the steps involved in fixing an alternator and the tools needed for the job.

Credit: www.jdpower.com
Common Signs Of A Faulty Alternator
When dealing with a faulty alternator, it’s crucial to be aware of the common signs that may indicate a problem. Recognizing these signs early can prevent potential breakdowns and save you from costly repairs. Below are some of the typical warning signals to look out for:
Dimming Lights
Dimming lights are a clear indication of a potential alternator issue. If your headlights and dashboard lights start to flicker or become noticeably dimmer, it could be a sign that the alternator is struggling to supply enough power to the electrical components of your vehicle.
Strange Noises
Strange noises, such as a grinding or whining sound coming from the engine, could point to a failing alternator. These noises often occur when the alternator bearings or pulley are worn out, indicating the need for immediate attention to prevent further damage.
Battery Warning Light
The illumination of the battery warning light on your dashboard is a key indicator of alternator trouble. This light typically signals that the voltage output from the alternator is outside the normal range, which could be caused by a faulty alternator or a related issue, such as a worn-out drive belt.
Tools And Supplies Needed
To fix an alternator, you will require specific tools and supplies. Make sure you have the following items ready before starting the repair:
Socket Set
- A socket set is essential for removing and replacing bolts and nuts on the alternator.
Wrench Set
- A wrench set will help you loosen and tighten various components of the alternator.
Multimeter
- A multimeter is crucial for testing the electrical output of the alternator during the repair process.
New Alternator
- Make sure to have a new alternator ready for installation to replace the faulty one.
Step-by-step Guide To Fixing An Alternator
Fixing an alternator can be a straightforward task if you follow the correct steps. Here is a simple guide to help you replace your alternator seamlessly.
Disconnect The Battery
- Locate the vehicle’s battery and remove the negative terminal first.
- Then, disconnect the positive terminal to ensure safety during repairs.
Remove The Serpentine Belt
- Identify the serpentine belt and its routing on the engine.
- Release the tension from the belt using a suitable tool.
Disconnect Electrical Connections
- Unplug all electrical connections attached to the alternator carefully.
- Label each connection to ensure correct reinstallation later.
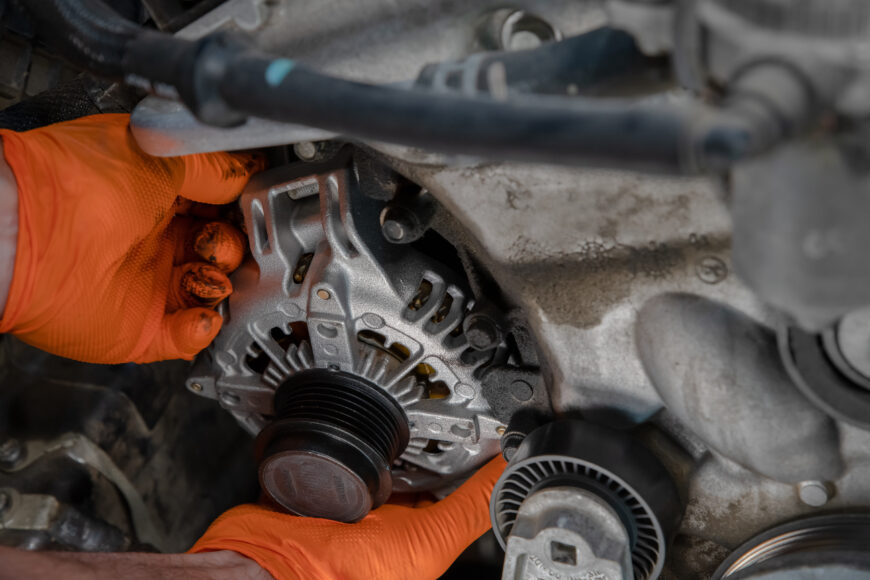
Remove The Mounting Bolts
- Locate and remove the mounting bolts securing the alternator in place.
- Carefully extract the alternator from its position in the vehicle.
Install The New Alternator
- Position the new alternator in the mounting location.
- Secure the alternator using the mounting bolts previously removed.
Credit: www.autozone.com
Testing The Repaired Alternator
Testing the repaired alternator is a crucial step in fixing it. Ensure that the electrical connections are secure and perform a voltage test to verify its functionality.
Testing the Repaired Alternator After fixing the alternator, it is essential to test its functionality thoroughly to ensure it is working as expected. This helps in avoiding any potential issues that may arise due to a malfunctioning alternator. Below are the steps to test the repaired alternator. Reconnect the Battery When testing the repaired alternator, start by ensuring the battery is securely reconnected. This involves reattaching the battery terminals to their respective posts, ensuring a tight and secure connection to avoid any power disruptions during the testing process. Check Voltage Output After reconnecting the battery, the next step is to check the voltage output of the repaired alternator. Using a multimeter, place the positive and negative leads on the respective battery terminals. Start the engine and check the voltage reading. A healthy alternator should produce a voltage ranging between 13.8 and 14.2 volts, indicating optimal charging capacity. Listen for Unusual Noises While the engine is running, pay close attention to any unusual noises coming from the alternator. Unusual sounds such as grinding, squealing, or rattling may indicate potential issues with the alternator, warranting further inspection or potential re-repair if necessary. This step helps in identifying any underlying problems that may affect the alternator’s performance. By following these steps to test the repaired alternator, you can ensure that the alternator is functioning properly and effectively charging the vehicle’s battery. This testing process is crucial in verifying the success of the repair and ensuring the long-term performance of the alternator.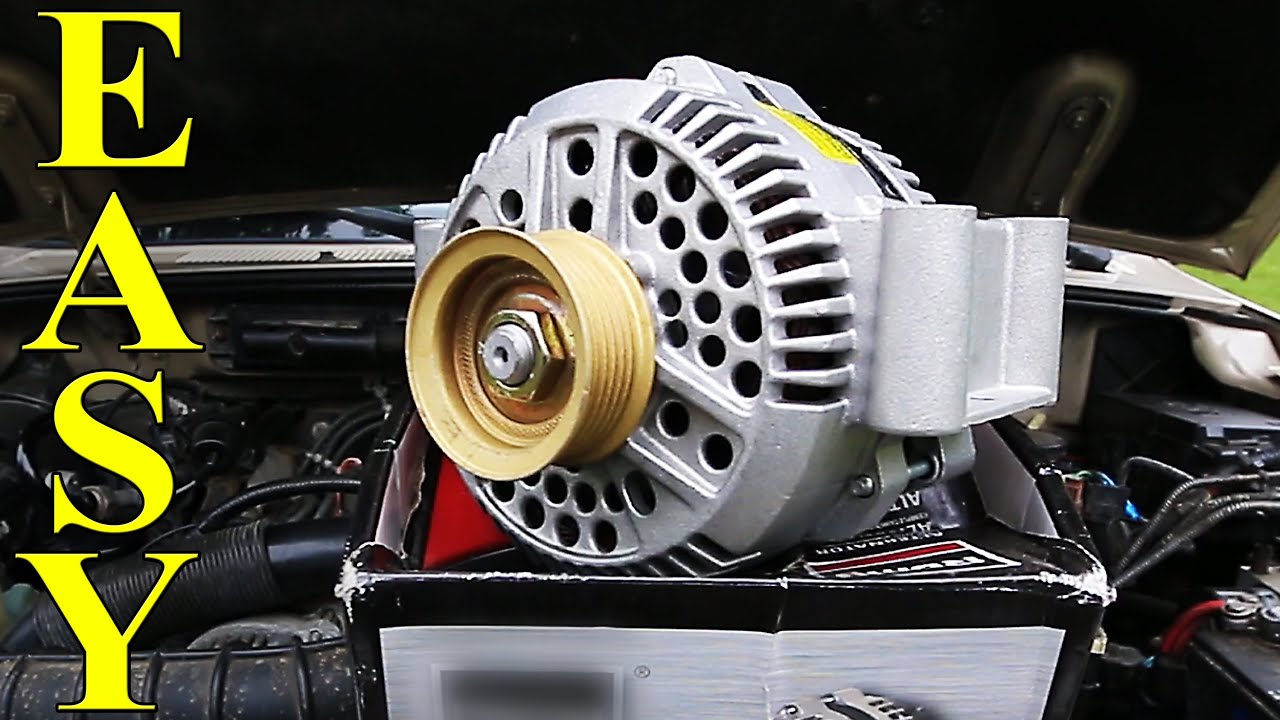
Credit: www.youtube.com
Frequently Asked Questions For How To Fix A Alternator
Can You Repair An Alternator?
Yes, an alternator can be repaired by a professional mechanic. They can diagnose and fix any issues with the alternator, such as faulty wiring or worn-out components. It is recommended to have it repaired instead of replacing it entirely, as it can save money.
Can You Fix An Alternator On Your Own?
Yes, you can fix an alternator on your own if you have the necessary tools and expertise. However, it’s important to consider your level of technical proficiency and the complexity of the repair before attempting it. If you’re unsure, it’s best to consult a professional mechanic for assistance.
How Do You Start A Car With A Bad Alternator?
To start a car with a bad alternator, jump-start the vehicle or charge the battery using a portable charger.
What To Do If Alternator Goes Out?
If your alternator goes out, seek professional help for diagnostics and repairs. Driving with a faulty alternator can damage your vehicle’s electrical system and lead to a breakdown. Schedule an appointment with a mechanic as soon as possible.
How Do I Know If My Alternator Is Bad?
If your car is experiencing dim lights, a dead battery, or strange noises, it may indicate a bad alternator.
What Are The Common Signs Of A Failing Alternator?
Watch out for warning signs such as dashboard warning lights, a burning smell, or difficulty starting your vehicle.
Can I Fix My Alternator By Myself?
Repairing an alternator requires advanced knowledge and tools. It’s best to leave it to a professional mechanic.
Conclusion
Fixing an alternator can be a challenging yet manageable task with the right guidance. By following the step-by-step instructions and safety precautions outlined in this blog post, you can effectively diagnose and repair issues with your alternator. Taking the time to properly maintain your alternator will ensure the longevity and efficiency of your vehicle’s electrical system.