Step-By-Step Guide to Replacing Drive Belt Tensioner Pulley
Imagine driving down the highway, and suddenly, you hear an unsettling squeal emanating from your car's engine. You pull over, pop the hood, and discover that the drive belt tensioner pulley is the culprit. Before you panic, know that replacing it can be a straightforward task that saves you time and money.
But how do you tackle this job efficiently and effectively? Let's break down the steps for you to smoothly navigate through this essential repair process.
Key Takeaways
- Prioritize safety precautions and proper preparation for the task.
- Use the correct tools and techniques for removing and replacing the tensioner pulley.
- Ensure proper installation by following manufacturer specifications and alignment guidelines.
- Thoroughly test and verify the new pulley for optimal performance and longevity.
Safety Precautions for Pulley Replacement

Have you considered the potential risks involved in replacing the drive belt tensioner pulley? Safety should be your top priority when undertaking this task. Before you start, make sure you have the necessary safety gear such as gloves and safety glasses to protect yourself from any potential hazards.
Setting up a clean and organized work environment is essential to prevent accidents and make the process smoother.
Make sure the vehicle is parked on a flat surface and the engine is cool before you begin. Always disconnect the battery to avoid any electrical mishaps during the replacement process. Take the time to read through the vehicle's manual to understand the specific steps required for your car model.
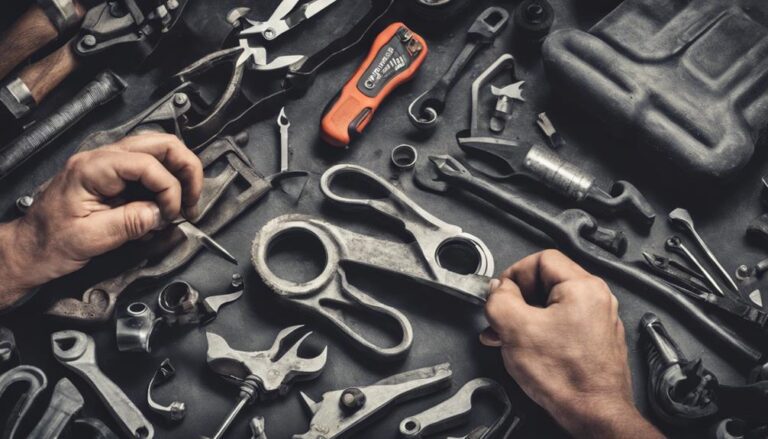
Tools Needed for the Job
When replacing the drive belt tensioner pulley, having the right tools is key to a successful job. Before starting the replacement process, it's essential to make sure you have the necessary tools. First, you'll need a ratchet with the appropriate socket size to fit the tensioner pulley mounting bolt. Additionally, having a breaker bar can provide extra leverage when needed for loosening tight bolts. A torque wrench is important for properly tightening the new tensioner pulley to the manufacturer's specifications, preventing over-tightening or under-tightening.
To aid in the belt tensioner inspection, a flashlight or work light will help you see clearly in the often tight and dark spaces where the tensioner pulley is located. Moreover, a pulley alignment tool can assist in ensuring the new pulley is correctly aligned with the drive belt, preventing premature wear and potential misalignment issues. By having these tools ready and on hand, you can efficiently complete the task of replacing the drive belt tensioner pulley with precision and accuracy.
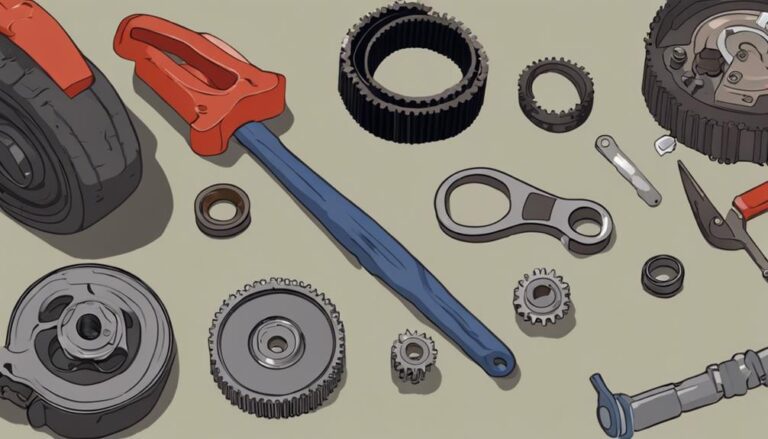
Removing the Old Tensioner Pulley
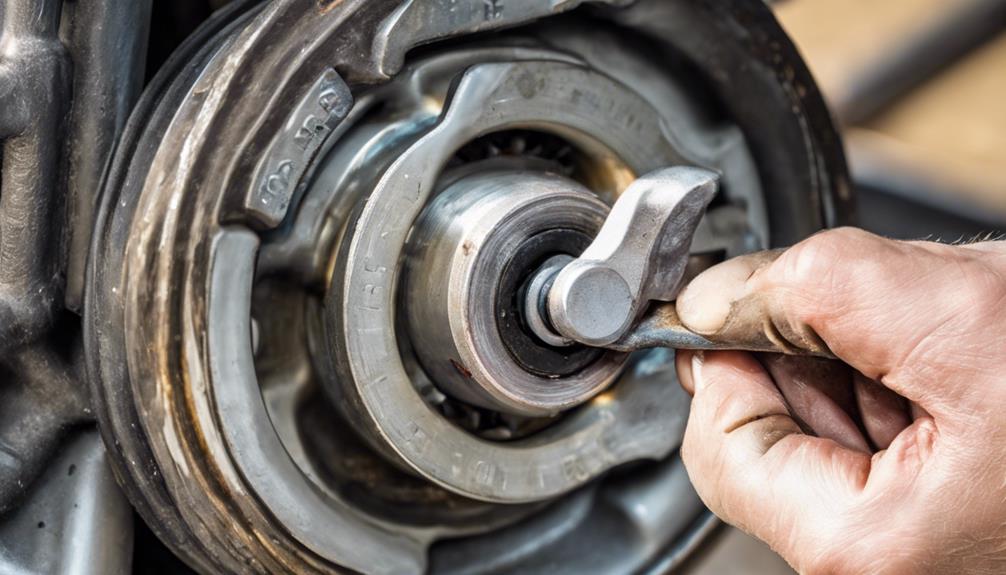
To begin the process of removing the old tensioner pulley, make sure that the engine is cool to the touch before proceeding. This guarantees your safety and prevents any accidental burns. Proper lubrication is vital when dealing with tensioner pulleys. Before starting, apply a suitable lubricant to the bolts and components to ease the disassembly process.
Below is a table highlighting common mistakes to avoid during the removal of the old tensioner pulley:
| Common Mistakes | Description |
|---|---|
| Using the wrong tools | Using incorrect tools can damage the pulley or other parts. |
| Applying excessive force | Excessive force may lead to broken bolts or components. |
| Ignoring safety measures | Neglecting safety precautions can result in injuries. |
| Not supporting the engine | Failing to support the engine properly can cause damage. |
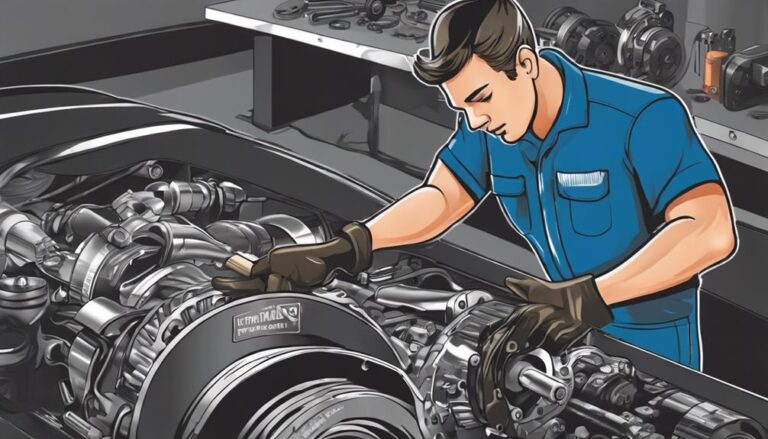
Installing the New Tensioner Pulley
Begin by positioning the new tensioner pulley in place, ensuring proper alignment with the designated mounting points. Proper alignment is essential to prevent any issues with the belt tracking and overall system operation. Once aligned, secure the pulley using the appropriate bolts, making sure they're tightened to the manufacturer's specifications to avoid any future loosening.
Before finalizing the installation, it's recommended to apply lubrication techniques to the pulley bearing to enhance its longevity and performance. Use a high-quality lubricant suitable for the pulley bearing to reduce friction and wear, ensuring smooth rotation. Be cautious not to over-lubricate, as excess lubrication can attract dirt and debris, potentially leading to premature wear.
After completing the installation and lubrication process, double-check the tensioner pulley's alignment and tightness to guarantee proper functionality. With the new tensioner pulley correctly installed and lubricated, your drive belt system should operate smoothly and efficiently.
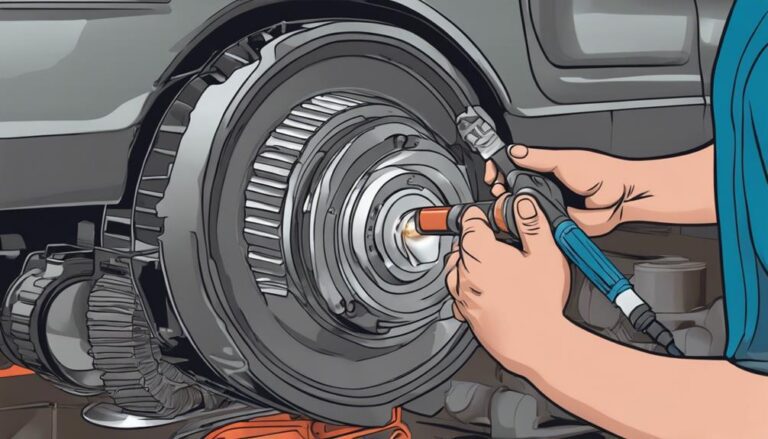
Testing the Tensioner Pulley Operation

For a thorough evaluation of the tensioner pulley's functionality, engage in a series of systematic tests to guarantee top performance.
When testing the tensioner pulley operation, follow these steps:
- Check Alignment: Make sure the tensioner pulley is correctly aligned with the drive belt to prevent premature wear and tear.
- Listen for Noises: Start the engine and pay close attention for any unusual noises coming from the tensioner pulley area. Squeaking, grinding, or rattling sounds may indicate issues.
- Inspect for Wear: Examine the tensioner pulley for any signs of wear, such as cracks, chips, or uneven wear patterns that could affect its performance.
- Verify Tension: Confirm that the tensioner pulley is applying the correct amount of tension to the drive belt. An overly tight or loose belt can lead to problems.
- Test Pulley Movement: Rotate the tensioner pulley by hand to check for smooth and consistent movement. Any stiffness or resistance could indicate internal issues.
Frequently Asked Questions
Can the Drive Belt Tensioner Pulley Be Repaired Instead of Replaced?
You can't typically repair a drive belt tensioner pulley; replacement is the standard. Regular maintenance can prevent issues. Assure proper tension, alignment, and belt condition. Consult manuals for specifics, and consider professional help if needed.
Do I Need to Replace the Drive Belt Along With the Tensioner Pulley?
You should replace the drive belt along with the tensioner pulley. Ensure drive belt compatibility and consider the tensioner pulley lifespan. Proper tensioner pulley installation and belt tension adjustment are vital for optimum performance and longevity of the system.
How Often Should the Drive Belt Tensioner Pulley Be Replaced?
When it comes to the drive belt tensioner pulley, regular checks can make sure smooth operation. Following the maintenance schedule and inspecting for wear can help you gauge its lifespan. Maintenance tips are important for longevity.
Is It Necessary to Use a Specific Brand or Type of Tensioner Pulley for Replacement?
When replacing the drive belt tensioner pulley, you don't need a specific brand. Aftermarket options work well too. Verify proper fit and quality. Follow installation tips for longevity. Your vehicle will thank you.
What Are the Signs That Indicate a Problem With the Drive Belt Tensioner Pulley?
To determine issues with the drive belt tensioner pulley, watch for squealing noises, belt slippage, vibration, or irregular belt wear. Regular maintenance checks can prevent problems. Troubleshooting techniques involve inspecting and replacing the pulley if necessary.
Conclusion
To sum up, replacing a drive belt tensioner pulley is a straightforward process that can be done with the right tools and safety precautions.
Just like a well-oiled machine, ensuring that your tensioner pulley is in good working condition is essential for the overall performance of your vehicle.
By following the steps outlined in this guide, you can keep your engine running smoothly and avoid any potential issues down the road.