Ultimate DIY Wheel Bearing Repair Guide for Beginners
Imagine starting on the journey of fixing a wheel bearing like solving a puzzle – each piece critical for a smooth ride.
As you begin to explore the depths of this guide, you'll uncover not just the basic steps, but a wealth of knowledge waiting to be revealed.
So, before you venture into the domain of wheel bearing repairs, make sure you grasp the intricacies that could make all the difference between a job well done and a bumpy road ahead.
Key Takeaways
- Safety first: Wear protective gear and follow torque specs for successful wheel bearing replacement.
- Proper preparation: Secure vehicle, gather tools, and ensure a stable work environment before starting.
- Removal technique: Heat hub, tap out old bearing, clean thoroughly, and inspect for damage.
- Installation steps: Align, grease, install new bearing, torque axle nut, and double-check before reassembly.
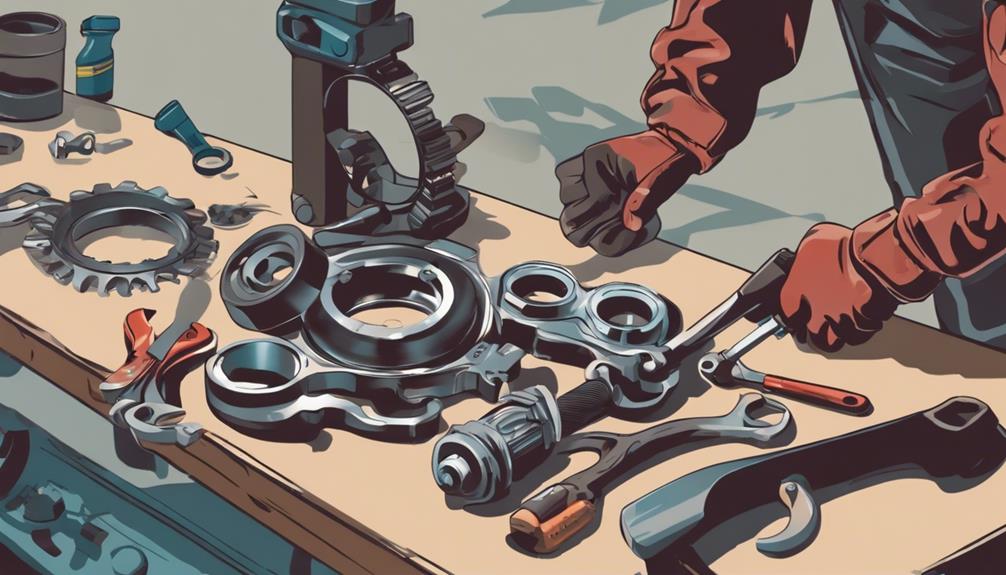
Tools and Materials Needed
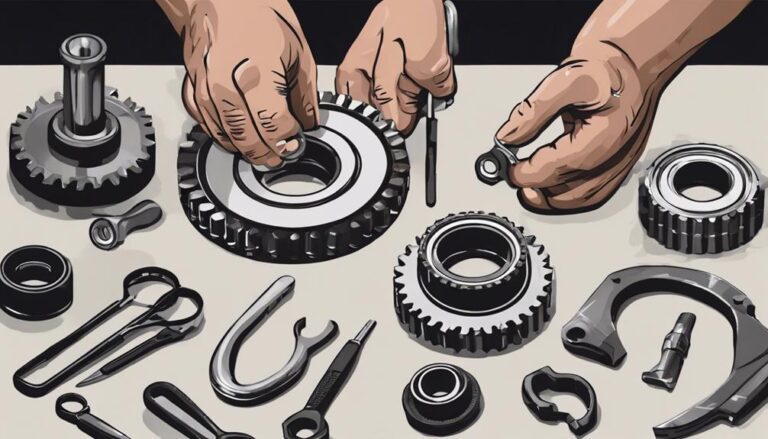
To begin the wheel bearing repair process, gather essential tools like a car jack, wheel chocks, rubber mallet, chisel, hammer, socket wrench, and screwdriver. These tools are important for a successful wheel bearing replacement.
When replacing wheel bearings, it's important to use new bearings of the same make and model as the old ones. The first step is to remove the wheel by loosening the lug nuts, lifting the vehicle using the car jack, and securing it with wheel chocks for safety.
Next, you'll need to access the wheel hub by removing the caliper, rotor, and axle nut. Once you reach the hub assembly, the outer and inner wheel bearings can be removed using a socket wrench and hammer. Clean the hub thoroughly, inspect for any damage, and apply grease before installing the new wheel bearings.
Properly seat the new bearings, reassemble the hub, and make sure everything is tightened to specifications. This meticulous process guarantees a smooth and reliable repair job.
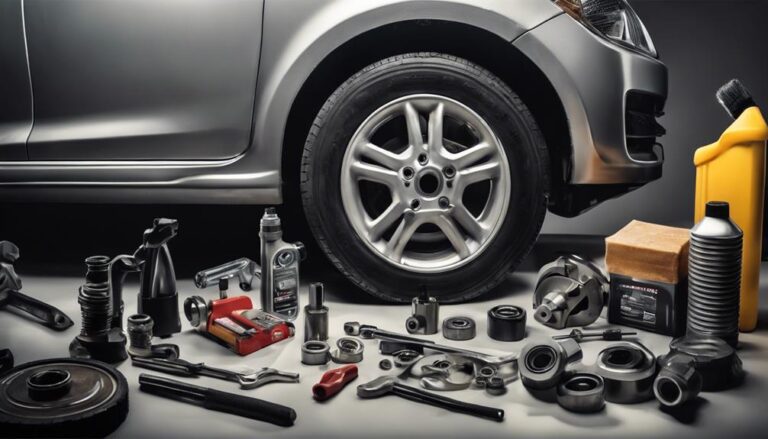
Preparing the Vehicle
Before initiating the wheel bearing repair process, make sure the vehicle is securely parked on a level surface with the parking brake engaged for stability. Utilize wheel chocks to secure the other wheels and prevent any unwanted movement during the repair. Position the car jack securely and lift it to the appropriate height for easy access to the wheel bearing. It is important to have tools like a rubber mallet, chisel, hammer, socket wrench, and screwdriver within reach for efficient disassembly and reassembly. Prioritize safety by wearing gloves and safety glasses to prevent any potential injuries during the repair. Being prepared and organized will make the repair process smoother and more manageable.
| Tools and Materials | Description | Importance |
|---|---|---|
| Rubber Mallet | For gentle tapping | Ensures precision |
| Socket Wrench | For bolt removal | Essential tool |
| Hammer and Chisel | For stubborn parts | Aid in disassembly |
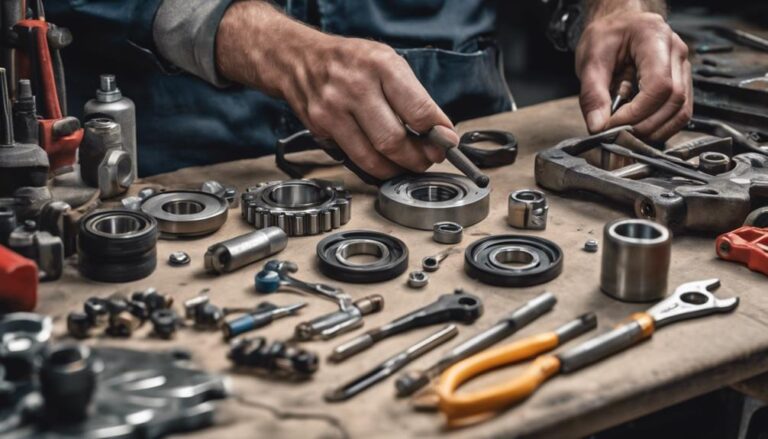
Removing the Old Wheel Bearing
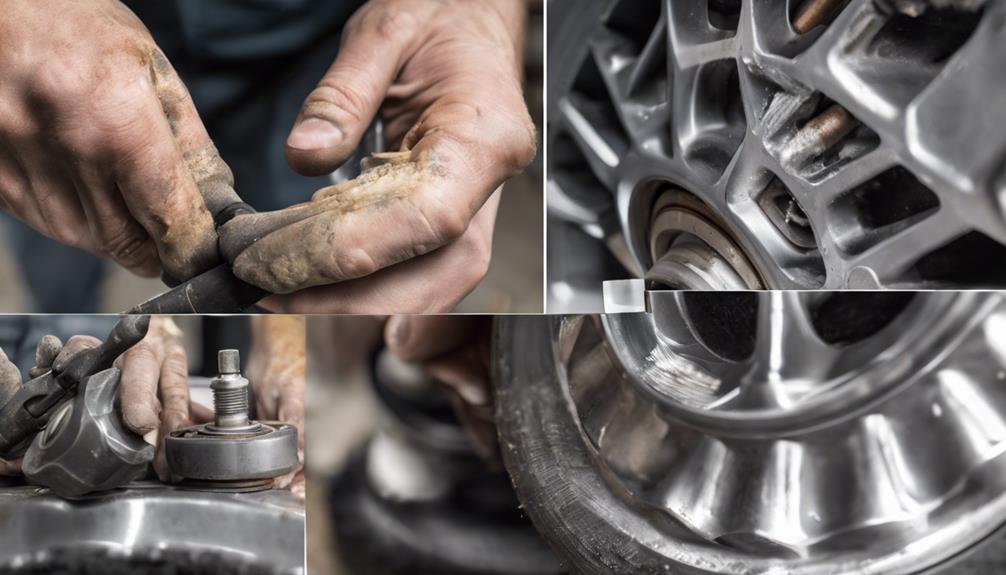
After making sure the vehicle is securely parked and all necessary tools are within reach, proceed to remove the old wheel bearing using a hammer, punch, and safety gear for access. Start by heating the hub assembly to expand it, making it easier to dislodge the old wheel bearing without causing damage. Using a hammer and punch, carefully tap out the old bearing from the hub. Take caution to prevent any harm to the hub during this process. Once the old bearing is removed, thoroughly clean the hub to eliminate any dirt or debris that could contaminate the new bearing.
Inspect the hub assembly for any cracks or signs of damage before proceeding with the replacement. It's important to make sure the hub is in good condition to support the new wheel bearing effectively. Additionally, cut out the old races and consider freezing the new races before installation to help expand the hub for easier fitting. This meticulous approach will prepare the hub for receiving the new wheel bearing and enhance the longevity of the repair. Remember to inspect the axle shaft for any wear or damage that may affect the bearing's performance.
Installing the New Wheel Bearing
Begin by carefully aligning the new wheel bearing with the hub assembly, ensuring a critical fit for peak performance. Apply grease around the bearing races to promote smooth operation and longevity.
Then, install the new bearing into the hub, making sure it sits securely in place. Use a wrench to tighten the axle nut to the manufacturer's specified torque to guarantee the wheel's stability.
Before reassembling the front wheel, remember to replace the inner dust cover and brake caliper, ensuring all components are in their correct positions. Double-check that all connections are secure.
Once everything is properly installed, conduct a final inspection before test-driving the vehicle to confirm the successful replacement of the wheel bearing. Remember, attention to detail during the installation process is critical for best performance and safety on the road.
Testing and Safety Precautions
To guarantee your safety and the proper functioning of your vehicle, always prioritize wearing safety glasses and gloves when working on wheel bearings to shield your eyes and hands from potential hazards.
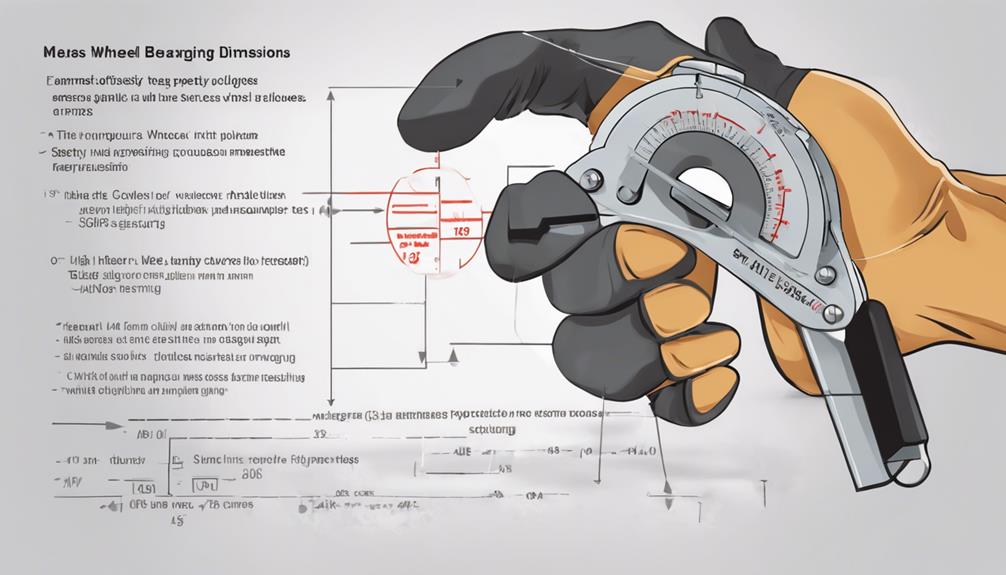
When replacing wheel bearings, utilize a torque wrench to make sure proper tightening of bolts and nuts according to the recommended specifications in the vehicle manual.
After installation, test the wheel rotation for smooth operation, listening for any unusual noises that may indicate issues with the rotor assembly.
Following the manufacturer's instructions and torque specifications is essential to maintaining the safety and performance of the wheel bearings.
Before hitting the road, double-check all connections and components to confirm that the wheel bearings are securely installed.
Frequently Asked Questions
Can You Fix a Wheel Bearing by Yourself?
You can fix a wheel bearing by yourself. Utilize DIY tools, online tutorials, and follow steps for bearing removal, installation, inspection, and grease application. Prioritize safety precautions, wheel alignment, and understand bearing lifespan. Seek professional help if needed.
Are Wheel Bearings Easy to Fix?
Wheel bearings can be tricky to fix for beginners. With the right tools, online tutorials, and a DIY approach, you can save on mechanic costs. Remember safety precautions, understand bearing types, remove wheels, apply grease, and master inner and outer races.
Is There a Quick Fix for a Wheel Bearing?
For a wheel bearing issue, quick fixes like adding grease or tightening bearngs are short-term solutions. They are band-aid fixes and may not address the root problem. Seek professional help for a lasting repair.
What Is the First Step That Should Be Followed When Replacing a Wheel Bearing?
To start replacing a wheel bearing, park on a flat surface, secure with chocks. Loosen and remove lug nuts, lift using a jack. Remove wheel, brake caliper for hub access. Inspect for damage, prep for replacement.
Conclusion
Now that you have successfully replaced your wheel bearings, your vehicle is ready to hit the road with renewed confidence and safety.
Remember, proper maintenance is the key to smooth and trouble-free driving. Just like a well-oiled machine, your car will now glide effortlessly down the road, ensuring a smooth and comfortable ride for miles to come.
Stay vigilant and proactive in caring for your vehicle, and you'll enjoy many more worry-free journeys ahead.