What Is the Process for Replacing PCV Valve?
Ever been driving and noticed something off with your engine's performance? It might be time to contemplate checking and possibly replacing your PCV valve.
This vital component plays a significant role in maintaining your vehicle's health, but do you know how to do it yourself? Understanding the process for replacing a PCV valve can save you time and money, ensuring your engine runs smoothly.
So, where do you start, and what steps should you follow?
Key Takeaways
- Understand the PCV valve's function and importance in engine health.
- Carefully remove and clean the old PCV valve without damaging surrounding components.
- Ensure compatibility and proper installation of the new PCV valve for optimal performance.
- Regular testing and maintenance of the PCV valve prevent engine issues and enhance functionality.
Gather Necessary Tools and Parts
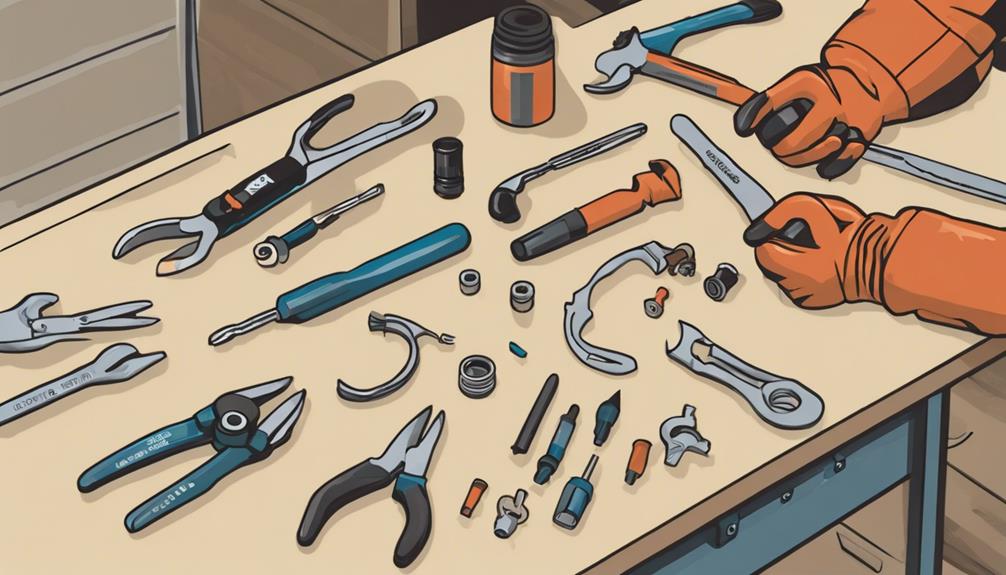
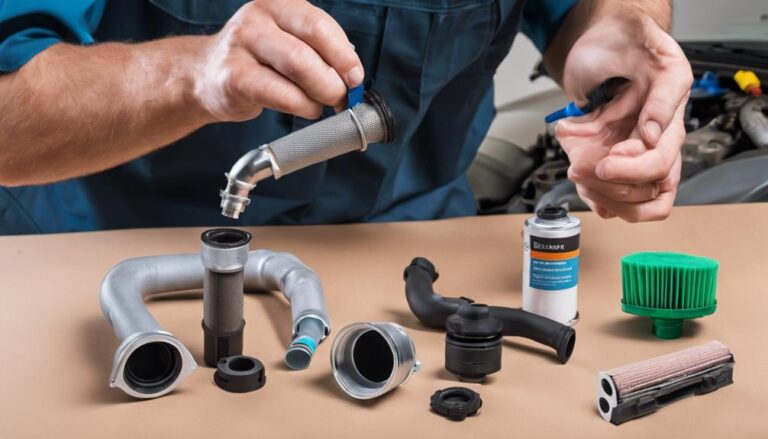
Before you start the process of replacing the PCV valve, make sure you have all the necessary tools and parts readily available. Tool preparation is important for a smooth workflow. You'll require basic tools like pliers, screwdrivers, and possibly a socket wrench set. Additionally, have the new PCV valve on hand. Identify the PCV valve in your engine bay before proceeding.
Once you have gathered the tools and parts, it's essential to clean and inspect them before installation. Make sure that the tools are free from any dirt or debris that could potentially contaminate the engine components. Inspect the new PCV valve for any signs of damage or defects. Verify that it matches the specifications of the old valve. This step is crucial in guaranteeing a successful replacement process.
Having the necessary tools and parts ready, cleaned, and inspected sets the foundation for a successful PCV valve replacement.
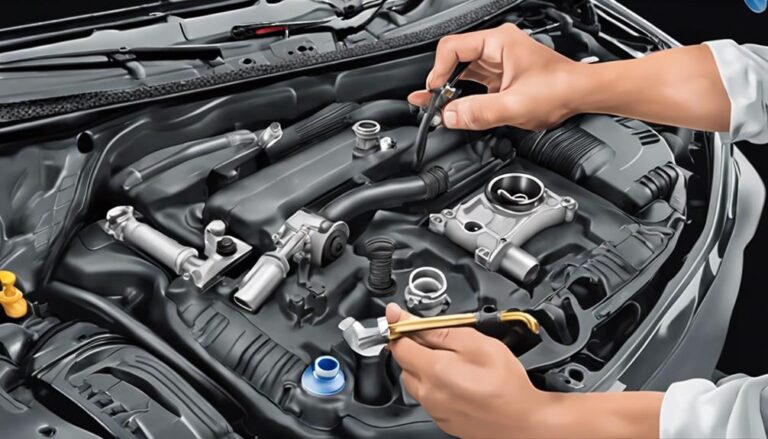
Locate the PCV Valve
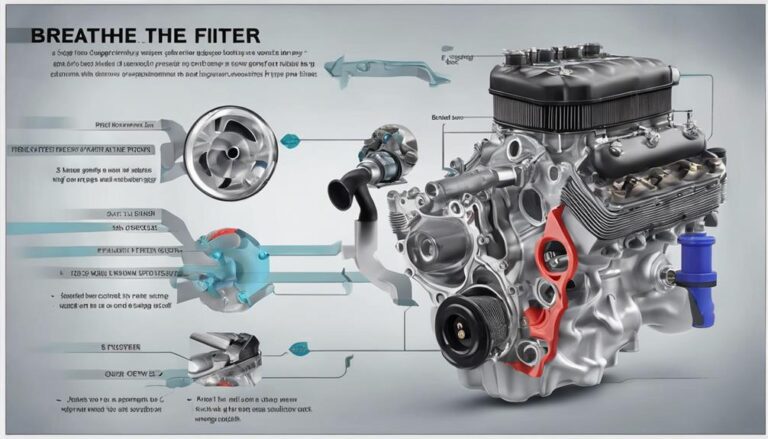
To locate the PCV valve, begin by identifying the hose connected to the valve on the engine. The PCV valve, short for Positive Crankcase Ventilation valve, plays an important role in maintaining your engine's health by regulating the flow of blow-by gases. Here's what you need to know to locate it:
- PCV Valve Function: Understand the significance of the PCV valve in keeping your engine running smoothly. This valve helps to remove harmful gases from the crankcase and recirculate them back into the combustion chambers for burning.
- Importance of Proper Location: Locating the PCV valve is essential for troubleshooting common problems such as oil leaks, rough idling, or decreased fuel efficiency. The valve's position can affect its functionality, so finding it accurately is key.
- Common Issues and Troubleshooting: Familiarize yourself with common PCV valve problems like clogging or failure. Identifying the valve's location is the first step in diagnosing and resolving these issues effectively.
Remove the Old PCV Valve
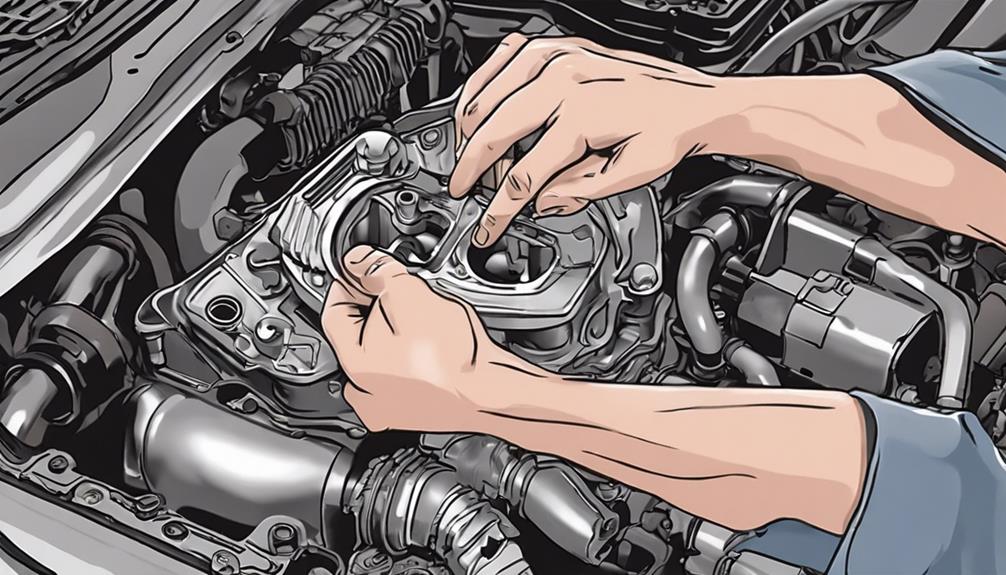
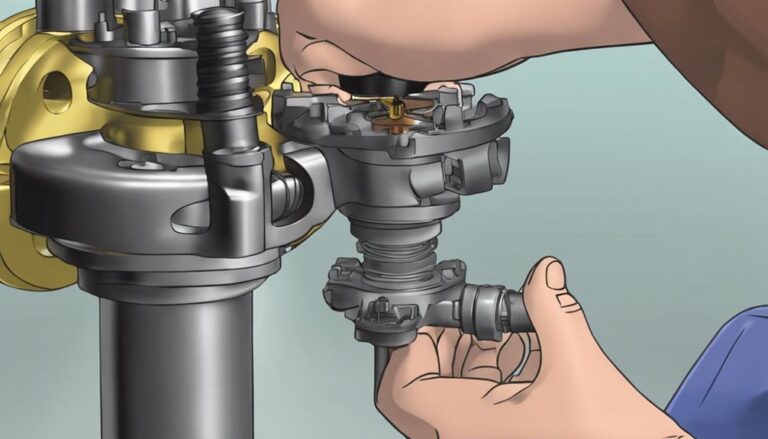
After locating the PCV valve on your engine, the next step is to carefully disconnect and remove the old valve. To start, inspect the connections around the PCV valve to make sure you understand how it's attached. Look for any clips, screws, or hoses that may be securing the valve in place. Using the appropriate tools, gently disconnect these connections to free the old PCV valve.
Once the connections are detached, you can proceed to remove the old PCV valve from the engine. Be cautious not to damage surrounding components during this process. Slowly wiggle the valve back and forth while pulling it away from the engine. This should loosen it from its housing.
After removing the old PCV valve, take a moment to clean the valve and the surrounding area. Use a clean cloth to wipe away any dirt or grime that may have accumulated. Making sure a clean surface will help when installing the new PCV valve in the next step.
Install the New PCV Valve
When installing the new PCV valve, make sure the replacement valve is compatible with your vehicle's make and model for best performance.
Here are some installation tips and troubleshooting guidelines to help you seamlessly install the new PCV valve:
- Inspect O-Ring: Before installation, check the O-ring of the new PCV valve to make certain it's intact and properly seated. A damaged O-ring can lead to air leaks and affect the valve's performance.
- Proper Seating: Make certain the new PCV valve is correctly seated in the valve cover. Improper seating can cause oil leaks or even lead to the valve coming loose during operation.
- Secure Connection: When attaching the hose to the PCV valve, ensure it's securely fastened to prevent any air leaks. A loose connection can impact the efficiency of the PCV system.
Regularly replacing the PCV valve as part of your maintenance schedule offers benefits such as improved engine performance and fuel efficiency. Proper installation is key to reaping these advantages and avoiding potential issues down the road.
Test the PCV Valve
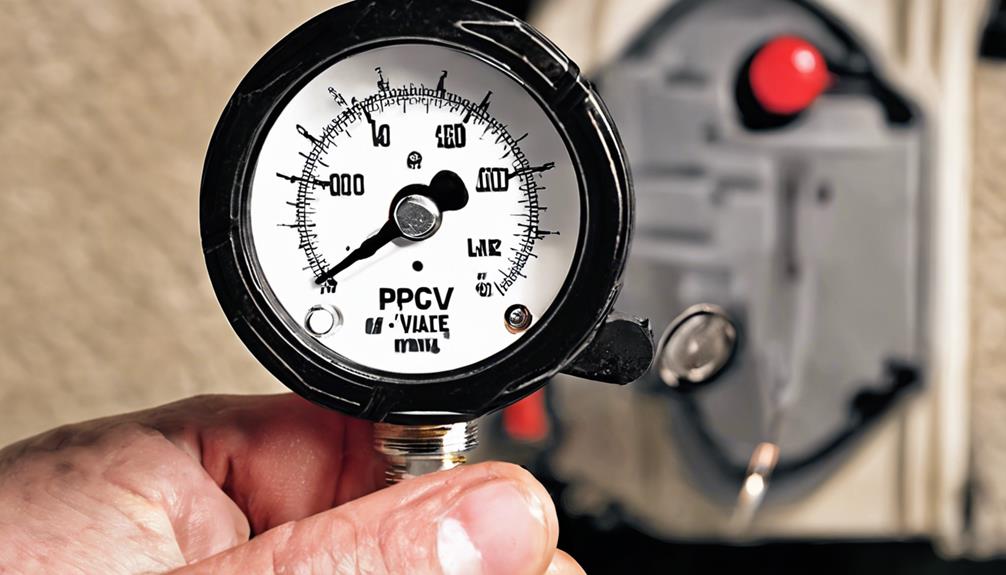
Inspecting the PCV valve can help guarantee its proper functioning and diagnose any potential issues. Regular PCV valve maintenance is important for the overall health of your vehicle's engine. To test the PCV valve, follow these steps:
- Locate the PCV valve: The PCV valve is typically located on the valve cover or in the vicinity of the intake manifold.
- Remove the PCV valve: Carefully detach the PCV valve from the hose or grommet connected to it.
- Shake the PCV valve: Shake the valve to listen for a rattle. If there's no rattle, the valve may be clogged and in need of replacement.
- Check for vacuum: With the engine running, place your finger over the end of the PCV valve. You should feel suction, indicating that the valve is operational.
Regular checks ensure that the PCV valve is functioning correctly, preventing issues like poor engine performance or increased emissions. Troubleshooting the PCV valve can help maintain your vehicle's efficiency and prolong its lifespan.
Frequently Asked Questions
How Often Should the PCV Valve Be Replaced?
You should replace the PCV valve every 30,000 miles or as recommended by your vehicle's manufacturer. Symptoms of PCV valve issues include rough idling, decreased fuel efficiency, and oil leaks. Regular replacement helps maintain engine health.
Can a Clogged PCV Valve Cause Any Other Issues With the Engine?
A clogged PCV valve can lead to various engine issues such as decreased performance and increased emissions. Regular maintenance and troubleshooting can help prevent these problems. Keep an eye on your PCV valve to guarantee efficient engine health.
Is It Necessary to Replace the PCV Valve With a Specific Brand or Model?
When replacing your PCV valve, choose a brand known for quality and reliability. Consider model options that fit your vehicle. Follow installation steps carefully for utmost performance. Regular maintenance guarantees your engine runs smoothly.
Are There Any Signs or Symptoms That Indicate a Faulty PCV Valve?
If you notice engine performance issues like rough idling or increased oil consumption, it might indicate a faulty PCV valve. Diagnostic tests can confirm this. Common causes are clogging or malfunction. Regular maintenance helps avoid these problems.
Can I Clean the Old PCV Valve Instead of Replacing It?
Sure, you can clean the old PCV valve, but it's not the best idea. DIY cleaning may seem easy, but the effectiveness varies, and there are risks involved. It's often more reliable to replace it.
Conclusion
Once you have gathered the necessary tools and parts and located the PCV valve, you can proceed with the replacement process. Remove the old valve carefully to avoid damaging any surrounding components. Install the new PCV valve securely and test it to ensure proper functioning.
You're now ready to hit the road with a properly functioning PCV valve. By following these simple steps, you can make sure the smooth operation of your vehicle's emission control system and maintain peak engine performance.
Remember, regular maintenance is key to keeping your car running smoothly.