Ultimate DIY Fuel Filter Replacement Guide for Cars
When it comes to the inner workings of your car, the fuel filter is like a silent guardian, ensuring only the cleanest fuel reaches your engine. But what happens when this guardian starts to falter? Don't let a clogged filter leave your engine gasping for fuel.
In this guide, we'll walk you through the step-by-step process of replacing your fuel filter, empowering you to take control of your car's performance. Follow along, and soon you'll be back on the road with a smoothly running engine.
Key Takeaways
- Locate and inspect fuel filter for damage and blockages to prevent engine issues.
- Properly remove and dispose of the old fuel filter to maintain system efficiency.
- Install a compatible new fuel filter securely to prevent leaks and ensure correct function.
- Test the fuel system and connections post-installation, regularly replacing filters for optimal performance.
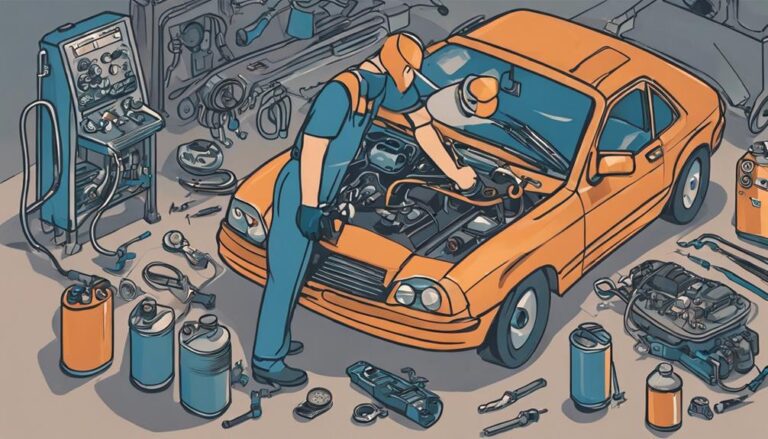
Tools and Materials Needed
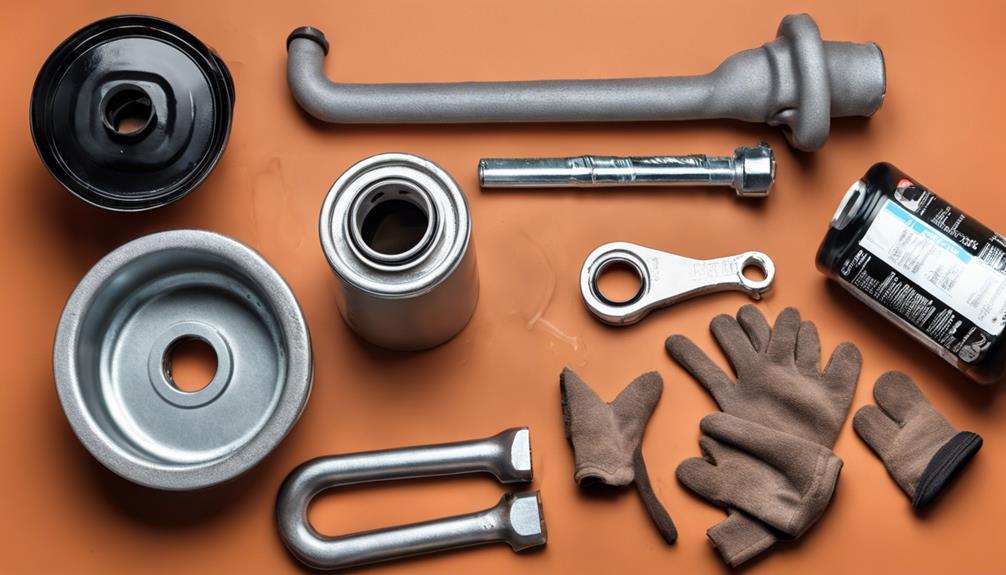
Gather the necessary tools and materials before beginning the DIY fuel filter replacement for your car. Proper filter maintenance is vital for best fuel system efficiency. To start, you'll need safety goggles, gloves, a new fuel filter specific to your vehicle model, a socket wrench set, a container for fuel drainage, new washers for the fuel line fittings, a jack and jack stands for lifting the car, and a rag for cleaning any spills.
Ensuring you have the correct tools and materials is essential for a smooth replacement process. Safety goggles will protect your eyes from any debris, while gloves will keep your hands clean and safe. The new fuel filter is the heart of the operation, enhancing your fuel system efficiency once installed correctly. The socket wrench set will aid in loosening the clamps, and the container for fuel drainage will prevent any spills. The new washers are necessary for a tight seal, and the jack and jack stands will provide a stable platform for you to work under your car. Lastly, the rag will help you clean up any messes, leaving your workspace tidy and organized.
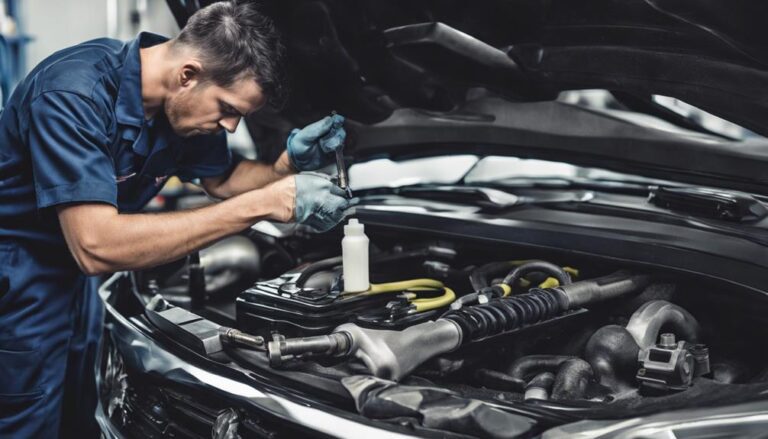
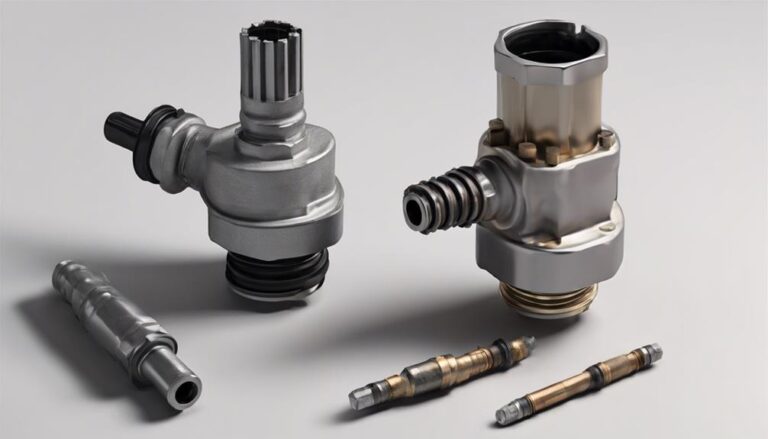
Locating the Fuel Filter
Now, proceed by locating the fuel filter in your car to prepare for the replacement process. The fuel filter is a vital component that guarantees only clean fuel reaches your engine, preventing dirt and debris from causing damage. To find the fuel filter, consult your car's manual as its location can vary depending on the make and model. However, common areas to check are along the fuel line under the car or near the fuel tank. Once you have located the fuel filter, inspect it for any signs of damage or clogging. Common fuel filter issues include blockages from contaminants or wear and tear over time, which can lead to poor engine performance. By identifying these issues early on, you can prevent potential damage to your engine and ensure the best fuel flow. Below is a table summarizing the key steps to locate the fuel filter:
| Locating the Fuel Filter |
|---|
| 1. Consult car's manual for location |
| 2. Check along fuel line or near fuel tank |
| 3. Inspect for damage or clogs |
| 4. Common issues: blockages, wear and tear |
| 5. Early identification prevents engine damage |
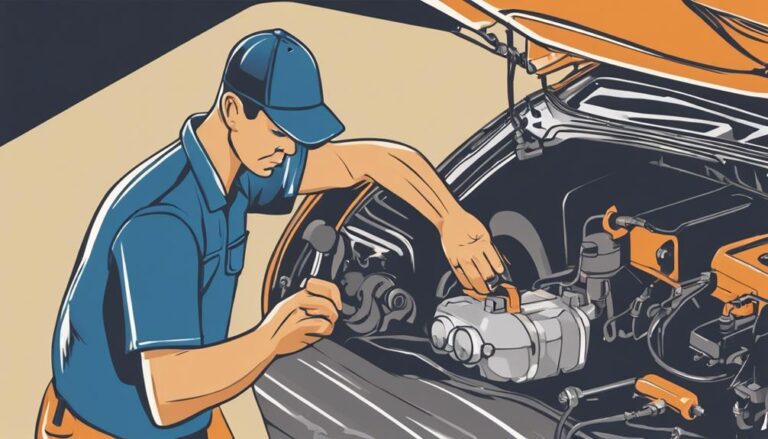
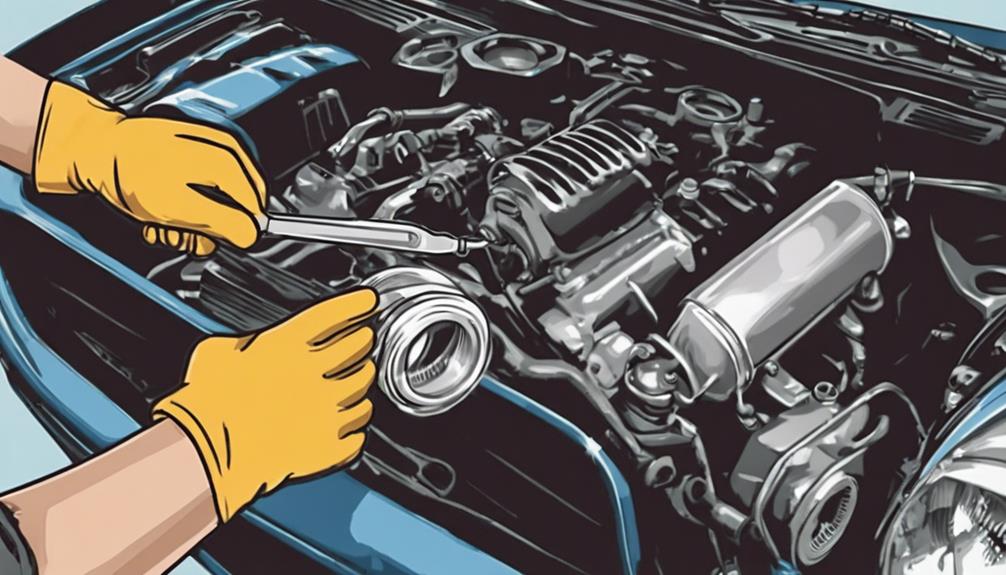
Removing the Old Fuel Filter
When removing the old fuel filter, make sure the engine is cool to avoid any potential burns. Here are the steps to successfully remove the old fuel filter:
- Locate the fuel filter: Typically found along the fuel line under the car or hood.
- Relieve pressure: Depressurize the fuel system by carefully loosening the gas cap.
- Disconnect the fuel lines: Use appropriate tools to disconnect the fuel lines from the filter.
- Remove the old filter: Unscrew the mounting bracket and carefully take out the old fuel filter.
Follow proper disposal of the old fuel filter according to local regulations.
Prioritize safety precautions by wearing gloves and eye protection to prevent fuel contact.
Remember, maintaining a clean work area is important to prevent any accidents.
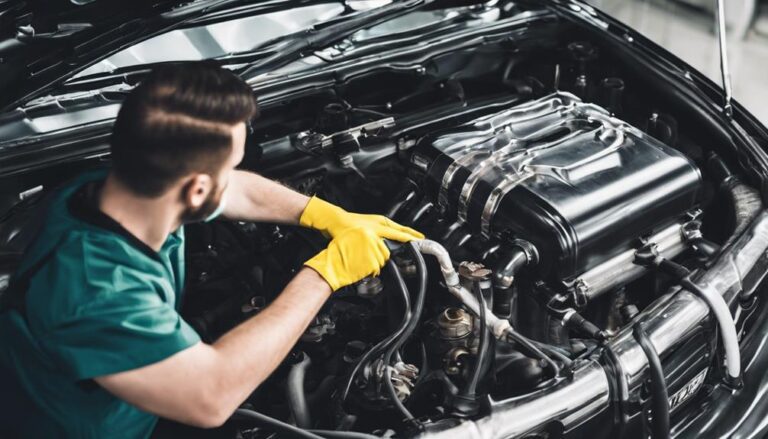
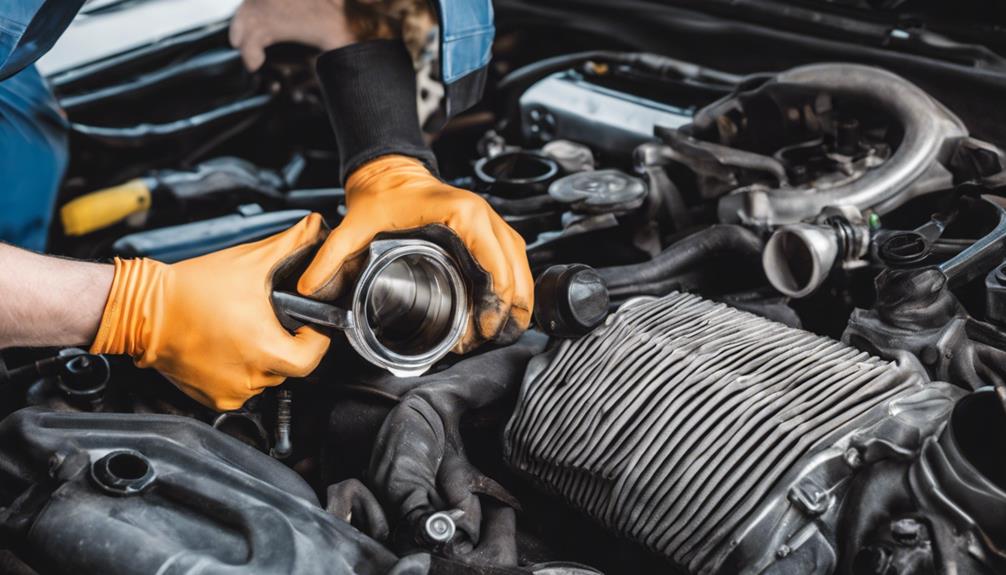
Installing the New Fuel Filter
To begin installing the new fuel filter, make sure the replacement filter matches the specifications of your vehicle for top performance. Choosing the correct filter is important to guarantee proper fuel flow and prevent engine issues. Here are some fuel filter installation tips and common mistakes to avoid:
| Fuel Filter Installation Tips | Common Mistakes to Avoid |
|---|---|
| 1. Double-check Compatibility: Confirm the new filter fits your car model. | 1. Skipping Fuel Line Bleeding: Always bleed the fuel line to remove air pockets. |
| 2. Secure Connections: Tighten hose clamps securely to prevent leaks. | 2. Incorrect Installation Direction: Make sure the flow direction is correct. |
| 3. Inspect for Leaks: After installation, check for any fuel leaks before starting the engine. | 3. Not Tightening Properly: Over-tightening can damage fittings, while under-tightening can cause leaks. |
Following these tips and avoiding common mistakes will help you successfully install your new fuel filter, promoting the longevity and efficiency of your vehicle's fuel system.
Testing and Final Steps
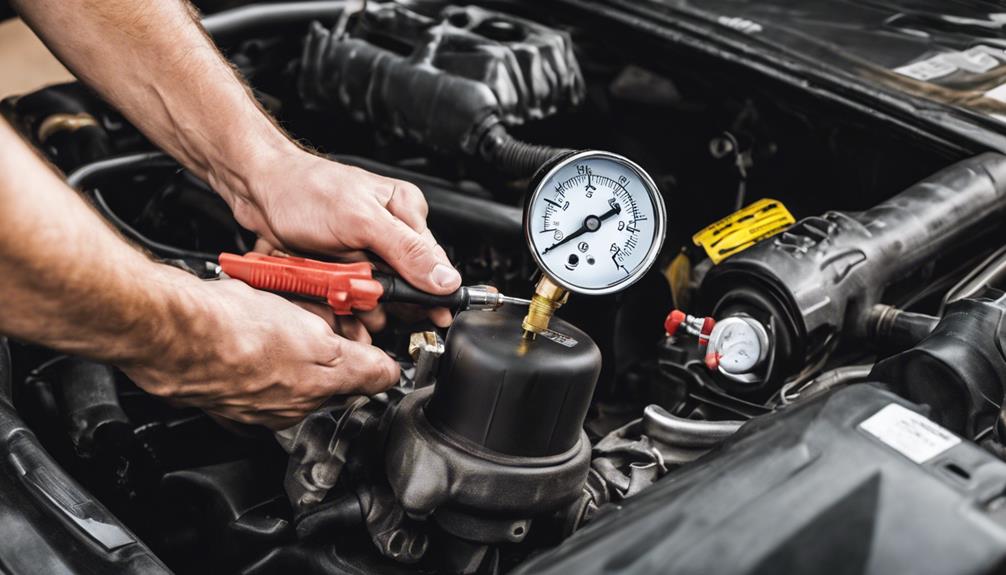
Begin by conducting a pressure test on the fuel system to guarantee proper installation and functionality of the new fuel filter. This step ensures that there are no leaks or issues that could affect the performance of your vehicle.
After the pressure test, follow these essential testing and final steps for a successful DIY fuel filter replacement:
- Fuel Filter Maintenance: Regularly check and replace your fuel filter according to the manufacturer's recommendations to keep your engine running smoothly.
- Troubleshooting Tips: In case of any issues after replacing the fuel filter, check for clogs, leaks, or improper installation that could be affecting fuel flow.
- Final Inspection: Double-check all connections, clamps, and hoses to ensure everything is secure and properly fitted before starting your car.
- Test Drive: Take your vehicle for a test drive to ensure that the new fuel filter is functioning correctly and that there are no unusual noises or performance issues.
Frequently Asked Questions
Can I Reuse My Old Fuel Filter if It Looks Clean and in Good Condition?
If the old fuel filter appears clean and undamaged, you may consider reusing it. However, it is important to conduct a thorough inspection to make sure it meets maintenance criteria and hasn't exceeded its lifespan.
How Often Should I Replace My Fuel Filter in My Car?
You should replace your fuel filter in your car every 30,000 miles for ideal fuel efficiency and maintenance. DIY troubleshooting can save you money and keep your vehicle running smoothly. Don't overlook this essential step.
Is It Necessary to Prime the Fuel System After Replacing the Fuel Filter?
After replacing the fuel filter, it is necessary to prime the fuel system to remove any air bubbles. This guarantees proper fuel pressure and peak engine performance. Failing to prime the system may lead to issues.
What Are the Signs That Indicate a Clogged Fuel Filter in a Car?
When your car struggles uphill like a hiker with a heavy backpack or sips gas like a parched traveler, suspect a clogged fuel filter. Reduced fuel efficiency and sluggish engine performance signal the need for a filter check.
Are There Any Special Precautions to Take When Working With the Fuel System During the Filter Replacement Process?
When replacing the fuel filter, prioritize safety precautions. Before starting, relieve fuel system pressure. Wear protective gear, avoid smoking or open flames, and work in a well-ventilated area. Additionally, follow proper maintenance tips to guarantee a smooth and safe process.
Conclusion
Once you have successfully replaced your fuel filter, you can expect to see an improvement in your car's fuel efficiency. In fact, studies have shown that a clogged fuel filter can reduce fuel efficiency by up to 20%.
By following this ultimate DIY guide, you have taken an important step towards maintaining your car's performance and saving money on gas in the long run. Keep up with regular maintenance to guarantee your vehicle continues to run smoothly.