A Step-By-Step Guide: Starter Motor Repair Duration
The duration of a starter motor repair can vary depending on the specific issues and the skill level of the person performing the repair. Usually, the repair process may take anywhere from a couple of hours to a full day, depending on the complexity of the problem and the availability of the necessary parts.
It’s essential to approach the repair with patience and attention to detail to ensure that the starter motor functions properly once the repair is complete. In the following guide, we’ll outline the step-by-step process for repairing a starter motor, providing valuable insights to help streamline the repair process and get your vehicle up and running efficiently.
Tools And Materials Needed
Repairing a starter motor requires specific tools and materials, and the duration of the process depends on the extent of the damage and the experience of the person performing it. It is important to have the necessary equipment and follow step-by-step instructions for a successful repair.
List Of Tools Required
Repairing a starter motor may seem like a daunting task, but with the right tools and materials, it can be a straightforward process. Before getting started, make sure you have the necessary tools at hand to ensure a successful repair. Here is a list of tools you will need for repairing a starter motor: 1. Socket Set: A socket set with various sizes will be required to remove and install bolts and nuts. 2. Screwdriver Set: A set of screwdrivers, both flathead and Phillips, will be needed for removing screws and other small components. 3. Pliers: Pliers, both regular and needle-nose, will come in handy for gripping and manipulating small parts. 4. Wire Brush: A wire brush will help clean out any corrosion or debris from the starter motor. 5. Multimeter: A multimeter is essential for testing the electrical components of the starter motor. 6. Hammer: A small hammer may be needed to tap on stubborn parts or dislodge them. 7. Pry Bar: A pry bar will assist in gently prying apart components without damaging them.Materials Needed For Repair
In addition to the necessary tools, there are a few materials you will need to have on hand before starting the starter motor repair. These materials will aid in the smooth execution of the repair process. Here is a list of materials you should gather: 1. Replacement Starter Motor: If the existing starter motor is irreparable, you will need a replacement motor. 2. Starter Motor Solenoid: In some cases, the solenoid may need to be replaced. Ensure you have a new one available. 3. Cleaner: A suitable cleaner, such as electrical contact cleaner, will be required to remove dirt and grime from the motor. 4. Lubricant: A lubricant, like white lithium grease, will be needed to ensure smooth functioning of moving parts. 5. Electrical Tape: Electrical tape will come in handy for securing wire connections and insulating exposed wires. 6. Replacement Bolts and Gaskets: It is always a good idea to have a few spare bolts and gaskets in case any get damaged during the repair process. Remember that having all the right tools and materials is crucial for a successful starter motor repair. Now that you have everything you need, it’s time to dive into the step-by-step repair guide.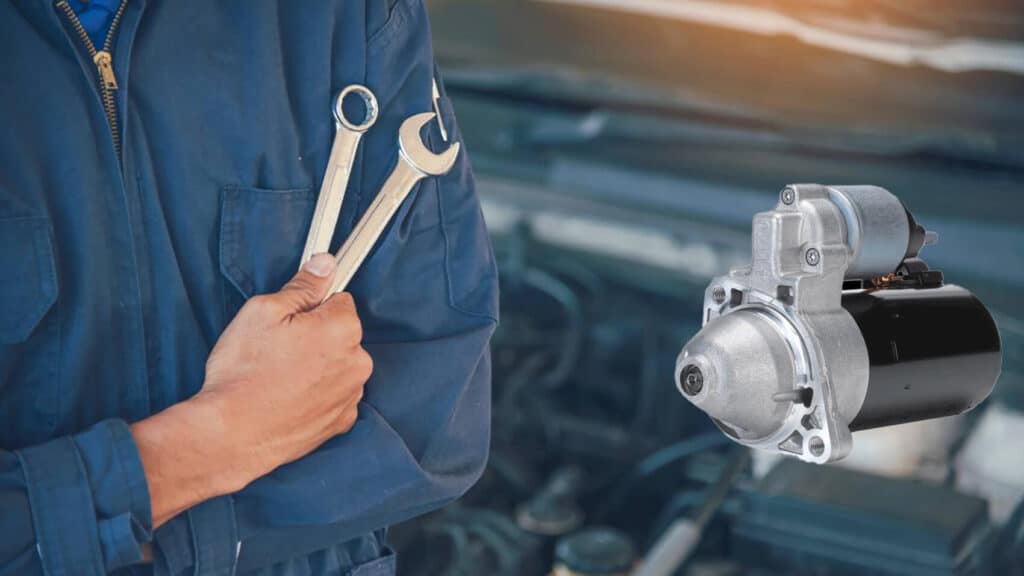
Credit: uchanics.ca
Step-by-step Repair Process
Diagnosing The Issue
Before jumping into the repair process, it’s crucial to accurately diagnose the problem with the starter motor. Start by checking the battery to ensure it’s fully charged. Next, inspect the electrical connections and wiring for any signs of damage or corrosion. Utilize a multimeter to test the voltage at the starter motor to pinpoint any potential issues.
Removing The Starter Motor
Once the issue has been identified, safely remove the starter motor from the vehicle. Begin by disconnecting the battery to prevent any electrical mishaps. Then, unfasten the bolts securing the starter motor to the engine, and carefully detach the electrical connections. Take note of the specific positioning and orientation of the motor for proper reinstallation later.
Repairing Or Replacing Faulty Parts
Inspect the starter motor for any visible signs of wear or damage. Check the solenoid, brushes, and the internal wiring for any issues. If specific parts are faulty, consider repairing or replacing them as needed. This may involve cleaning or swapping out worn components to restore the starter motor’s functionality.
Reinstalling The Starter Motor
Before reinstalling, ensure the replacement or repaired parts are properly installed in the starter motor. Carefully position the starter motor back into place, reconnect the electrical connections, and secure the bolts tightly. Double-check the positioning to avoid any misalignment and prevent potential issues upon reconnection of the battery.
Testing And Safety Precautions
Learn the essential testing and safety precautions to ensure a smooth starter motor repair process. This step-by-step guide outlines the repair duration, empowering you to troubleshoot efficiently and effectively. Master the necessary steps for a successful repair endeavor.

Credit: www.amazon.com

Credit: venngage.com
Frequently Asked Questions For A Step-by-step Guide: Starter Motor Repair Duration
How Long Does It Take To Fix A Starter Motor?
Typically, it takes about 2 to 4 hours to fix a starter motor, depending on the car model and mechanic’s experience.
How Many Hours Does It Take To Replace A Starter?
Replacing a starter typically takes around 1-2 hours.
How Long Is Labor For Starter Motor Replacement?
The labor for starter motor replacement typically takes around 1 to 2 hours. This can vary depending on the vehicle make and model. The process involves removing the old starter, installing a new one, and testing the system for proper functionality.
How Long Do Motor Starters Last?
Motor starters typically last around 10-15 years with regular maintenance and proper usage. Factors like environment and load can affect their lifespan. Regular inspection and servicing can help extend their longevity.
Conclusion
With this step-by-step guide, you now have the knowledge to confidently tackle starter motor repair. By following these instructions, you can save time and money by avoiding expensive mechanic fees. Remember to take safety precautions and refer to your vehicle’s repair manual for any specific instructions.
By mastering this skill, you’ll have the power to keep your car running smoothly without breaking the bank. Happy repairing!