9 Simple Steps to Diagnose Alternator Problems
Diagnosing alternator problems involves following 9 simple steps. Let’s dive into them and explore how to identify issues with your alternator.
An alternator plays a crucial role in the functioning of your vehicle’s electrical system. It converts mechanical energy into electrical energy to power various components. However, like any other part, alternators can develop problems over time. Recognizing and addressing these issues promptly can help you avoid expensive repairs and ensure the smooth operation of your vehicle.
We will outline 9 simple steps that can assist you in diagnosing alternator problems effectively. By following these steps, you’ll be able to identify potential issues and take appropriate action. So let’s get started and learn how to diagnose alternator problems.
Credit: shop.advanceautoparts.com
Common Signs Of Alternator Problems
Experiencing issues with your car’s alternator? Look out for warning signs such as dimming headlights, strange noises, or a dead battery. To diagnose the problem, follow these 9 simple steps to ensure your vehicle stays in top condition.
Dimming Headlights
Driving at night and noticing headlights dimming could indicate alternator issues.Electrical Issues
Electrical Issues Flickering dashboard lights and issues with power windows signal potential alternator problems. In summary: – Dimming headlights during night drives can signal alternator troubles. – Flickering dashboard lights or power windows malfunction indicate electrical issues.Basic Alternator Testing
Introduction:
Basic alternator testing is a crucial step in diagnosing potential problems and ensuring your vehicle’s electrical system is functioning properly. By following these nine simple steps, you can easily perform a basic alternator test and identify any issues that may be affecting your alternator’s performance. This will enable you to take the necessary steps to fix the problem and avoid the inconvenience and potential dangers of a failing alternator.
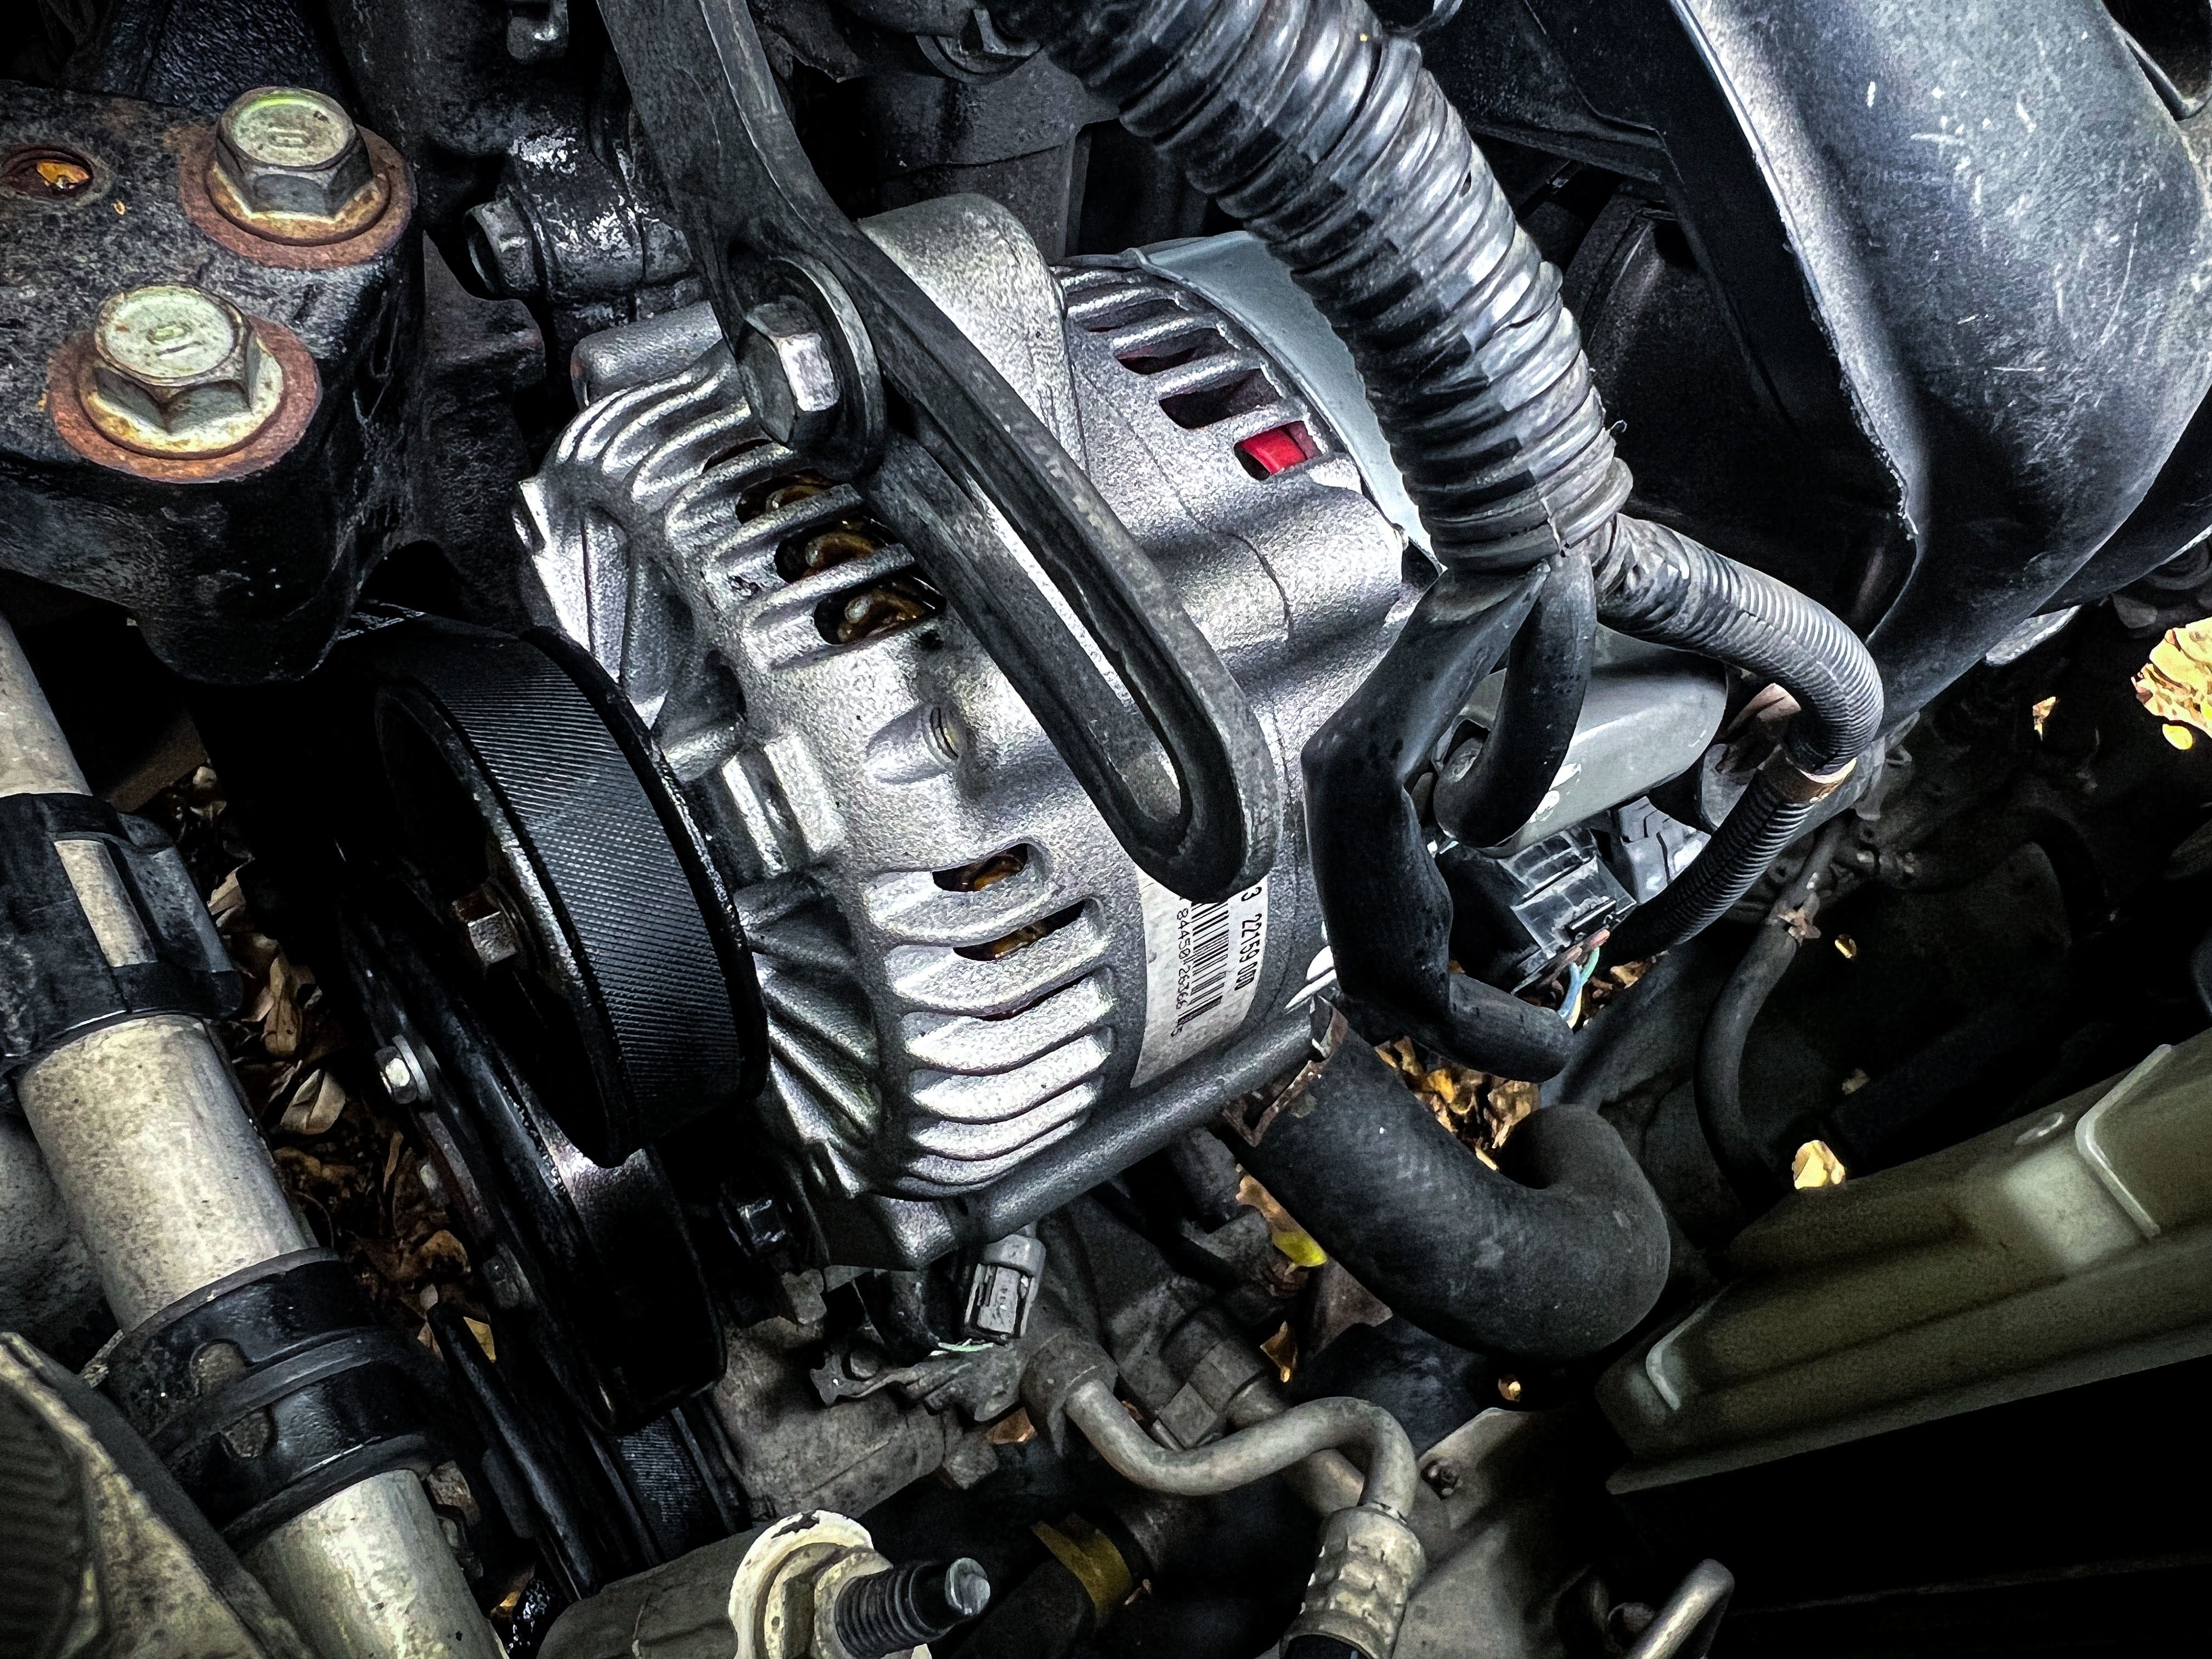
Visual Inspection
A visual inspection is the first step in diagnosing alternator problems. Look for any visible signs of damage or wear on the alternator, such as loose connections, cracked casing, or frayed wires.
Checking Battery Voltage
Checking the battery voltage is an essential part of basic alternator testing. Use a voltmeter to measure the voltage across the battery terminals. A fully charged battery should read around 12.6 volts. If the voltage is significantly lower, it may indicate a problem with the alternator.
The table below outlines the battery voltage levels and their possible implications:
| Battery Voltage | Possible Implications |
|---|---|
| Above 12.6V | Battery is fully charged |
| 12.2V – 12.6V | Battery is partially charged and may require recharging |
| Below 12.2V | Battery is low and needs to be charged |
Checking Belt Tension
Inspect the belt tension to ensure it is properly tightened. A loose or slipping belt can prevent the alternator from functioning efficiently and may cause charging issues.
Checking Belt Condition
Examine the belt for any signs of damage, such as cracks, fraying, or excessive wear. A worn or damaged belt should be replaced promptly to avoid further complications.
Checking Alternator Wiring
Inspect the alternator wiring for any loose or corroded connections. Secure and clean any connections as needed to ensure proper electrical flow.
Inspecting The Alternator Fan And Pulley
Examine the alternator fan and pulley for any signs of damage or misalignment. A damaged or misaligned fan or pulley can affect the alternator’s performance and efficiency.
Checking Alternator Output
Measure the alternator’s output using a voltmeter. Connect the voltmeter to the alternator’s output terminal and ground. A healthy alternator should produce around 13.8 to 14.4 volts. Any significantly lower or higher readings may indicate a problem.
Testing The Diode
Perform a diode test to check the alternator’s rectifier diodes. This test ensures that the diodes are functioning correctly and preventing any AC current from entering the vehicle’s electrical system.
Load Testing
Conduct a load test to evaluate the alternator’s performance under a heavy electrical load. This test simulates real-world conditions and helps identify any potential weaknesses in the alternator.
Using A Multimeter For Testing
Testing your alternator using a multimeter is a simple and effective way to diagnose potential problems. A multimeter measures electrical current, voltage, and resistance, allowing you to determine if your alternator is functioning correctly. By following these 9 easy steps, you can use a multimeter to diagnose alternator problems and ensure your vehicle’s electrical system is in optimal condition.
Checking Voltage Output
To start, set your multimeter to the DC voltage setting. Start your vehicle and let the engine run at idle speed. With the multimeter’s positive lead connected to the battery’s positive terminal and the negative lead connected to the battery’s negative terminal, measure the voltage across the battery terminals. A healthy alternator should produce a voltage reading between 13.8 and 14.2 volts.
Testing For Continuity
Continuity testing helps identify possible issues with the alternator’s internal wiring. Begin by disconnecting the negative battery terminal to prevent any accidental shorts. Set the multimeter to the continuity or resistance setting. Next, connect the multimeter’s positive lead to the alternator’s positive output terminal and the negative lead to the alternator’s negative terminal.
If the multimeter shows a reading of infinite resistance or no continuity, it indicates a potential problem with the internal wiring. This could be due to a blown fuse, loose connection, or damaged wire. On the other hand, a reading of low resistance or continuity could indicate a short circuit within the alternator, requiring further inspection and potential repair or replacement.
By utilizing the power of a multimeter, you can save both time and money in diagnosing alternator issues. With just a few simple steps, you can quickly identify potential problems, allowing you to address them before they become major headaches. Remember to exercise caution and follow safety precautions when working with electrical systems. Now, let’s move on to the next steps in diagnosing alternator problems.

Credit: www.lakelandhyundai.com
Diagnosing Belt And Pulley Issues
One of the key steps in diagnosing alternator problems is to examine the belt and pulley system. These components play a crucial role in the functioning of the alternator, and any issues with them can lead to charging problems and potential breakdowns.
Inspecting Belt Condition
Start by visually evaluating the belt for any signs of wear such as cracks, fraying, or glazing. A damaged belt can cause slipping or excessive tension, impacting the performance of the alternator.
Checking Pulley Alignment
Ensure that the pulleys are properly aligned and free from any debris or corrosion. Misaligned or contaminated pulleys can result in increased friction and affect the efficiency of the alternator.
Addressing Common Alternator Failures
Addressing Common Alternator Failures is essential for ensuring the optimal performance of your vehicle’s electrical system. Identifying and resolving common alternator issues can prevent unexpected breakdowns and costly repairs. Here are some simple steps to diagnose and address common alternator failures, allowing you to take proactive measures and avoid potential inconveniences on the road.
Worn Brushes
Worn brushes are a common cause of alternator failure. The brushes inside the alternator can wear out over time, affecting the electrical contact and leading to a decrease in charging efficiency. It is important to inspect the brushes regularly and replace them if they are worn to prevent further damage to the alternator.
Faulty Voltage Regulator
A faulty voltage regulator can cause erratic charging and lead to battery drain. Check the voltage regulator for any signs of damage or malfunction. If necessary, replace the voltage regulator with a new one to restore the proper charging function of the alternator.

Credit: grassrootsmotorsports.com
Frequently Asked Questions On 9 Simple Steps To Diagnose Alternator Problems
What Is The Easiest Way To Test An Alternator?
To test an alternator, use a multimeter on the DC voltage setting. Start the vehicle and connect the multimeter to the battery terminals. A reading of 13. 8-14. 2 volts indicates a functioning alternator. Low voltage readings may indicate a faulty alternator.
How Do You Diagnose An Alternator Problem?
To diagnose an alternator problem, test the battery voltage with a voltmeter. If it’s below 12. 4 volts, the alternator may not be charging properly. Check the alternator belt for looseness and inspect the electrical connections for corrosion or damage.
Finally, use a multimeter to measure alternator output.
How Do You Detect An Alternator Failure?
To detect an alternator failure, look out for warning signs like dim or flickering lights, a dead battery, strange noises, or a dashboard warning light. Pay attention to any difficulty starting the car or accessories not working properly. If you notice any of these indicators, get your alternator checked by a professional mechanic.
What Five 5 Steps Should You Follow While Inspecting A Charging System?
To inspect a charging system, follow these 5 steps: 1. Check battery condition and connections. 2. Test alternator output and belt tension. 3. Inspect wiring for damage or corrosion. 4. Review voltage regulator functionality. 5. Ensure proper charging system performance and operation.
Conclusion
Diagnosing alternator problems doesn’t have to be stressful. By following these simple steps, you can troubleshoot issues efficiently. Remember to stay calm and methodical in your approach to ensure accurate results. Regular maintenance and early detection can save you time and money in the long run.