8 Best Tips for Wheel Balancing at Home
For effective wheel balancing at home, start with the correct equipment and safety precautions in place. Use a wheel balancing kit containing a bubble balancer and wheel weights.
Additionally, ensure the wheel is properly mounted on the balancer before making any adjustments. Following these tips can help you achieve a smoother and safer driving experience while extending the lifespan of your tires and preventing uneven wear.
Choosing The Right Equipment
When it comes to wheel balancing at home, choosing the right equipment is crucial to achieve the best results. Selecting the appropriate tools will not only ensure accuracy but also make the process easier and more efficient. In this section, we will discuss two essential aspects of choosing the right equipment: picking the right wheel balancer and selecting the appropriate weights.
Pick The Right Wheel Balancer
Before you begin balancing your wheels at home, it is essential to invest in the right wheel balancer. There are various types of wheel balancers available in the market, ranging from manual to electronic balancers. Manual balancers are inexpensive but require you to make adjustments manually, while electronic balancers provide more accurate readings and are easier to use.
Consider the type of wheels you will be balancing and the frequency of use when choosing a wheel balancer. If you have different vehicles with various wheel sizes, opt for a balancer that can accommodate a wide range of wheel sizes and weights. Additionally, look for features like self-calibration and self-diagnosing capabilities to ensure accurate and reliable results.
Select The Appropriate Weights
Once you have chosen the right wheel balancer, the next step is to select the appropriate weights. Wheel weights are essential for achieving proper wheel balance and preventing vibrations while driving. There are two main types of wheel weights: adhesive weights and clip-on weights.
Adhesive weights are commonly used for alloy wheels as they offer a cleaner and more aesthetic appearance. They come in various sizes and shapes to accommodate different wheel styles. On the other hand, clip-on weights are typically used for steel wheels and provide a secure fit due to their clamping mechanism.
When selecting weights, it is crucial to choose the correct weight size to ensure accurate balance. Refer to the manufacturer’s guidelines or consult a professional if you are unsure about the appropriate weight size for your wheels. Remember, using the wrong size or inadequate weights can lead to imbalanced wheels and potential safety hazards.
In conclusion, choosing the right equipment for wheel balancing at home is essential for achieving accurate and reliable results. Invest in a suitable wheel balancer that matches your needs and preferences, considering factors like wheel size compatibility and additional features. Additionally, select the appropriate wheel weights based on your wheel type to ensure proper balance and a smoother driving experience.

Credit: www.popularmechanics.com
Preparation And Safety Measures
Understanding the importance of proper preparation and safety measures is crucial when it comes to wheel balancing at home. By taking the necessary precautions, you can ensure a smooth and efficient balancing process while safeguarding yourself and your equipment.
Gather Necessary Tools
- Wheel Balancer: Ensure you have a suitable wheel balancer for the job.
- Weights: Have a variety of wheel weights on hand to make necessary adjustments.
- Tire Gauge: Use a tire gauge to check tire pressure before and after balancing.
- Wheel Weight Pliers: These pliers are essential for handling wheel weights safely.
Ensure Proper Safety Measures
- Eye Protection: Always wear safety glasses to protect your eyes from any debris.
- Gloves: Use gloves to protect your hands from sharp edges and chemicals.
- Stable Surface: Ensure the work area is stable and level to prevent accidents.
- Secure Wheels: Make sure the wheels are securely mounted before starting the balancing process.
Understanding Wheel Imbalance Symptoms
Identifying Vibration Issues
If you feel persistent vibrations while driving, especially at high speeds, it may indicate wheel imbalance.
Recognizing Steering Instability
Unstable steering or veering to one side can be a sign of wheel imbalance affecting your vehicle’s handling.
Credit: www.bicycling.com
Balancing Process Step By Step
In order to ensure a smooth and safe ride, it’s essential to balance your wheels properly. This not only prolongs the lifespan of your tires but also improves fuel efficiency and prevents vibrations while driving. In this guide, we will take you through the step-by-step process of wheel balancing at home. By following these tips, you can save money and have a more comfortable driving experience. Let’s get started!
Removing The Wheel
Before you can begin the wheel balancing process, you need to remove the wheel from your vehicle. To do this:
- Park your vehicle on a level surface and engage the parking brake to ensure it doesn’t move.
- Loosen the lug nuts on the wheel using a lug wrench, but don’t remove them completely yet.
- Use a jack to lift the vehicle off the ground, following the manufacturer’s instructions.
- Once the vehicle is lifted, remove the lug nuts and carefully take off the wheel.
Mounting The Wheel On The Balancer
Now that you have your wheel removed, it’s time to mount it on the wheel balancer. Follow these steps:
- Place the wheel onto the spindle of the balancer, ensuring it is centered.
- Tighten the provided cone onto the spindle to secure the wheel in place.
- Spin the wheel gently to check if it rotates freely without any obstructions or wobbling.
Adding Counterweights
After mounting the wheel on the balancer, you will need to add counterweights to balance it. Here’s what you should do:
- Identify the heavy spot on the wheel by observing the downward position.
- Clean the surface of the wheel where the counterweights will be attached.
- Choose the appropriate size and type of counterweight to add to the lighter side of the wheel.
- Attach the counterweight to the designated spot on the wheel, ensuring it is firmly secured.
- Recheck the balance by spinning the wheel and see if it remains in a level position.
Reinstalling The Balanced Wheel
Now that you have successfully balanced your wheel, it’s time to reinstall it onto your vehicle. Follow these final steps:
- Carefully lift the balanced wheel and place it back onto the wheel hub.
- Tighten the lug nuts by hand until they are snug.
- Lower the vehicle using the jack and remove it from the lift.
- Use a torque wrench to tighten the lug nuts to the manufacturer’s recommended specifications.
- Double-check that all lug nuts are securely fastened.
Advanced Tips And Tricks
When it comes to wheel balancing, advanced tips and tricks can take your DIY efforts to the next level. Fine-tuning with small weight adjustments and considering hub-centric rings are two key strategies that can help you achieve optimal results.
Fine-tuning With Small Weight Adjustments
When balancing your wheels, making small weight adjustments can make a big difference. Using precise increments of weight to fine-tune the balance can help you achieve a smoother ride and minimize vibrations.
Considering Hub-centric Rings
Hub-centric rings are essential for ensuring a precise fit between your wheels and the vehicle’s hub. Using these rings can help distribute the vehicle’s weight more evenly, reducing the risk of vibrations and promoting a smoother driving experience.
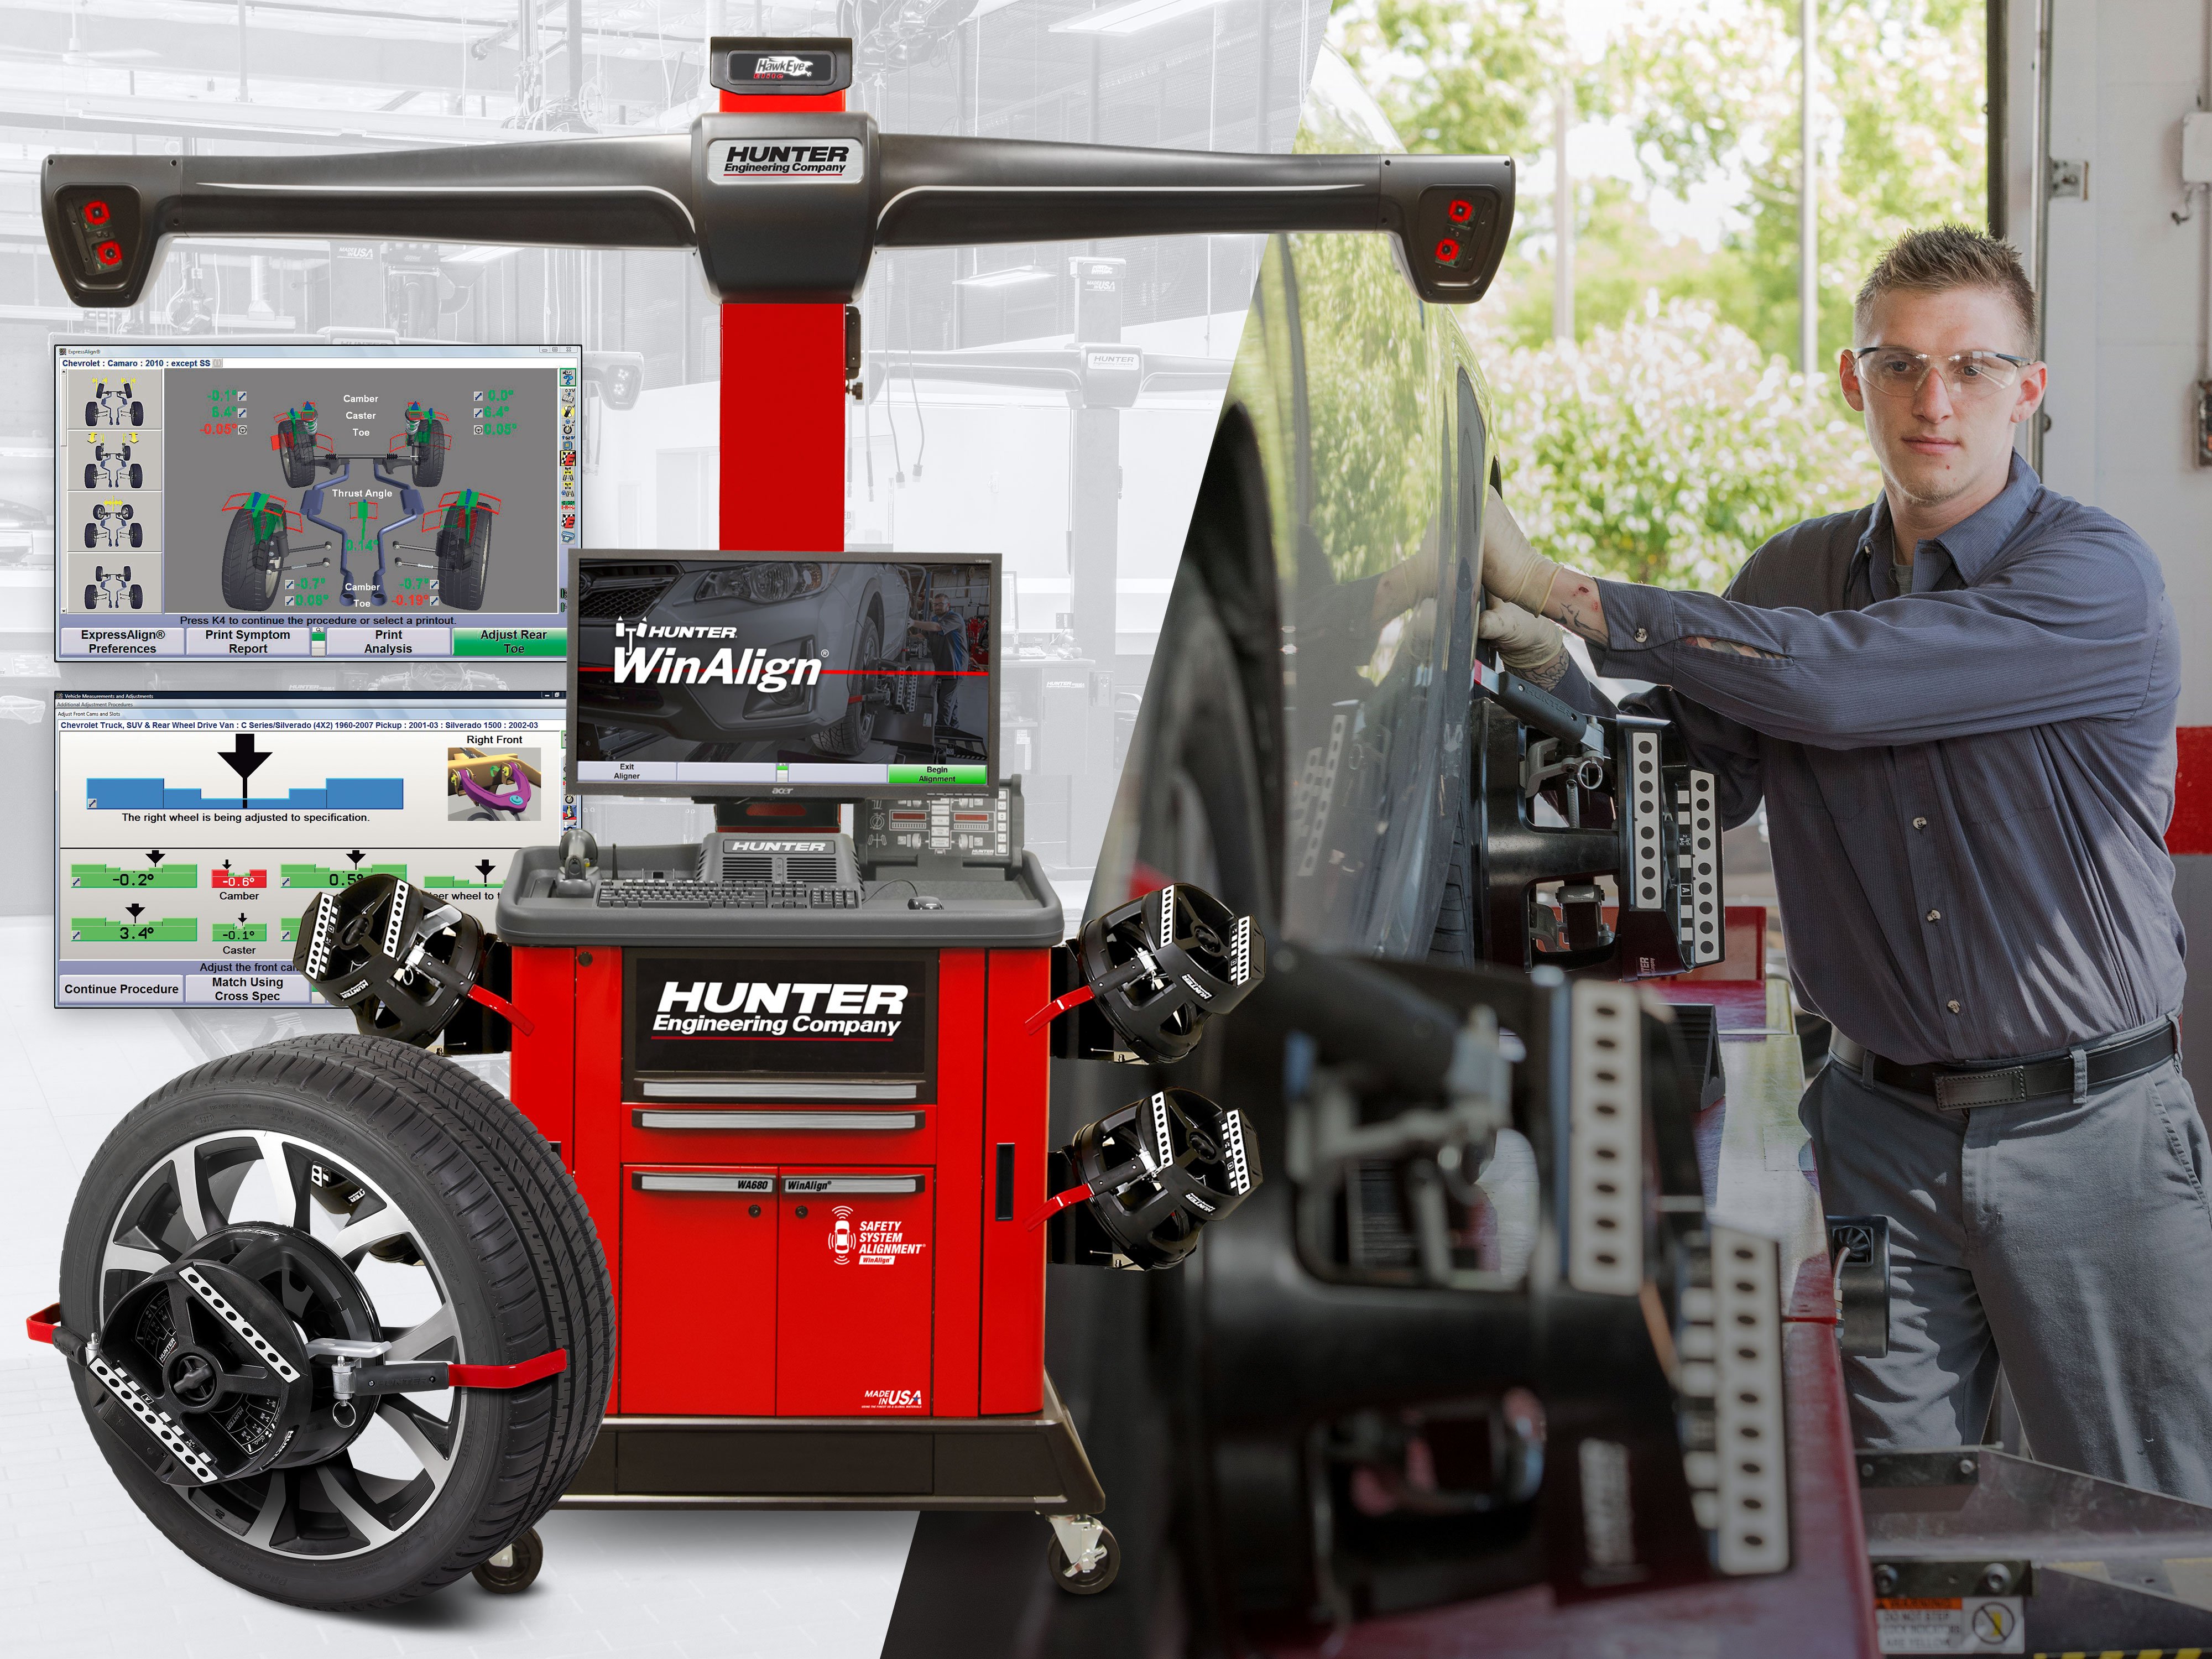
Credit: www.hunter.com
Frequently Asked Questions For 8 Best Tips For Wheel Balancing At Home
How Can I Balance My Wheels At Home?
To balance your wheels at home, you can use a wheel balancer tool. Secure the wheel on the balancer and adjust the weights until it’s evenly balanced. Rotate the wheel and repeat the process if needed. Always ensure the balancer is on a stable surface for accurate results.
What Is The Best Wheel Balancing Method?
The best wheel balancing method is dynamic balancing, which involves using a spin machine to identify and correct any imbalances in the tire and wheel assembly. This method ensures a smooth ride, improves tire life, and minimizes vehicle vibration.
Does A Bubble Wheel Balancer Work?
Yes, a bubble wheel balancer works by using the principle of gravity to identify and correct balance issues in tires.
How Can I Balance My Tires Without A Machine?
To balance tires without a machine, place sticky weights on the inner and outer rims. Rotate the tire to check balance.
Conclusion
Achieving optimal wheel balancing at home doesn’t have to be a daunting task. By following these 8 best tips, you can ensure smoother rides, better fuel efficiency, and extended tire lifespan. From investing in a quality wheel balancing kit to utilizing the correct tools and techniques, these simple steps will help you maintain a safe and comfortable driving experience.
So, go ahead and take charge of your wheel balancing needs with confidence and ease!