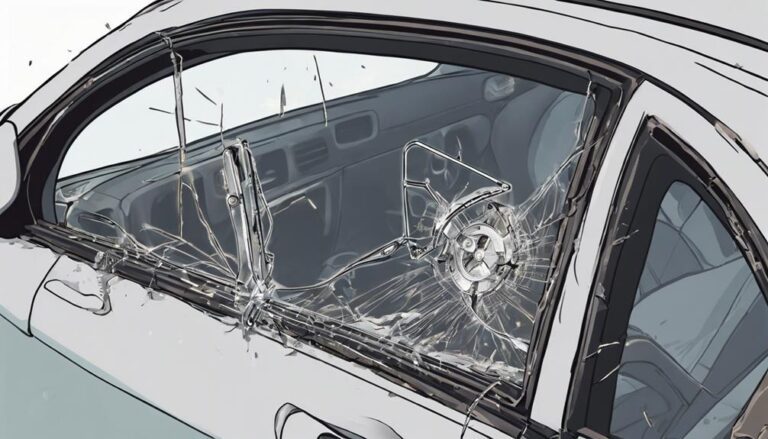
What Is the Process for Replacing Power Window Wiring?
When replacing power window wiring, the initial step involves disconnecting the old wiring harness and removing the interior door panel.
Once you've accessed the power window motor, the process moves on to installing the new wiring harness, but that's just the beginning.
The real challenge lies in ensuring that every component functions seamlessly together.
It's this meticulous attention to detail that can make all the difference in your power window operation.
Key Takeaways
- Disconnect old wiring carefully, remove interior door panel, and inspect for wear or damage.
- Access and troubleshoot power window motor by disconnecting connectors and removing mounting bolts.
- Install new wiring harness by following vehicle's diagram, securing connections, and testing thoroughly.
- Test power window operation by checking fuse, testing wires, verifying switch function, and monitoring power to window.
Disconnecting the Old Wiring Harness
To begin the process of disconnecting the old wiring harness for the power window, locate the connector near the window motor. Confirm the car's battery is disconnected to prevent any electrical mishaps.
Using a trim panel removal tool, gently access the wiring harness. Carefully disconnect the wiring to avoid causing any damage. Follow the wiring harness from the motor to the main connector point and detach it securely.
Inspect the old wiring harness for signs of wear, damage, or corrosion before replacing it. By following these steps, you can confirm a smooth process for disconnecting the old power window wiring harness.
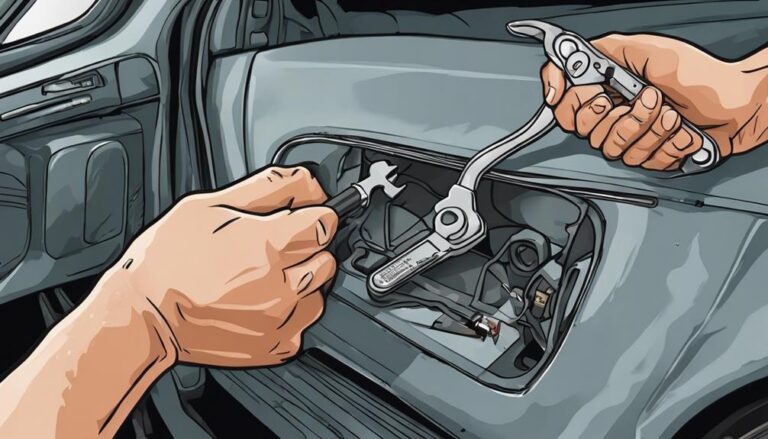
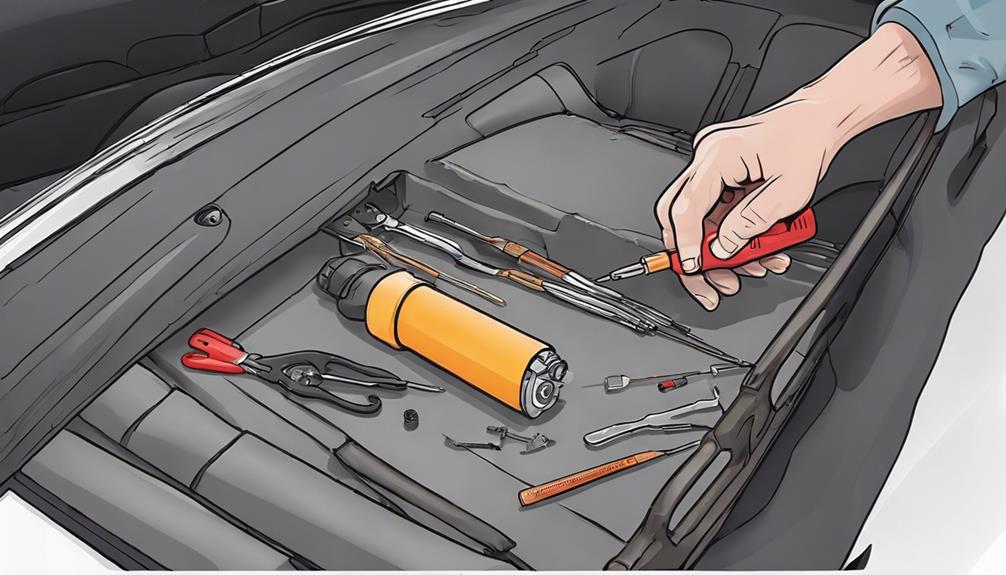
Removing the Interior Door Panel
Begin by carefully detaching all door pulls, handles, and screws that secure the interior door panel in place using a trim panel removal tool to avoid damaging the panel during removal. Start by locating and removing any visible screws holding the panel. These screws are often found near the door handle or armrest.
Once the screws are removed, gently pry off any covers or trim pieces to access hidden fasteners. Use the trim panel removal tool to pop out the fasteners holding the panel to the door frame. Be mindful not to force the panel off; it should come off smoothly once all fasteners are detached.
As you lift the panel, be cautious of any wiring harnesses connected to components like the power window wiring or door locks. Carefully disconnect these harnesses to completely remove the interior door panel. Keep track of all removed components and fasteners for reassembly.
Removing the interior door panel is a vital step in accessing the power window wiring components effectively.
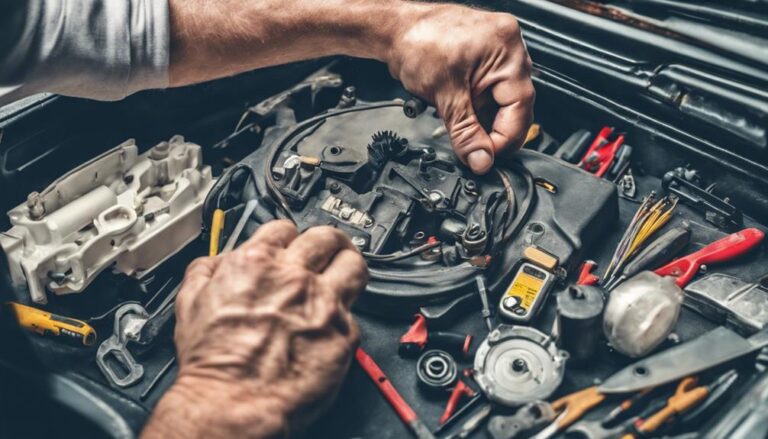
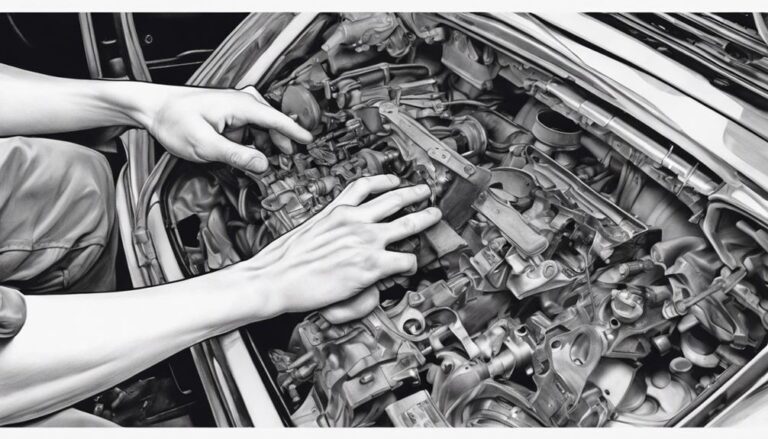
Accessing the Power Window Motor
When accessing the power window motor, start by carefully removing the inner door panel on your vehicle to reveal the motor attached to the window regulator. The inner door panel is usually secured with screws, clips, or fasteners that need to be cautiously detached.
Once the panel is off, locate the power window motor connected to the window regulator. To access the motor, disconnect any electrical connectors and remove the mounting bolts holding it in place. This step is pivotal for troubleshooting wiring issues, testing the motor's functionality, and conducting necessary repairs effectively.
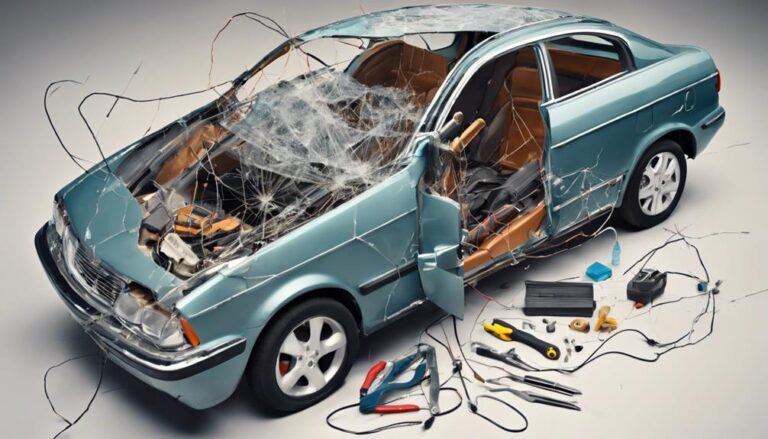
Installing the New Wiring Harness
After accessing the power window motor and identifying any wiring issues, proceed to install the new wiring harness by ensuring it matches the original specifications for proper compatibility with the power window system.
Follow the vehicle's wiring diagram meticulously to correctly route and connect the new wiring harness to the power window components, including the window motors, window regulator, power window switch, and regulator assembly.
Utilize wire connectors, heat shrink tubing, and electrical tape to secure and protect the connections of the new wiring harness against wear and tear.
Once the new wiring harness is in place, test the power window system thoroughly to confirm proper functionality, addressing any electrical issues promptly.
To ensure long-lasting performance, securely fasten the new wiring harness away from any moving parts and potential sources of heat or damage within the door panel.
Proper installation of the electrical wiring is vital for the efficient operation of the power windows.
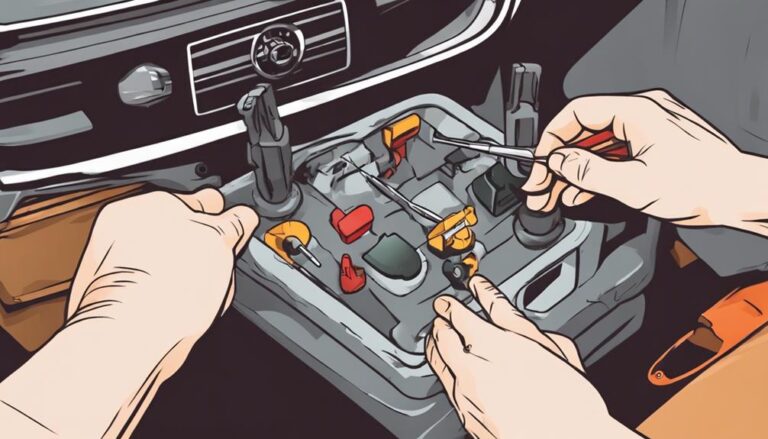
Testing the Power Window Operation
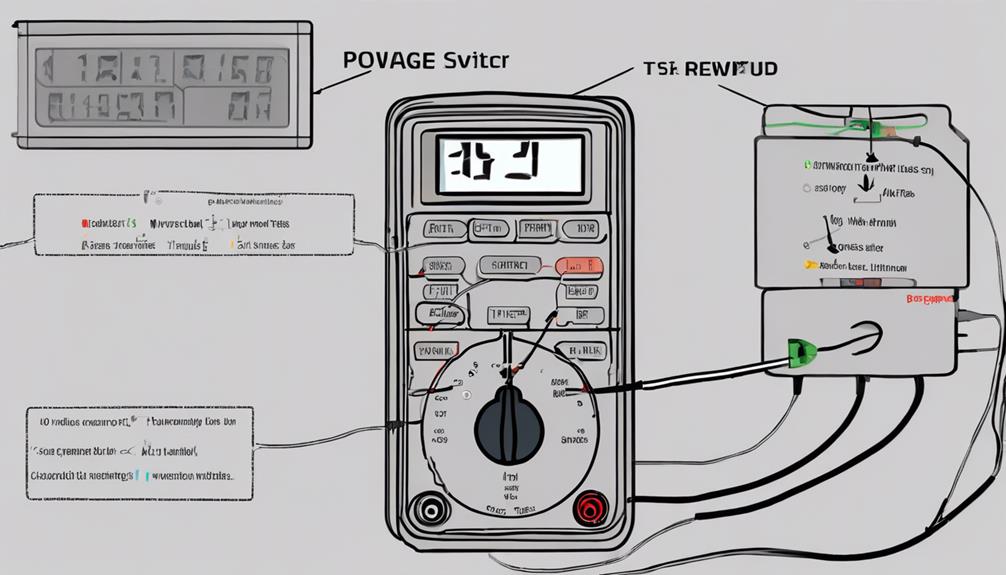
To assess the power window operation effectively, start by utilizing a voltmeter to test the functionality of the power window switch.
- Check the Fuse: Before proceeding, validate the fuse related to the power windows is intact and not blown to guarantee proper power supply.
- Test Power and Ground Wires: Use the voltmeter to confirm that power is reaching the window regulator and that the ground connection is secure.
- Verify Proper Operation: Operate the power window switch while monitoring the voltmeter to see if there's power to the window when the switch is activated.
Frequently Asked Questions
What Is the Most Common Issue With Power Windows?
The most common issue with power windows is faulty connections, motor malfunction, corrosion damage, electrical issues, window regulator, wiring problems, power switch, circuitry faults, insulation degradation, and voltage fluctuations, causing window failure and malfunction.
How Are Electric Windows Wired?
When wiring electric windows, the power supply from the battery connects to the window switch, controlling the flow to the motor, raising or lowering the glass. The ground connection completes the circuit for smooth operation.
How Much Does It Cost to Replace a Power Window Switch?
Replacing a power window switch can cost $150-$350, labor included. Factors like vehicle make, OEM parts, and shop location affect prices. DIY can save, but tools and skill are needed. Consider warranty, aftermarket options, and environmental impact.
How Long Does It Take to Change a Window Regulator?
When changing a window regulator, expect the process to take about 1.5 to 2 hours for a pro, possibly longer for DIY. Varies by vehicle and skill level. Follow instructions, use correct tools, and troubleshoot carefully for efficiency.
Conclusion
Congratulations on successfully completing the intricate process of replacing power window wiring!
You have now mastered the art of maneuvering through electrical connectors, testing motor connectors, and ensuring smooth window operation.
Remember, the power is in your hands (literally) to keep your windows rolling up and down effortlessly. Keep up the electrifying work!