How to Fix a Broken Headlight
To fix a broken headlight, you need to replace the bulb or headlight assembly following manufacturer instructions. A broken headlight can pose safety risks, decrease visibility on the road, and lead to potential fines.
It is important to address this issue promptly to ensure your safety and compliance with road regulations. Fortunately, fixing a broken headlight is a relatively simple task that can be done at home with the right tools and a bit of know-how.
In this guide, we will walk you through the steps of fixing a broken headlight, whether it involves replacing a bulb or the whole headlight assembly. By following these steps, you can quickly and easily get your headlights working properly again.
Inspecting The Headlight
Inspecting the headlight is the first step in fixing a broken headlight. In this phase, you will check for any burnt out bulbs and examine the wiring to identify potential issues.
Checking For A Burnt Out Bulb
1. Begin by turning off the vehicle and opening the hood.
2. Locate the back of the headlight assembly and twist off the bulb cover if it’s present.
3. Carefully remove the bulb from the socket and inspect it for any darkened or broken filaments.
Examining The Wiring
1. Using a flashlight, visually inspect the wiring harness connected to the headlight for any signs of damage or wear.
2. Gently wiggle the wiring to check for loose connections or frayed wires.
3. If the wiring appears to be damaged, consider consulting a professional as it may require more intricate repairs.
Replacing The Bulb
When your headlight bulb burns out, it is essential to replace it promptly to ensure optimal visibility while driving. Here’s a simple guide to replacing the bulb in your vehicle’s headlight.
Gaining Access To The Bulb
- Park your car on a level surface and turn off the engine.
- Locate the back of the headlight assembly under the hood.
- Depending on your vehicle model, you may need to remove the headlight assembly cover.
Removing The Old Bulb
- Twist the headlight bulb socket counterclockwise to remove it from the assembly.
- Gently pull the old bulb out of the socket.
- Dispose of the old bulb according to your local regulations.
Installing The New Bulb
- Align the tabs on the new bulb with the slots in the socket.
- Insert the new bulb into the socket and twist it clockwise to secure it.
- Test the new bulb by turning on your headlights before reassembling the cover.
Repairing The Wiring
When it comes to fixing a broken headlight, one crucial step is repairing the wiring. Properly addressing any damaged wires is essential to ensuring your headlight functions correctly.
Identifying The Damaged Wiring
- Inspect the wires for any visible damage or cuts.
- Look for any signs of corrosion or loose connections.
- Use a multimeter to test the continuity of the wiring.
Repairing The Wiring Connection
- Carefully strip the damaged part of the wire.
- Twist the exposed copper wire strands together.
- Solder the connection for a secure bond.
- Wrap the repaired area with electrical tape.
Replacing The Wiring If Necessary
| Signs of Needing Replacement: | Extensive damage to the wiring. |
|---|---|
| Steps to Replace: | Disconnect the old wiring. |
| Install the new wiring carefully. |

Credit: www.autotrader.com
Adjusting The Headlight Aim
When a vehicle’s headlight aim is misaligned, it can lead to poor visibility and safety hazards. Properly adjusting the headlight aim is crucial for ensuring a clear view of the road and oncoming obstacles. In this section, we will guide you through the steps to check and adjust the aim of your vehicle’s headlights.
Checking The Aim Of The Headlight
To begin, park your vehicle on a level surface facing a wall or garage door. Turn on the headlights and observe the beam patterns on the wall. Ideally, the beams should be symmetrical and parallel to the ground with a slight downward angle. If the beams appear uneven or misaligned, it indicates the need for adjustment.
Adjusting The Headlight Alignment
Before making any adjustments, refer to your vehicle’s owner’s manual for specific instructions on headlight alignment. Using a screwdriver, locate the adjustment screws typically found near the headlight assembly. One screw controls the vertical aim while the other adjusts the horizontal aim.
- Start by marking the initial position of the headlight beams on the wall for reference.
- Next, turn the adjustment screws to align the beams with the desired height and direction. Small adjustments can have a significant impact, so proceed gradually.
- After each adjustment, step back and observe the beam patterns to ensure they are even and properly aligned.
Repeat the adjustment process for the opposite headlight to ensure both beams are aligned consistently. Once satisfied with the alignment, test the headlights on the road to verify improved visibility and safety.
Testing The Headlight
Once you have identified that your headlight is broken, the next step is to test it to ensure it is functioning properly. This will help you determine if the issue lies with the headlight itself or with a different component of your vehicle’s lighting system. Follow these steps to test your headlight and determine the necessary steps for fixing it:
Turning On The Headlights
- Locate the headlight switch: Depending on your vehicle, the headlight switch can be found in different locations. Refer to your car’s user manual if you are unsure where to find it.
- Turn on the headlights: Switch the headlight control to the “on” position. This will activate the headlights, allowing you to assess their condition.
Verifying Proper Operation
With the headlights turned on, you will now need to verify their proper operation. Keep in mind that each headlight should be tested individually, as one may be functioning correctly while the other is not. Follow these steps to ensure both headlights are in working order:
- Inspect the headlights: Look closely at each headlight to see if it is emitting light. A bright, consistent beam indicates the headlight is functioning correctly.
- Check high and low beam settings: Switch between the high and low beam settings to confirm that both modes are working. This can be done by using the headlight controls or by flashing your high beams.
- Check for flickering or dimming: Watch for any flickering or dimming of the headlights, as this could indicate a faulty connection or a problem with the electrical system.
- Inspect the beam pattern: Pay attention to the pattern of light projected by the headlights. The beam should be focused and evenly distributed, without any skewing or misalignment.
Testing your headlight is an essential part of the troubleshooting process. By following these steps, you will be able to determine the condition of your headlight and identify the necessary steps for fixing it. Once you have completed the testing phase, you can move on to the next stage of the repair process.
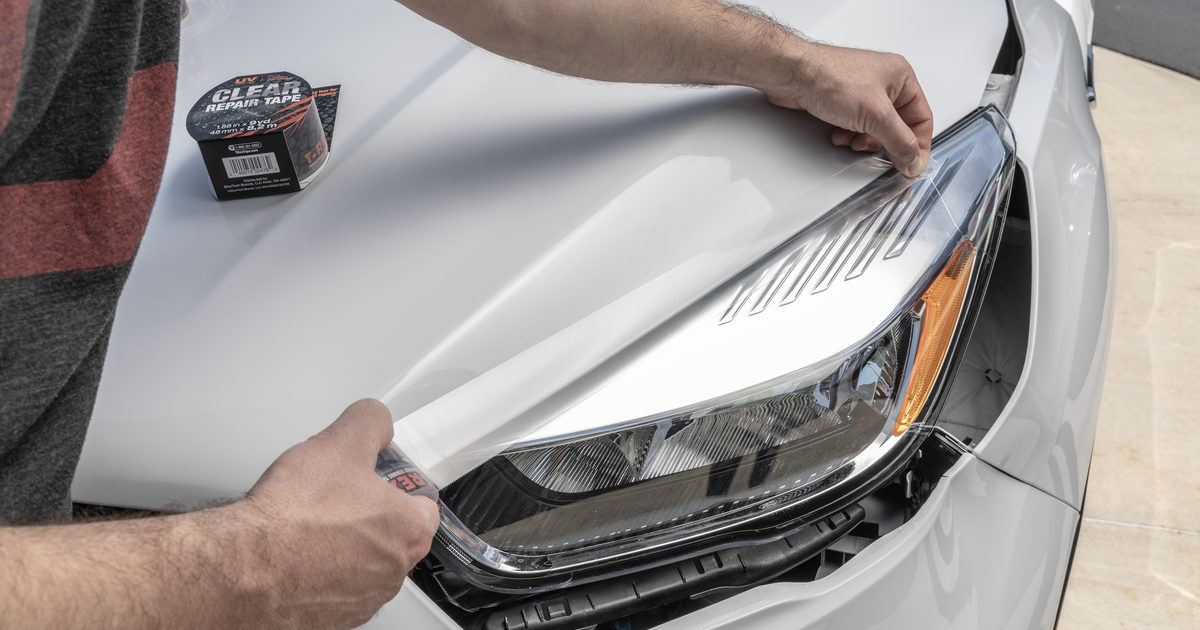
Credit: www.trextape.com

Credit: www.youtube.com
Frequently Asked Questions For How To Fix A Broken Headlight
Can You Fix A Headlight Yourself?
Yes, you can fix a headlight yourself. By following a few steps like purchasing the correct replacement bulb, accessing the headlight assembly, and replacing the bulb, you can easily fix the headlight on your own.
How Much Does It Cost To Replace A Broken Headlight?
The cost to replace a broken headlight typically ranges between $150 to $300, including parts and labor. Factors such as the make and model of the car, the type of headlight, and where you get it replaced can affect the overall cost.
What To Do If Your Headlights Are Broken?
If your headlights are broken, consult a professional mechanic for repairs. Driving with broken headlights is unsafe and may be illegal.
Is It Ok To Drive With A Broken Headlight?
Driving with a broken headlight is not advisable as it compromises visibility. It’s best to fix it promptly.
Faq 1: How Do I Know If My Headlight Is Broken?
A broken headlight can be identified by checking if the light is dim, flickering, or not working at all.
Faq 2: Can I Fix A Broken Headlight Myself?
Yes, you can fix a broken headlight yourself by following simple steps like replacing the bulb or fixing wiring issues.
Faq 3: What Tools Do I Need To Fix A Broken Headlight?
To fix a broken headlight, you will need basic tools like a screwdriver, pliers, and a replacement bulb.
Conclusion
In closing, fixing a broken headlight is a manageable task with the right tools and approach. Prioritize safety and clarity on the road by promptly addressing any headlight issues. Remember to apply the tips and techniques discussed in this guide for a successful repair.
Keep your headlights in top condition for a smooth and secure driving experience.