How To Install Component Speakers with Crossover: 3 Easy Ways
Are you an audio enthusiast who wants to attain the best possible high-quality audio output? Unless you know how to install component speakers with crossovers, it is a delicate chore especially if you are not a skilled and trained electrician. Worry not though. Our panel of researchers understands this fact only too well.
They have gladly stepped in to provide you with appropriate guidance and insight into the matter. Read on to find out how to go about the issue. It is necessary that you pay keen attention to the instructions laid out below as any mishaps may often have far-reaching implications.
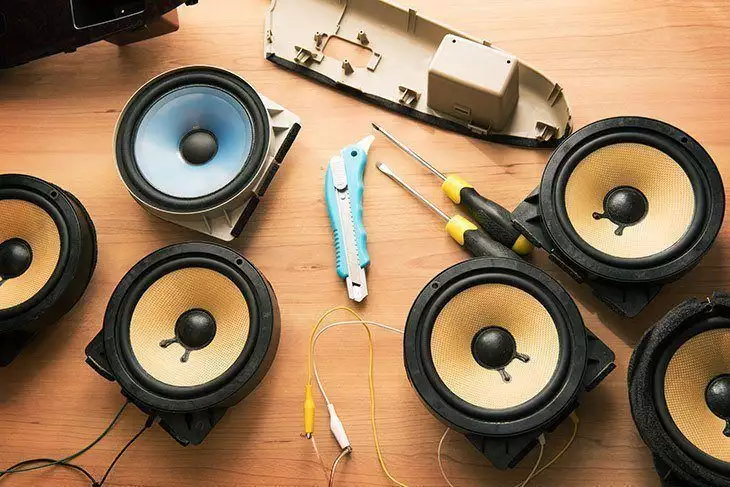
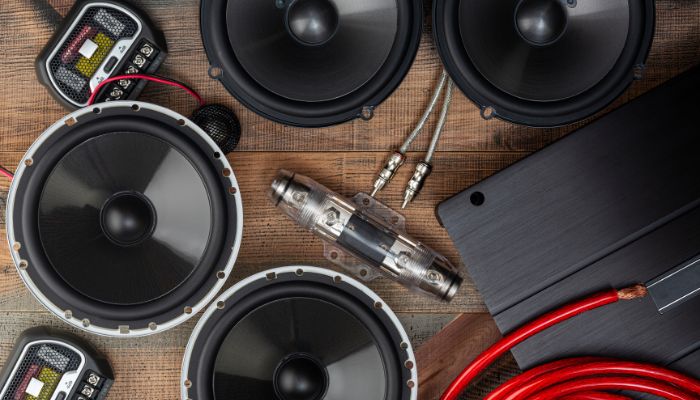
Tools and Materials Required
First and foremost, you will have to garner the tools and materials you need for the job. They are listed here below:
- Shop Rag
- Wire Ties
- Jigsaw
- Screwdriver
- Utility Knife
- Wire Stripper
- File
- Heat Gun
- Socket
- Retaining Clip Remover
- Allen Wrenches
- Wire Cutter
- Soldering Iron
- Electric Drill
Steps: How to Install Component Speakers
Determine Your Preferred Mounting Location
Start off by determining your preferred mounting position. Some of the most preferred locations by car owners are the door, kick panels, car sail, and the dashboard, the general rule of thumb is to choose the location that imposes the least modification needs and is hence very convenient. Also, factor in the dimensions and shape of the component speaker you have. The dashboard area is ordinarily too small and squeezed for larger and bulkier speakers. The back end of the car would be most appropriate for such speakers.
Determine Your Preferred Mounting Position
After finding the best mounting location, you now have to determine the best possible mounting position. This basically refers to the state, posture, or manner in which the speaker shall rest while fully installed. There are two main kinds of positions, namely the surface and the flush mounting. Surface mounting refers to placing the speaker on top of a flat surface.
This requires almost no modifications at all to the surface or the speaker itself. As for the flush mount, you will have to incise some holes through the surface for the sake of installation.

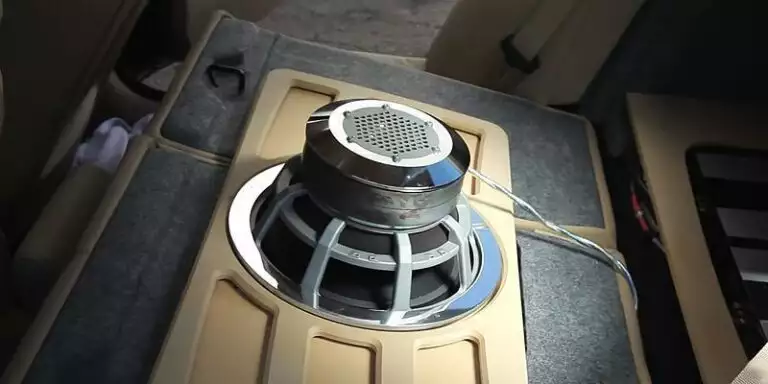
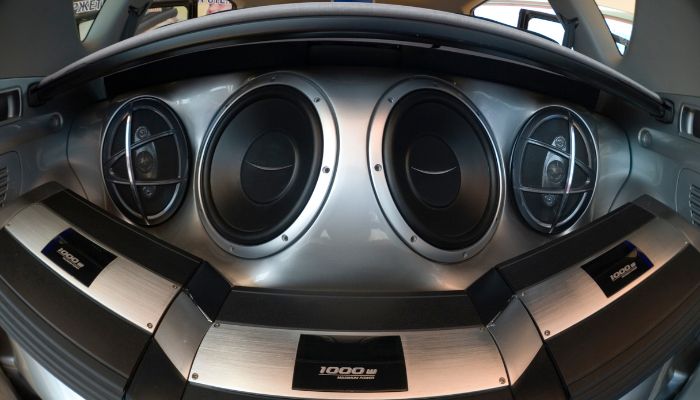
Install The Woofer
With these two parameters at your fingertips, you are now free to install the speaker on the surface you will have settled on. Fix the speaker in the location and then fasten it as need be. You will have to use a screwdriver or a bolt.
While at this stage, take extra care not to interfere with the inner workings of the car’s infotainment mechanism. Also, be sure that the speakers fit nicely to prevent them from fidgeting in the future under extreme impacts such as when tackling potholes. Seal any gaps for maximum fit.
Install The Crossover
After installing the speaker, you now have to fix the crossover in place. You should choose a location that is unlikely to pose any interference to the moving parts. The ideal location should also be shielded from any vibrations or excessive moisture content. This is to keep the crossover intact throughout the entire journey and length of use.
Also, the crossover has to be as close to the speaker panel as possible. This is to reduce the production or likely emergence of noise and preserve the integrity of the audio output. Yet again, fasten the crossover tightly in place with the various apparatus. Be sure that it does not fidget at all.
Lay the Final Wiring
With the physical structure complete, you now have to lay the final wiring. Attach the wires on the various peripherals and secure them firmly. Insist only on those wires that the speaker came with at the point of their purchase.
In case they are unavailable, skim your manufacturer’s manual for appropriate recommendations. Do not gamble with this step as you do not want to predispose your speaker system to the risks of power surges and possible electrocution. It is at this stage that you might want to add some other electronic components such as amplifiers.
Conclusion
As you may well have noted, installing a speaker component is not too daunting a task. However, it does require a fair degree of expertise and attentiveness. That is why we now urge and challenge you to uphold some care in the course of going about it. Have you found our article helpful to you?
Are there any areas that you feel we ought to expound on or rectify? Would you recommend this article to a friend? Let us hear from you. Simply post your response in the comment segment below.